MAIN MENU
PICTURE
FEATURES
SOUND
HELP
EXIT
EXIT
1 OF 3
PICTURE
SOURCE
MORE...
CLOSED
CAPTIONS
FEATURE MENU
EXIT
2 OF 3
MORE...
HALF HOUR
REMINDER
FEATURE MENU
CHANNEL
MEMORY
CABLE
TUNING
CHANNEL
DISPLAY
SLEEP
TIMER
EXIT
SET ON TIMER
SET CLOCK
SET CLOCK & ON TIMER
SET CLOCK
& ON TIMER
9 : 19 AM
SET CLOCK
PLEASE ENTER THE
CURRENT HOUR
STOP
■
REW
§§
FF
©©
PLAY
©
REC
●
STATUS
VOL
CH
1
2
3
4
5
6
7
8
9
0
ON/OFF
TV/VCR
VCR
CBL
TV
SWAP
FREEZE
POS
SIZE
ENTER
MENU
M
CLEAR
~
!
SURF
MUTE
PAUSE II
SLEEP
SMART
100+
POWER
M
O
D
E
1
1
3
2
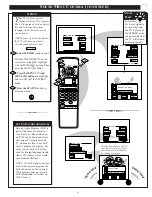
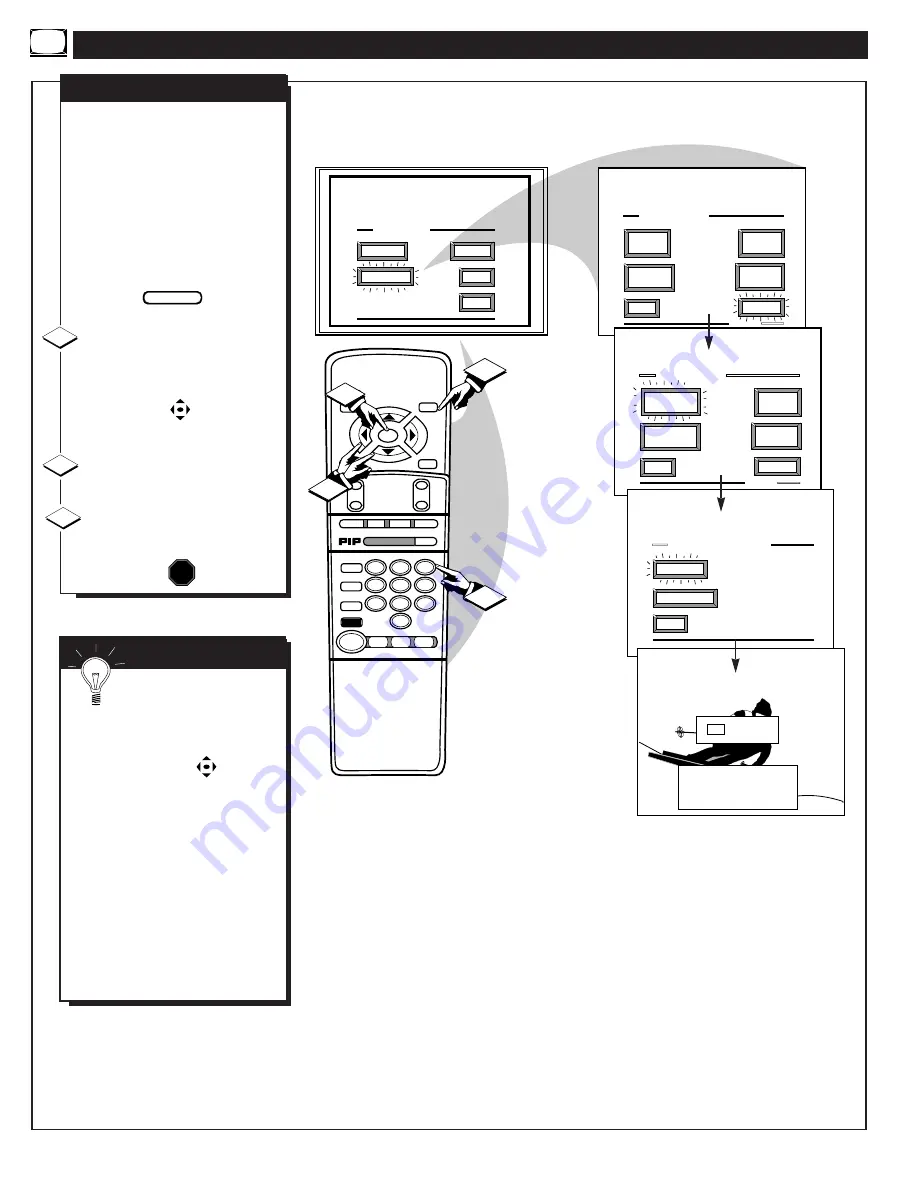
SET CLOCK
N
OTE: If you went through
First Time Setup (in your
Quick Use Guide), this task has
already been completed for you.
Your TV comes with an on-screen
clock. During normal operation the
clock appears on the screen with
every channel change (and when
the STATUS button is pressed).
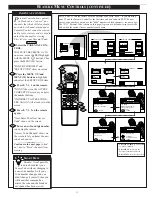
Select SET CLOCK control.
With FEATURES MENU (2 of 3)
on screen, move the RED highlight
with the MENU buttons. Then
press the MENU (M) button.
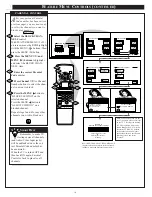
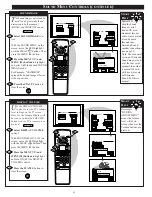
Press the remote's number
buttons to set the time clock.
Press the STATUS button to
set the clock in operation and clear
the screen.
STOP
1
2
3
BEGIN
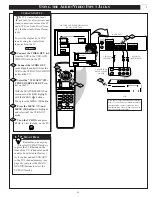
Remember, be sure to
press "0" first and then the
hour number for single digit
entries.
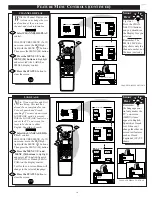
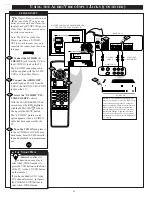
The remote's MENU buttons
can also be used to set the hours,
minutes and AM/PM portions of
the clock.
TV Clock settings may be lost
when the TV is unplugged (or AC
power to the set is interrupted.)
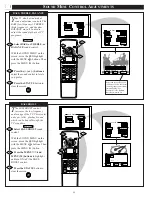
You can also set the TV Clock
automatically if you follow the First
Time Set-up procedure for the
Smart Clock feature.
S
MART
H
ELP
F
EATURE
M
ENU
C
ONTROLS
(
CONTINUED
)
14
Summary of Contents for 8P4831C
Page 49: ...3135 015 07370 ...


