32BDL4050D
43
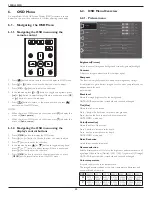
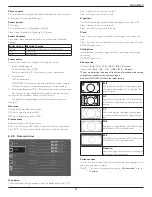
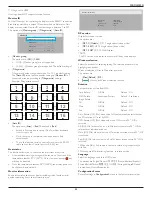
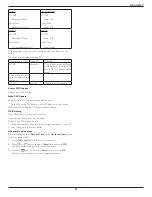
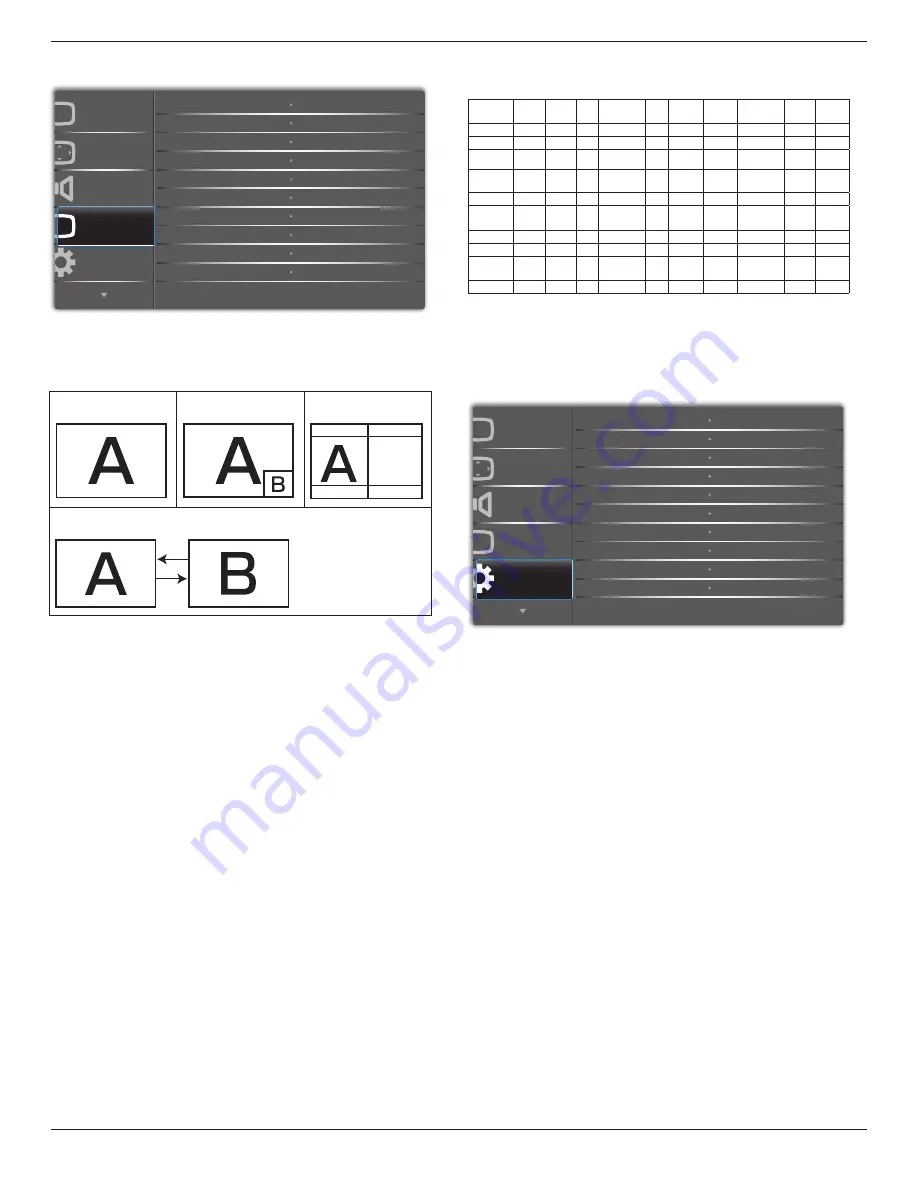
6.2.4. PIP menu
P
P
Audio
PIP
Screen
Picture
Configuration 1
PIP size
PIP position
PIP reset
Sub mode
PIP change
PIP source
PIP audio
Small
Bottom-Right
Off
Action
VGA
Main
Action
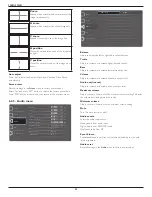
Sub mode
Select the sub mode.
Choose from: {
Off
} / {
PIP
} / {
POP
} / {
Quick swap
} / {
PBP
}.
Off
PIP
PBP 2Win
Sub Win1
Input
Quick swap
Switch main on top or
sub on top.
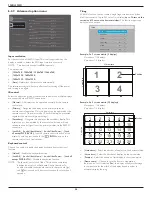
PIP size
Select the size of the sub picture in the PIP (Picture-in-Picture) mode.
Choose from: {
Small
} / {
Medium
} / {
Large
}.
PIP position
Select the position of the sub picture in the PIP (Picture-in-Picture) mode.
Choose from: {
Bottom-Right
} / {
Bottom -Left
} / {
Top-Right
} / {
Top-Left
}.
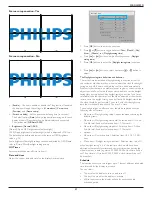
PIP change
Exchange Main and
PIP / PBP / Quick swap
input signal.
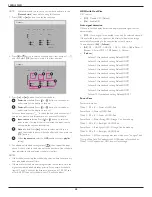
PIP source
Select the input signal for the sub picture.
PIP audio
Select the audio source in the Sub mode.
• {Main} - Select audio from the main picture
• {Sub} - Select audio from the sub picture.
PIP reset
Reset all settings in the
PIP
menu to factory preset values.
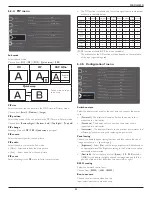
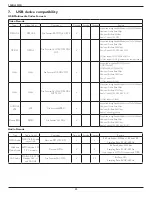
• The PIP function is available only for certain signal source combinations
as shown in the table below.
HDMI1 HDMI2 DVI DisplayPort VGA Medoa
Player Browser SmartCMS
Reader Custom
HDMI1
O
X
X
O
O
X
X
X
X
X
HDMI2
X
O
X
O
O
X
X
X
X
X
DVI
X
X
O
O
O*
X
X
X
X
X
DisplayPort
O
O
O
O
O
O
O
O
O
O
VGA
O
O
O*
O
O
O
O
O
O
O
Medoa
Player
X
X
X
O
O
O
X
X
X
X
Browser
X
X
X
O
O
X
O
X
X
X
SmartCMS
X
X
X
O
O
X
X
O
X
X
Reader
X
X
X
O
O
X
X
X
O
X
Custom
X
X
X
O
O
X
X
X
X
O
(
O
: PIP function available,
X
: PIP function unavailable)
• The availability of the PIP function will also depend on the resolution
of the input signal being used.
6.2.5. Configuration1 menu
P
Audio
PIP
Screen
Picture
Configuration 1
Panel Saving
RS232 routing
WOL
DDC/CI
Switch on state
Boot on source
Light sensor
Power LED light
Configuration1 reset
Human sensor
Action
RS232
Last status
Action
Off
On
Off
Off
Action
On
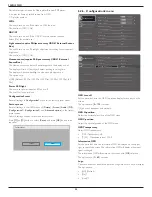
Switch on state
Select the display status used for the next time you connect the power
cord.
• {
Power off
} - The display will remain off when the power cord is
connected to a wall outlet.
• {
Forced on
} - The display will turn on when the power cord is
connected to a wall outlet.
• {
Last status
} - The display will return to the previous power status (on/
off/standby) when removing and replacing the power cord.
Panel saving
Choose to enable the panel saving functions and thus reduce the risk of
“image persistence” or “ghost-imaging”.
• {
Brightness
} - Select {
On
} and the image brightness will be reduced to
an appropriate level. The Brightness setting in the Picture menu will be
unavailable when selected.
• {
Pixel shift
} - Select the time interval ({
Auto
} / {
10
~
900
} Seconds
/ {
Off
}) for the display to slightly expand the image size and shift the
position of pixels in four directions (up, down, left, or right).
RS232 routing
Select the network control port.
Choose from: {
RS232
} / {
LAN ->RS232
}.
Boot on source
Choose to select source when boot up.
Input: select input source when bootup.

