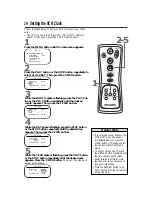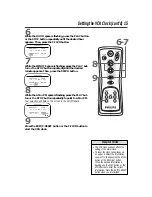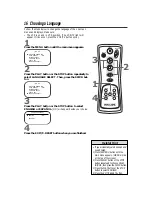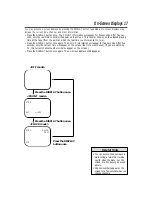
POWER
6 Using the Alarm Clock
2
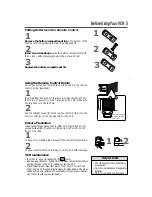
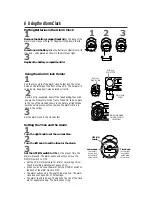
A velcro strip is supplied. Peel off the tape backing, then stick
one piece of the velcro to the front of the VCR and one piece
to the top of the clock as shown in the picture at right. Make
sure the velcro pieces will touch when the alarm clock is in
place in the holder.
3
Set the alarm clock in the clock holder.
Using the Alarm Clock Holder
POWER
1
Remove the battery compartment lid on the back of the
alarm clock. Use your finger or fingernail to flip down the lid.
Putting Batteries in the Alarm Clock
2
Insert one AA battery inside the battery compartment with
its + and – ends placed as shown in the picture at right.
3
Replace the battery compartment lid.
Setting the Time and the Alarm
1
Turn the right knob to set the current time.
2
Turn the left knob to set the time for the alarm.
3
Set the OFF/ON switch to ON. At the proper time, the
alarm will sound. The alarm will sound until you move the
OFF/ON switch to OFF.
• Set the VCR’s internal clock for a timer recording or One-
Touch Recording. Details are on pages 14-15.
• When you do not use the alarm, set the OFF/ON switch on
the back of the alarm clock to OFF.
• The alarm will sound in the next 12-hour period. The alarm
clock does not have AM or PM settings.
• The alarm sound is a beep. The bells on the top of the clock
are for appearance only. The bells will not ring.
Time Knob
(on the right
as you look
at the back
of the clock)
1
3
2
Alarm Knob
(on the left
as you look
at the back
of the clock)
OFF/ON
Switch
Velcro on
front of VCR
Alarm clock placed
correctly on alarm
clock holder
Velcro on
back of clock
Alarm clock
holder
1
Pop the three slots of the alarm clock holder into the three
holes on the left side of the front of the VCR. The holder will
curve down, like a bowl, when placed correctly.


