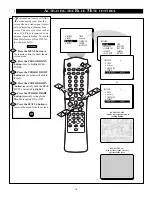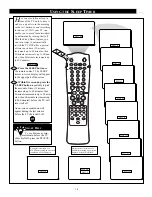
10
SLEEP
SOURCE
STATUS
CC
CLOCK
REPEAT
A-B
SOUND
PICTURE
MENU
CH
MUTE
REPEAT
T/C
FTS
ANGLE
PREVIOUS
ZOOM
SUBTITLE
NEXT
STOP
PLAY
INCR.SURR.
SURF
OPEN/CLOSE
POWER
SHUFFLE
VOL
AUDIO
TV
DVD
SCAN
REVERSE
FORWARD
PAUSE
5
4
PICTURE
SOUND
FEATURES
INSTALL
TIMER
AutoLock
CLOSED CAP
FORMAT
BLUE MUTE
3
1
2
10
FEATURES
7
TIMER
AutoLock
CLOSED CAP
FORMAT
BLUE MUTE
TIME
START TIME
STOP TIME
CHANNEL
TUNER MODE
FEATURES
TIMER
TIME
_ _:_ _ AM
START TIME
STOP TIME
CHANNEL
ACTIVATE
TIMER
TIME
10:30 AM
START TIME
STOP TIME
CHANNEL
ACTIVATE
TIMER
FEATURES
FEATURES
A/CH
6
7
8
6
9
7
9
OK
T
HE
T
IMER
– S
ETTING THE
C
LOCK
TIME
_ _:_ _ AM
START TIME
STOP TIME
CHANNEL
ACTIVATE
TIMER
FEATURES
SLEEP
SOURCE
STATUS
CC
CLOCK
REPEAT
A-B
SOUND
PICTURE
REPEAT
POWER
SHUFFLE
TV
DVD
SCAN
11
Y
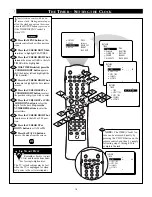
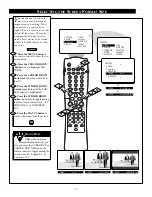
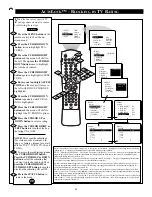
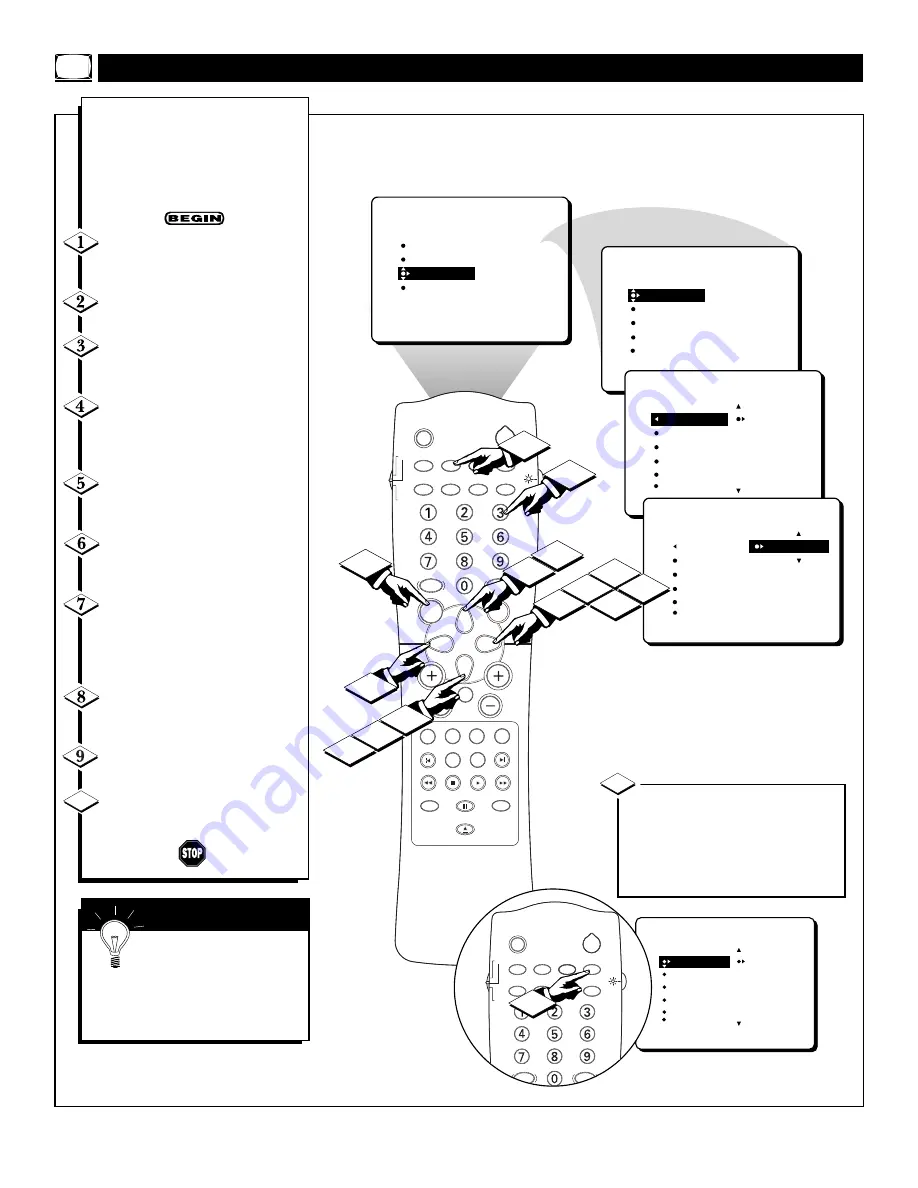
our television comes with an on-
screen clock. During normal oper-
ation, the clock appears on the screen
when the STATUS button is pressed or
if the TIMER DISPLAY control is
turned ON.
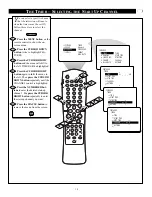
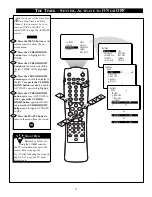
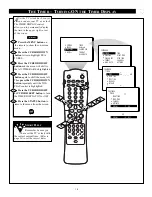
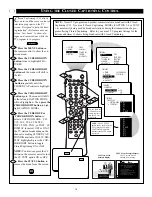
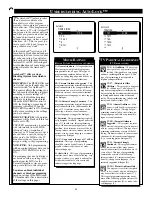
Press the MENU button
on the
remote control to show the on-screen
menu.
Press the CURSOR DOWN but-
ton
twice to highlight FEATURES.
Press the CURSOR RIGHT but-
ton
and the menu will shift to the left.
TIMER will be highlighted.
With TIMER selected, press the
CURSOR RIGHT button
again to
shift the display left and highlight the
TIME control.
Press the CURSOR RIGHT but-
ton
again to highlight the time indica-
tor area.
Press the CURSOR LEFT or
CURSOR RIGHT button
to select
the position or digit you wish to enter.
Press the
CURSOR UP or CUR-
SOR DOWN button
to select the
digits for the time.
Or press the
NUMBERED buttons
to enter the
correct time.
Press the CURSOR RIGHT but-
ton
to move to the AM or PM posi-
tion.
Press the CURSOR UP or
DOWN button
to set AM or PM.
Press the STATUS button
to
remove the menu from the screen.
S
MART
H
ELP
Remember, be sure to press
0
first and then the hour num-
ber for single-digit entries.
The TVÕs clock settings may be lost
when the TV is unplugged (or when
AC power to the set is interrupted).
NOTE:
The TIME (Clock) fea-
ture can be accessed directly by
pressing the CLOCK button on the
remote control, and then by simply
following steps 5 through 10 to
complete the task.
11
10


