3
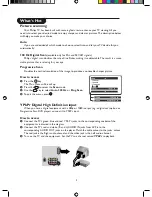
Picture scanning
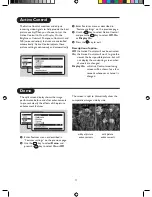
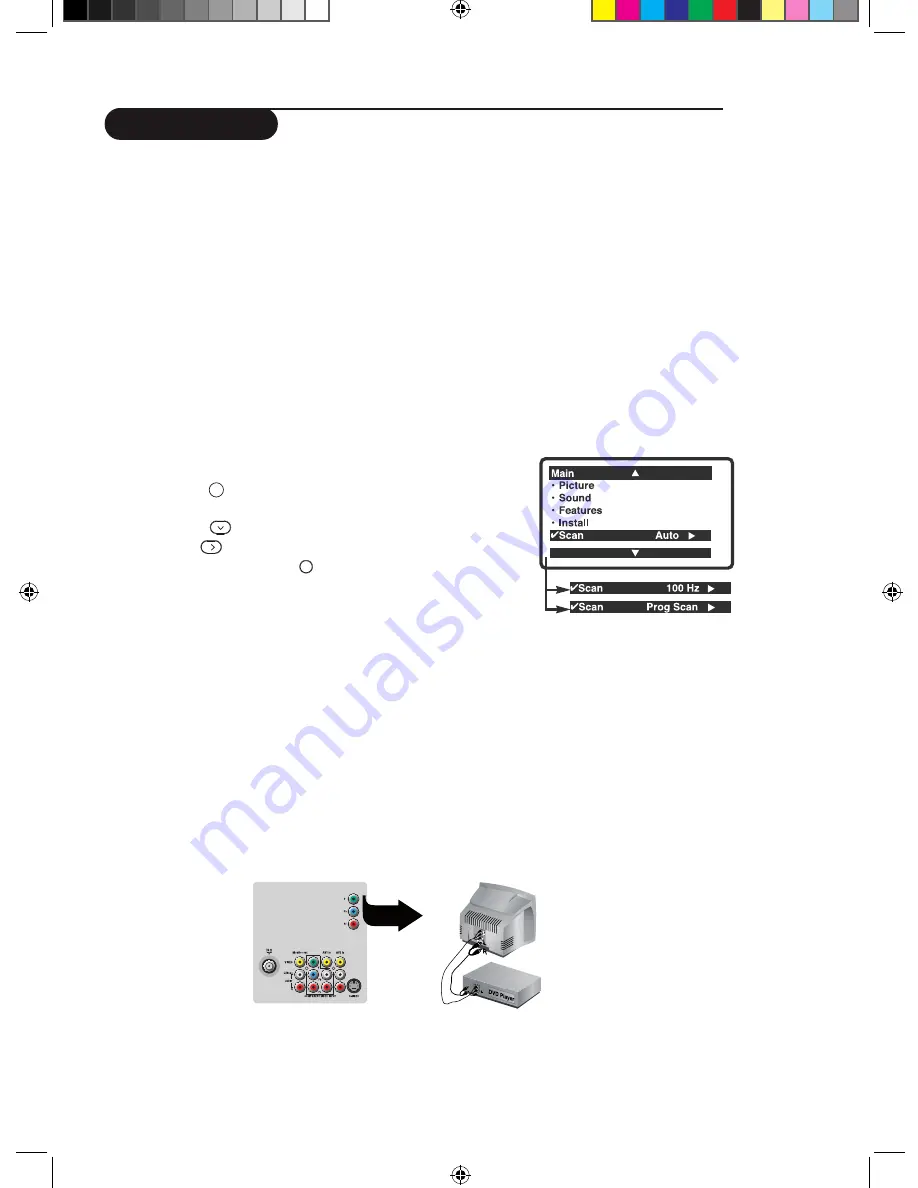
Your Philips TV has been built with scanning features to enhance your TV viewing. All you
need is to select your desired mode to enjoy sharper and clearer pictures. The description below
will help you make your choice.
Auto
If you are undecided of which mode to choose, select Auto and let your TV decide for you
automatically!
100 Hz Digital Scan
(available only for PAL and SECAM signals)
Progressive Scan
Doubles the vertical resolution of the image to produce a noticeable sharper picture.
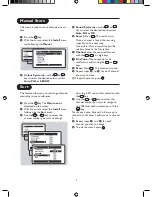
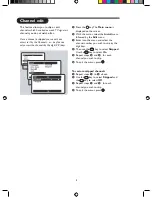
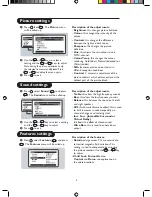
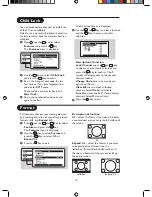
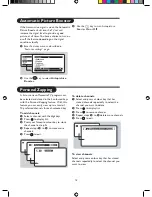
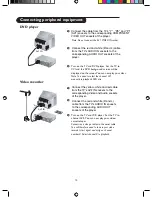
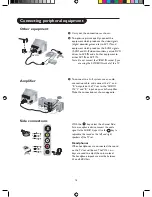
How to access
&
Press the key.
The Main Menu will be call up.
é
Press the
to select the
Scan
mode.
“
Use the
key to select
Auto
,
100 Hz
or
Prog Scan
.
‘
To quit the menus, press .
YPbPr Digital High Definition input
When you have a digital equipment with a 480p or 1080i output (e.g. a digital set top box or
.t
u
p
n
i
r
P
b
P
Y
o
t
ti
t
c
e
n
n
o
c
,
)
r
e
y
a
l
p
D
V
D
n
a
c
S
e
v
i
s
s
e
r
g
o
r
P
How to access
&
Connect the TV’s green, blue and red Y Pb Pr jacks to the corresponding sockets
of the
equipment as indicated in the diagram.
é
Connect the TV’s red and white (R and L) AUDIO IN jacks from AV2 in to the
corresponding AUDIO OUT jacks on the player. Match the cable colour to the jacks’ colour.
The red jack is the Right audio channel and the white jack is the Left audio channel.
“
Turn on the TV and the equipment. Set the TV to a channel named
YPbPr
to playback.
What’s Hot
MENU
Ë
Philips’ digital scan doubles the rate of line flicker, making it undetectable. The result is a more
stable picture that is relaxing for your eye.


