Alignments
6.
•
The new option setting becomes active after the TV is
switched “off” and “on” again with the mains switch (the
EAROM is then read again).
6.4.2
How To Set Option Codes
When the NVM is replaced, all options will require resetting. To
be certain that the factory settings are reproduced exactly, you
must set all option numbers. You can find the correct option
numbers see sticker on the inside the cabinet.
How to Change Options Codes
An option code (or “option byte”) represents eight different
options (bits). All options are controlled via ten option bytes
(OP#1... OP#10).
Activate SAM and select “Options”. Now you can select the
option byte (OP#1... OP#10) with the CURSOR UP/ DOWN
keys, and enter the new 3 digit (decimal) value. For the correct
factory default settings, see the sticker inside the set.
6.4.3
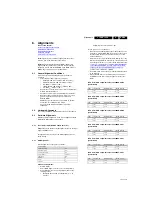
Display Code Overview
Table 6-23 Display code overview
6.5
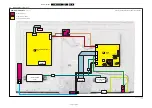
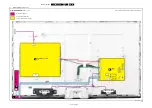
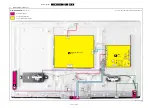
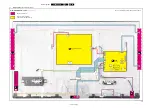
Cable Position Numbers
In this chassis, the cable position numbers can be defined via
the rule that the number is always starting with an “E” followed
by the connector number of the current sourcing board. The
order is always seen from where the power initiates from. So
from PSU to SSB, from SSB to IR/LED panel, from IR/LED
panel to keyboard control panel. For example, a cable from the
PSU connector CN902 to the SSB connector CN701, will have
the position number ECN902.
CTN
Panel Type
Disp.
code
32PFL3508G/xx
LCO3151A051AD5010X
440
32PFL3518G/xx
LCA315HVN01ADA010X
441
32PFL4508G/xx
LCA315HVN01A12010X
444
39PFL3508G/xx
LCA390HVN01AD6080T
453
39PFL4508G/xx
LCA390HVN01A03010X
445
42PFL3508G/xx
LCA420HVN04AD8030X
442
42PFL4508G/xx
LCA420HVN04A11010X
454
42PFL5x08G/xx
LCA420HVD02A22030X
447
46PFL4508G/xx
LCA460HVD02A12010X
446
46PFL5508G/xx
LCA460HVD02A12010X
448
47PFL7008G/xx
LC470EUF-PFF1
430
47PFL8008G/xx
LC470EUF-PFF1
430
55PFL7008G/xx
LC550EUF-PFF1
431
55PFL8008G/xx
LC550EUF-PFF1
431

