Service Modes and Fault Finding
5.
5.4.5
Update the TV software
1.
Turn the TV on and wait for it to boot completely.
2.
Insert the USB memory stick that contains the software
update files in one of the TV’s USB ports.
3.
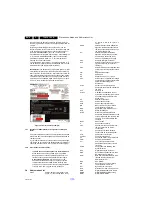
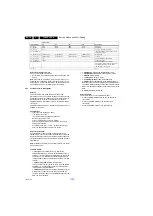
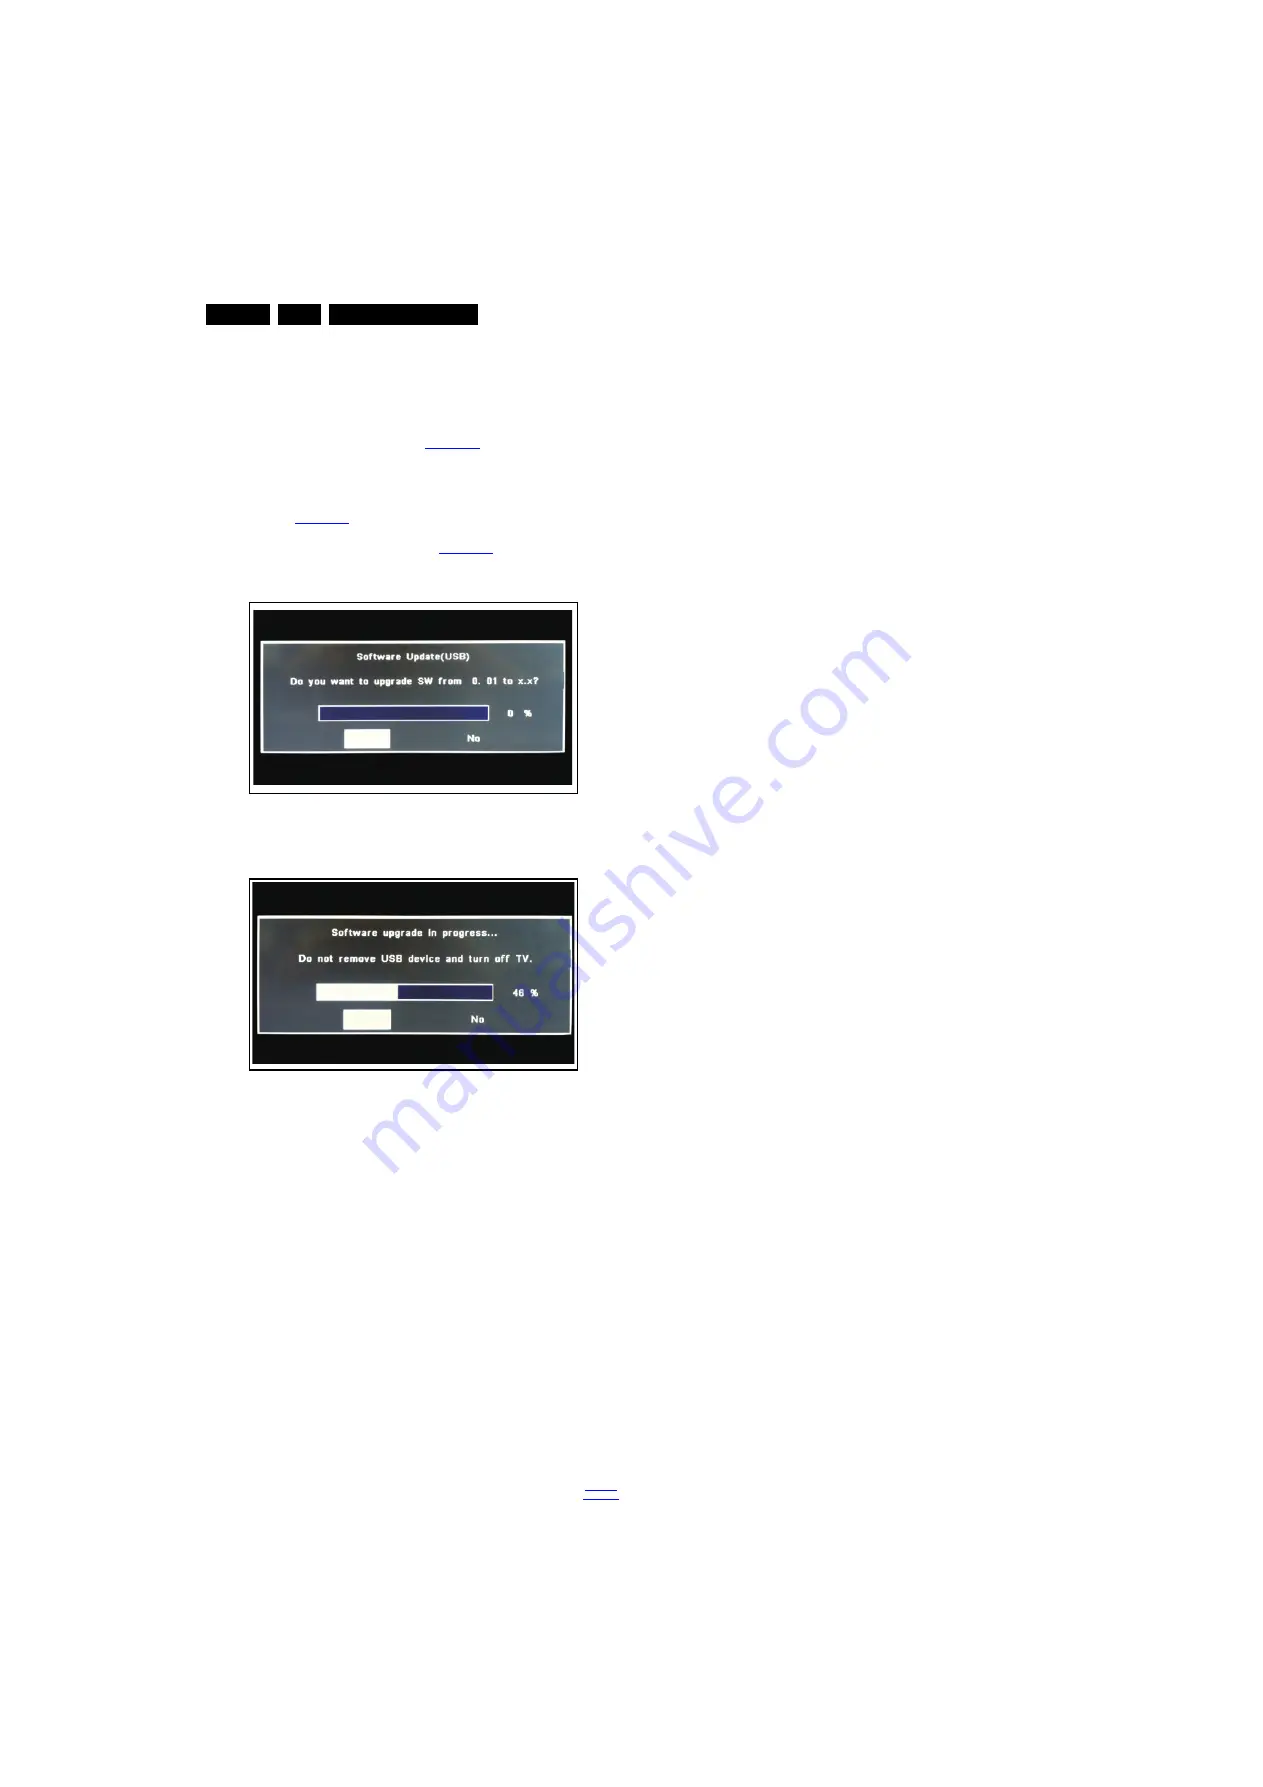
The TV will detect the USB memory stick automatically.
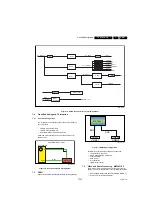
Then a window jumps out as
Note: If the USB flash drive is not detected after power up,
disconnect it and re-insert it. And no change the software
name.
4.
Select [Confirm] and press OK to start software updates.
See
.
5.
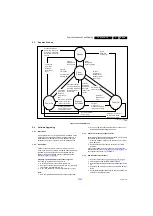
Upgrading will now begins and the status of the updating
progress will be displayed. See
.
6.
When the TV software is updated. Remove your USB flash
drive, and the TV will turn on automatically.
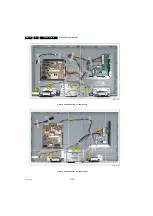
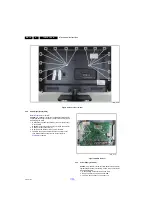
Figure 5-2 Update the TV software [1/2]
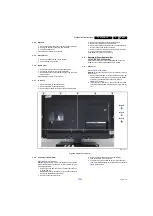
Figure 5-3 Update the TV software [2/2]
Note:
•
Do not remove the USB flash drive during the software
update.
•
Do not turn off the power during the software update.
•
If a power failure occurs during the update, do not remove
the USB flash drive from the TV. The TV will continue the
software update as soon as the power comes up again.
•
If an error occurs during the update retry the procedure or
contact the dealer.
•
We do not recommend downgrading to an older version.
•
Once the upgrade is finished, use the PC to remove the TV
software from the USB portable memory.
5.4.6
Content and Usage of the One-Zip Software File
Below you find a content explanation of the One-Zip file, and
instructions on how and when to use it. Only files that are
relevant for Service are mentioned here.
•
EDID_clustername.zip: Contains the EDID content of the
different EDID NVMs. See ComPair for further instructions.
•
FUS_clustername_version.zip: Contains the
“autorun.bin” which is needed to upgrade the TV main
software and the software download application.
•
NVM_clustername_version.zip: Default NVM content.
Must be programmed via ComPair.
5.4.7
How to Copy NVM Data to/from USB
When copying data to and from a USB memory stick, the folder
“repair” is used. When inserting an empty USB memory stick,
and downloading data to the stick, the TV will create this folder.
When sending data from a USB memory stick to a TV, the
intended data must be available in the “repair” folder.
Note that when copying EDID data to the TV, all necessary
EDID files must be in this folder.
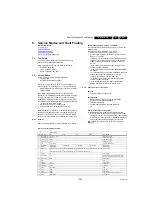
Service mode overview for your reference.
5.5
Fault Finding and Repair Tips
Note:
•
It is assumed that the components are mounted correctly
with correct values and no bad solder joints.
•
Before any fault finding actions, check if the correct options
are set.
5.5.1
No Picture via HDMI input
Check if HDCP key is valid. This can be done in CSM.
5.5.2
TV Will Not Start-up from Stand-by
Possible Stand-by Controller failure. Re-flash the software.
5.5.3
Audio Amplifier
The Class D-IC U602 has a powerpad for cooling. When the IC
is replaced it must be ensured that the powerpad is very well
pushed to the PWB while the solder is still liquid. This is needed
to insure that the cooling is guaranteed, otherwise the Class
D-IC could break down in short time.
5.5.4
CSM
When CSM is activated and there is a USB memory stick
connected to the TV, the software will dump the complete CSM
content to the USB memory stick. The file (Csm.txt) will be
saved in the root of the USB memory stick.
5.5.5
Loudspeakers
Make sure that the volume is set to minimum during
disconnecting the speakers in the ON-state of the TV. The
audio amplifier can be damaged by disconnecting the speakers
during ON-state of the set!
5.5.6
Display option code
Attention: In case the SSB is replaced, always check the Panel
Code in CSM, even when picture is available. Performance
with the incorrect display option code can lead to unwanted
side-effects for certain conditions.
19452_200_130902.eps
130902
Confirm
No
19452_201_130902.eps
130902
Confirm
No

