INSTRUCTION FOR USE
3-2
PCS 107 274
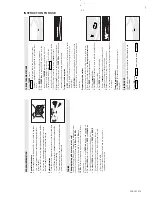
Whenever convenient, use the power supply if you want to
conserve battery life. Make sure you remove the mains plug from
the set and wall socket before inserting batteries.
BA
TTERIES (not included)
1.
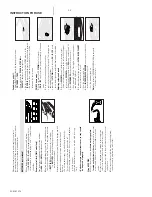
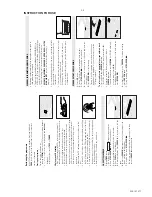
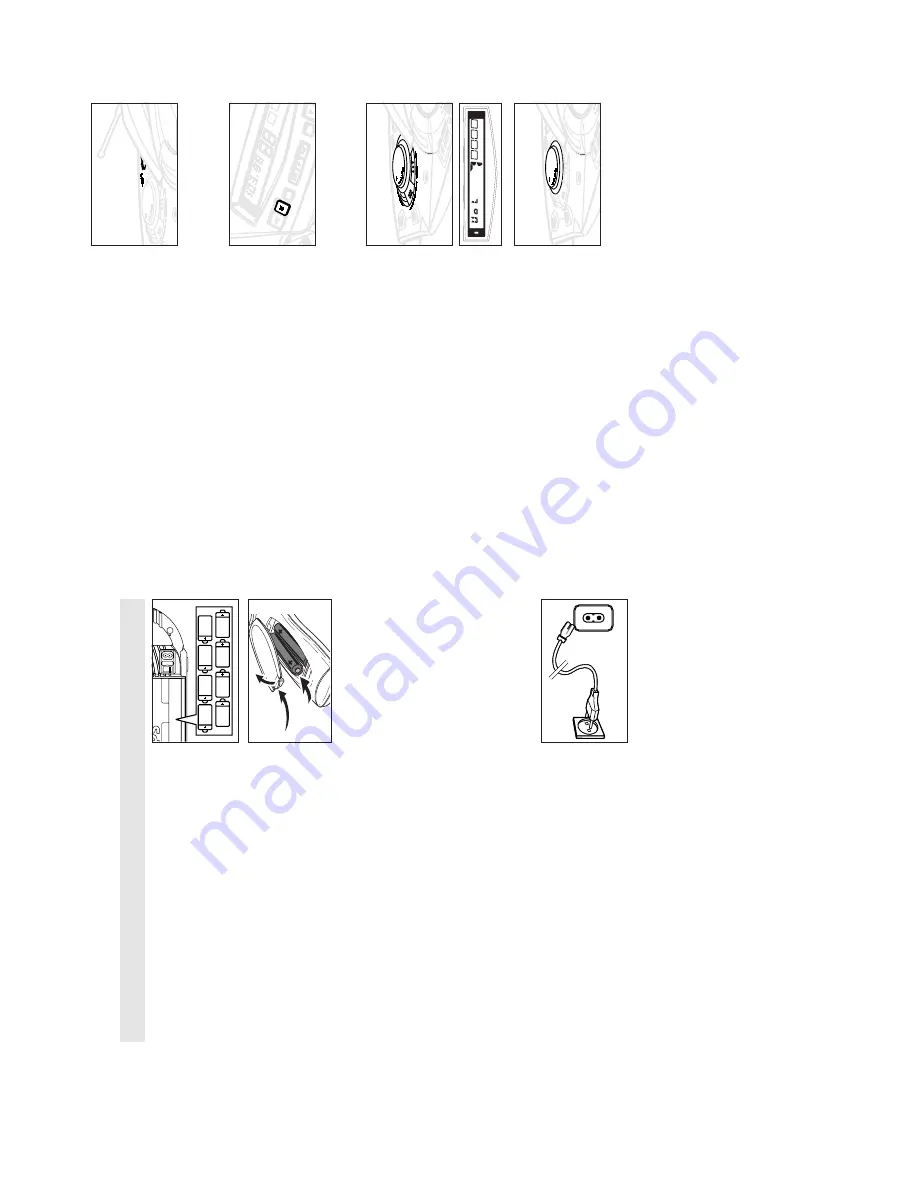
Open the battery compartment and insert 8 batteries,
type
R-20
,
UM-1
or
D-cells
, (preferably alkaline) with the
correct polarity as indicated by the "+" and "–" symbols inside
the holder
.
Remote control (for AZ2035 model only)
Open the battery compartment and insert two batteries,
type
AAA
,
R03
or
UM4
(preferably alkaline).
2.
Replace the compartment door
, making sure the batteries are
firmly and correctly in place. The set is now ready to operate.
–
If
BA
TT LOW
lights up, battery power is running low
.
–
The
BA
TT LOW
indicator eventually goes out if the
batteries are too weak.
Incorrect use of batteries can cause electrolyte leakage and will
corrode the compartment or cause the batteries to burst.
Therefore:
•
Do not mix battery types:
e.g. alkaline with carbon zinc.
Only use batteries of the same type for the set.
•
When inserting new batteries, do not try to mix old batteries
with the new ones.
•
Remove the batteries if the set is not to be used for a long
time.
•
Batteries contain chemical substances, so they should
be disposed of properly
.
Using AC POWER
1.
Check if the mains supply
,
as shown on the type plate
located on the bottom of the set,
corresponds to your local
mains supply
. If it does not, consult your dealer or service
centre.
2.
If your set is equipped with a voltage selector
, adjust the
selector so that it matches with the local mains supply
.
3.
Connect the mains lead to the wall socket and the set is now
ready for use.
4.
To
disconnect the set from the mains supply completely
,
remove the mains plug from the wall socket.
8 x R20 ¥ UM-1 ¥ D-CELLS
MAINS ~
∑
Switching on and off
•
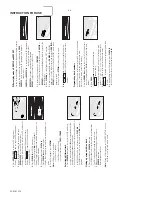
Adjust the POWER slider to the desired sound source:
CD
,
TUNER
or
TAPE
.
™
During playback, the
PLA
Y
2;
,
STOP
9
and
PRESET
4
,
3
keys on the set light up
•
The set is switched off when the POWER slider is in the
TAPE/OFF
position and the keys on the tape deck are released.
™
The volume, tone, sound settings and tuner presets will be
retained in the set's memory
.
PHILIPS demo mode
1.
On the set, press the CD
STOP
9
key for 5 seconds.
™
PH..IL ..IPS
scrolls across the display continuously in the demo
mode.
2.
To
return to the current display you can either:
•
press any function key on the front panel. This interrupts the
demo mode for 30 seconds;
•
press the CD
STOP
9
key for 5 seconds.
PH..IL ..IPS
scrolls
across the display once before the demo mode is cancelled.
Adjusting volume and sound
1.
Turn the
VOLUME
control clockwise to increase or anti-
clockwise to decrease volume on the set (
for AZ2035 model
only:
or press
or
-
on the remote control).
™
Display shows the volume level
VOL
and a number from 0-32.
2.
Press
UL
TRABASS
once or more to switch on or off.
™
If on, indicator
1
lights up. Press again if you want extra bass
and indicator
2
lights up.
3.
To
adjust the treble tone level, press
UL
TRA HIGH CLARITY
once or more to switch on or off.
™
If on, the indicator lights up.
4.
Press
INCREDIBLE SURROUND
once or more to switch the
surround sound effect on or off.
™
If on, the indicator lights up.
Note:
The effect of INCREDIBLE SURROUND may vary with
different types of music.
PLA
Y
ST
OP
CD MODE
¥
¥
¥
SEARCH
SEARCH
SEARCH
¥
¥
¥
PROG
PROG
BABA
TT
LOW
BA
TT
LOW
Summary of Contents for AZ-2030
Page 4: ......
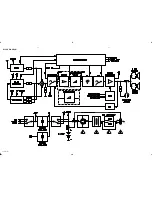
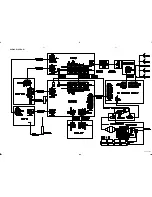
Page 14: ...BLOCK DIAGRAM 5 1 5 1 PCS 107 281 For AZ2035 only For AZ2030 only ...
Page 15: ...WIRING DIAGRAM 5 2 5 2 PCS 107 282 ...
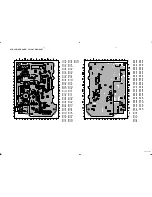
Page 16: ...FRONT BOARD CIRCUIT DIAGRAM 6 1 6 1 PCS 107 283 ...
Page 17: ...FRONT BOARD LAYOUT DIAGRAM 6 2 6 2 PCS 107 284 ...
Page 18: ...AF POWER BOARD CIRCUIT DIAGRAM 7 1 7 1 PCS 107 285 ...
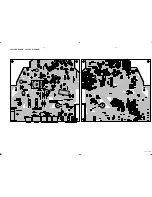
Page 20: ...FEATURE BOARD CIRCUIT DIAGRAM 8 1 8 1 PCS 107 287 ...
Page 21: ...FEATURE BOARD LAYOUT DIAGRAM 8 2 8 2 PCS 107 288 ...


