PCS 107 277
3-5
INSTRUCTION FOR USE
GENERAL INFORMA
TION ON RECORDING
•
Recording is permissible insofar as copyright or other rights of
third parties are not infringed.
•
This deck is not suitable for recording on CHROME (IEC
II
) or
MET
AL (IEC
IV
) type cassettes. For recording, use NORMAL type
cassettes (IEC
I
) on which the tabs have not yet been broken.
•
The best recording level is set automatically
. Altering the
VOLUME
,
INCREDIBLE SURROUND
,
UL
TRABASS
or
UL
TRA
HIGH CLARITY
controls will not affect the recording in
progress.
•
At the very beginning and end of the tape, no recording will take
place during the 7 seconds when the leader tape passes the
recorder heads.
•
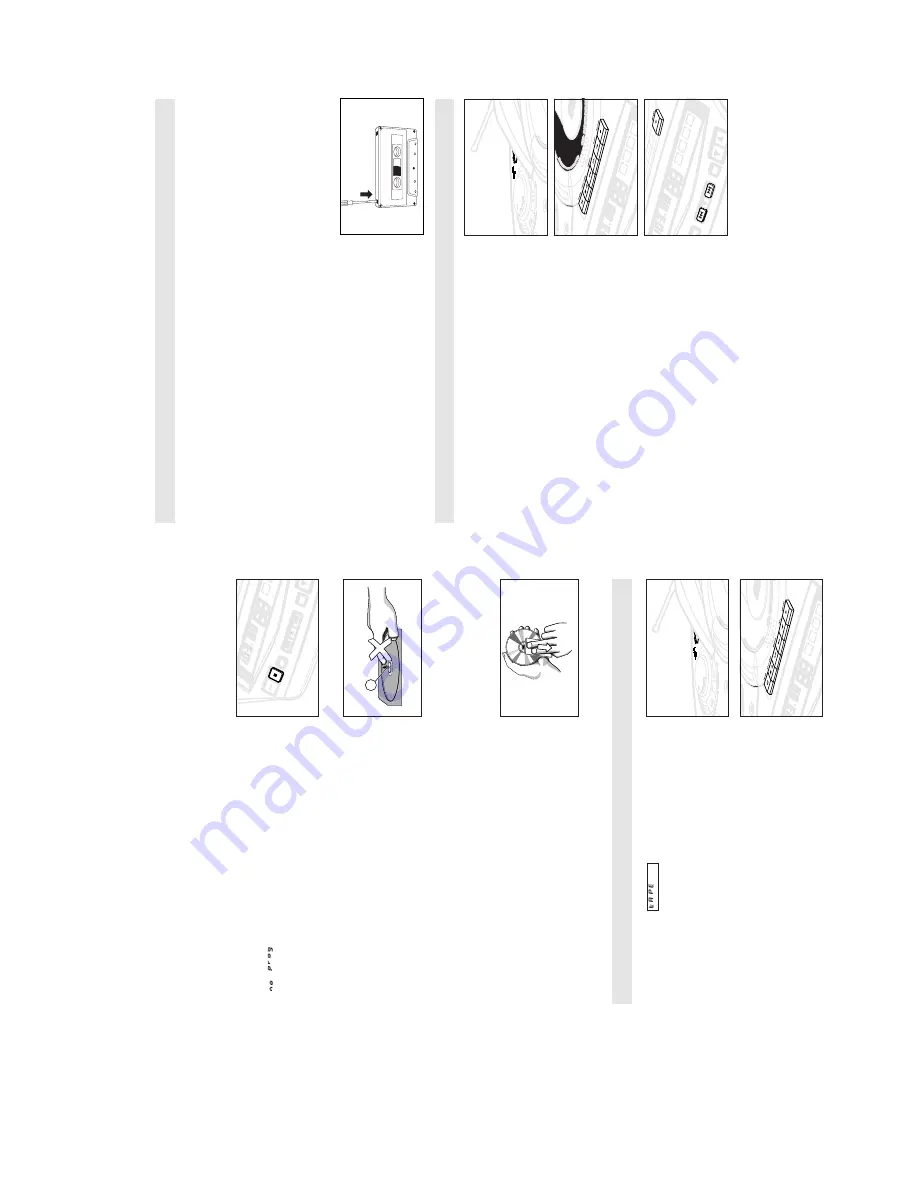
To protect a tape from accidental erasure, have the tape in front
of you and break out the left tab.
Recording on this side is no longer possible. If, however
, you
wish to record over this side again, cover the tabs with a piece
of adhesive tape.
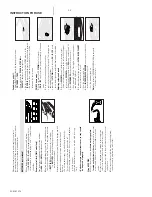
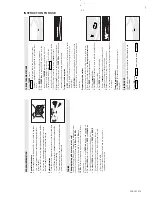
SYNCHRO ST
ART CD RECORDING
1.
Select
CD
source.
2.
Insert a CD and if desired, programme track numbers.
3.
Press
STOP•OPEN
9/
to open the cassette door
.
4.
Insert a suitable cassette into the cassette deck and close the
cassette door
.
5.
Press
RECORD
0
to start recording.
–
Playing of the CD programme starts automatically from the
beginning of the programme.
It is not necessary to start the
CD player separately
.
To
select and record a particular passage within a track
•
Press and hold down
SEARCH
∞
or
§
(for AZ2035 model only:
or on the remote control
¡
or
™
).
•
When you recognize the passage you want, release
SEARCH
∞
or
§
.
•
To
pause CD playback press
PLA
Y
2;
(for AZ2035 model only:
or on the remote control
2;
).
–
Recording will begin from this exact point in the track when you
press
RECORD
0
.
6.
For brief interruptions press
P
AUSE
;
. T
o resume recording,
press
P
AUSE
;
again.
7.
To
stop recording, press
STOP•OPEN
9/
.
PLA
Y
DE
¥
¥
¥
SEARCH
SEARCH
SEARCH
¥
¥
¥
PROG
BAND
FM
STEREO
BA
TT
LOW
FM
B
A
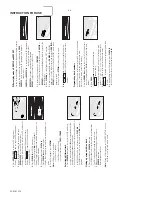
Reviewing the programme
In the STOP position or during playback, press and hold down
PROG
for a while until the display shows all your stored track
numbers in sequence.
Erasing a programme
You can erase the programme by:
–
pressing
STOP
9
twice in the STOP position or during playback.
•
scrolls across the display briefly and
PROGRAM
disappears.
–
selecting another source:
TAPE
or
TUNER.
CD
player and CD handling
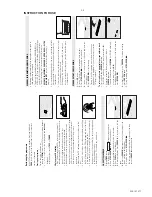
•
If the CD player cannot read CDs correctly
, use a commonly
available cleaning CD to clean the lens before taking the set to
repair
. Other cleaning methods may destroy the lens.
•
The lens of the CD player should never be touched!
•
Sudden changes in the surrounding temperature can cause
condensation to cloud over on the lens of your CD player
. Playing
a CD is then not possible. Do not attempt to clean the lens but
leave the set in a warm environment until the moisture
evaporates.
•
Always keep the CD compartment closed to avoid dust on the
lens.
•
To take a CD out of its box, press the centre spindle while lifting
the CD. Always pick up the CD by the edge and return the CD to
its box after use to avoid scratching and dust.
•
To clean the CD, wipe in a straight line from the centre towards
the edge using a soft, lint-free cloth. Do not use cleaning agents
as they may damage the disc.
•
Never write on a CD or attach any stickers to it.
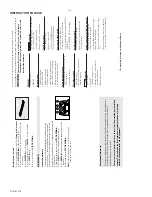
CASSETTE PLA
YBACK
1.
Select
TAPE
source.
™
The display shows
throughout tape operation.
2.
Press
STOP•OPEN
9/
to open the cassette door
.
3.
Insert a recorded cassette and close the cassette door
.
4.
Press
PLA
Y
1
to start playback.
5.
To
interrupt playback, press
P
AUSE
;
. T
o resume, press this key
again.
6.
By pressing
SEARCH
5
or
6
on the set, fast winding of the
tape is possible in both directions.
7.
To
stop the tape, press
STOP•OPEN
9/
.
–
The keys are automatically released at the end of the tape,
except if
P
AUSE
;
has been activated.
X
PLA
Y
ST
OP
CD MODE
¥ ¥ ¥ SEARCH
SEARCH ¥ ¥ ¥
PROG
BAND
PRES
BA
TT
LOW
FM
B
A
Summary of Contents for AZ-2030
Page 4: ......
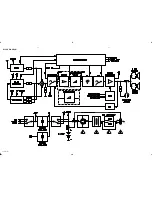
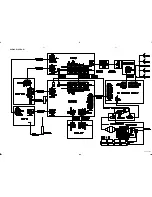
Page 14: ...BLOCK DIAGRAM 5 1 5 1 PCS 107 281 For AZ2035 only For AZ2030 only ...
Page 15: ...WIRING DIAGRAM 5 2 5 2 PCS 107 282 ...
Page 16: ...FRONT BOARD CIRCUIT DIAGRAM 6 1 6 1 PCS 107 283 ...
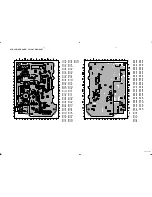
Page 17: ...FRONT BOARD LAYOUT DIAGRAM 6 2 6 2 PCS 107 284 ...
Page 18: ...AF POWER BOARD CIRCUIT DIAGRAM 7 1 7 1 PCS 107 285 ...
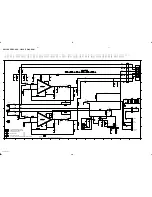
Page 20: ...FEATURE BOARD CIRCUIT DIAGRAM 8 1 8 1 PCS 107 287 ...
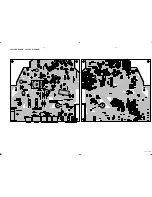
Page 21: ...FEATURE BOARD LAYOUT DIAGRAM 8 2 8 2 PCS 107 288 ...


