9
EN
3 Get started
Caution
•
Use of controls or adjustments or performance of
procedures other than herein may result in hazardous
radiation exposure or other unsafe operation.
Always follow the instructions in this chapter in
sequence.
Connect speakers
Note
•
Insert the stripped portion of each speaker wire into
the socket completely.
•
For better sound quality, use the supplied speakers only.
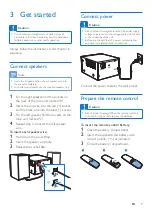
1
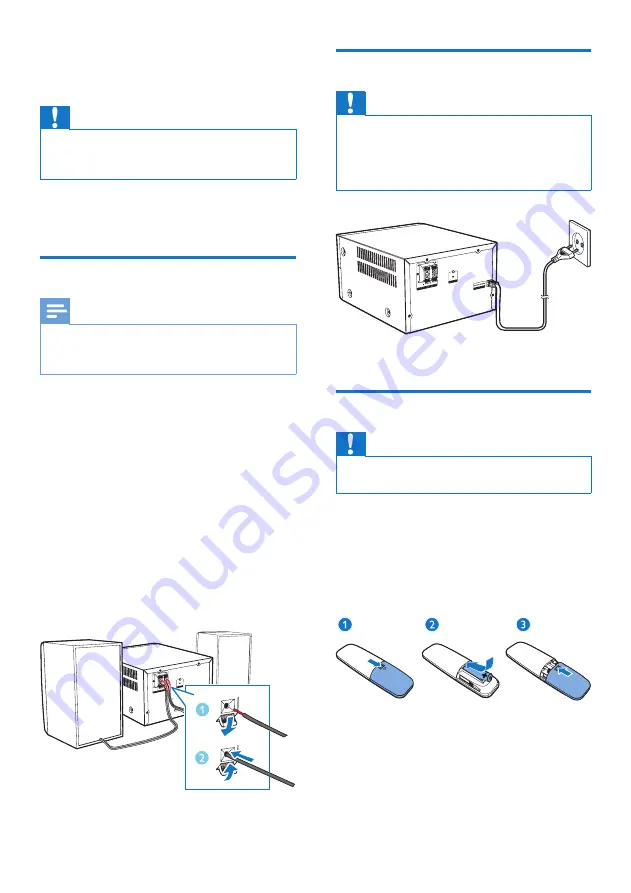
For the right speaker, find the sockets on
the back of the main unit marked "R".
2
Insert the red wire into the red (+) socket,
and the black wire into the black (-) socket.
3
For the left speaker, find the sockets on the
main unit marked "L".
4
Repeat step 2 to insert the left speaker
wire.
To insert each speaker wire:
1
Hold down the socket flap.
2
Insert the speaker wire fully.
3
Release the socket flap.
Connect power
Caution
•
Risk of product damage! Ensure that the power supply
voltage corresponds to the voltage printed on the back
or the underside of the unit.
•
Before you connect the AC power cord, ensure that
you have completed all other connections.
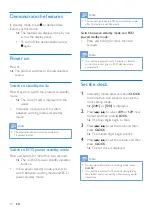
Connect the power cable to the wall socket.
Prepare the remote control
Caution
•
Risk of product damage! When the remote control is
not used for long periods, remove the batteries.
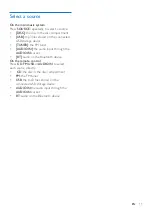
To insert the remote control battery:
1
Open the battery compartment.
2
Insert the supplied AAA battery with
correct polarity (+/-) as indicated.
3
Close the battery compartment.


