25
4
Using your CliniScape
4.1
Booting the system
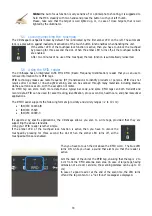
When the system starts up, the Philips splash screen is displayed. Tapping with the pen on the screen a
pull down menu is displayed.
This shows the below listed options:
•
Launch system setup
•
Select boot device
•
Pen calibration
•
Patent information
•
System information
•
Continue booting
Tapping on the first option, you can enter in the BIOS (basic I/O System) setup.
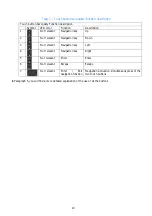
Alternative way to enter the BIOS is to press the F1 and
F2 buttons simultaneously that also enable the upper row
of the navigation keys. If the amber LED of the touchpad
lock function is active, then you have to unlock the
touchpad by pressing for three second the dot.
4.2
BIOS setup
The
Phoenix
TrustedCore
TM
BIOS is set for optimal configuration of your CliniScape.
Nonetheless you (or your system administrator) can operate several choices according to the below
Opening screen
Phoenix TrustedCore ™ setup utility
Main
Information
Configuration
Boot
Exit
Item Specific Help
System time
System date
CPU type
CPU speed
System memory
Extended memory
F1
Help
↑↓
Select item
+/-
Change values
F9
Setup Defaults
Esc
Exit
←→
Select menu
Enter
Select
⇒
Sub Menu
F10
Save and exit
You can navigate both with the pen or with the navigation keys, or with an external keyboard or mouse,
if plugged into the USB port.
A few important features of the BIOS are illustrated below:
For instances, the configuration panel allows the configuration of several functional subsystems.
The security options are among the most important (see also5.15.1t)
Summary of Contents for CliniScape CMCA10
Page 1: ...CliniScape MCA 104 series www fimi philips com Cliniscape Mobile Clinical Assistant ...
Page 12: ...12 2 4 Overview 2 4 1 MCA Dimensions in mm 31 5 205 265 29 5 48 5 250 ...
Page 16: ...16 Ventilation grid Battery slot USB door under cover Battery release lever under cover ...
Page 55: ...55 13 Your notes ...

