background image

HR7735/55

7-8

REPAIR INSTRUCTION

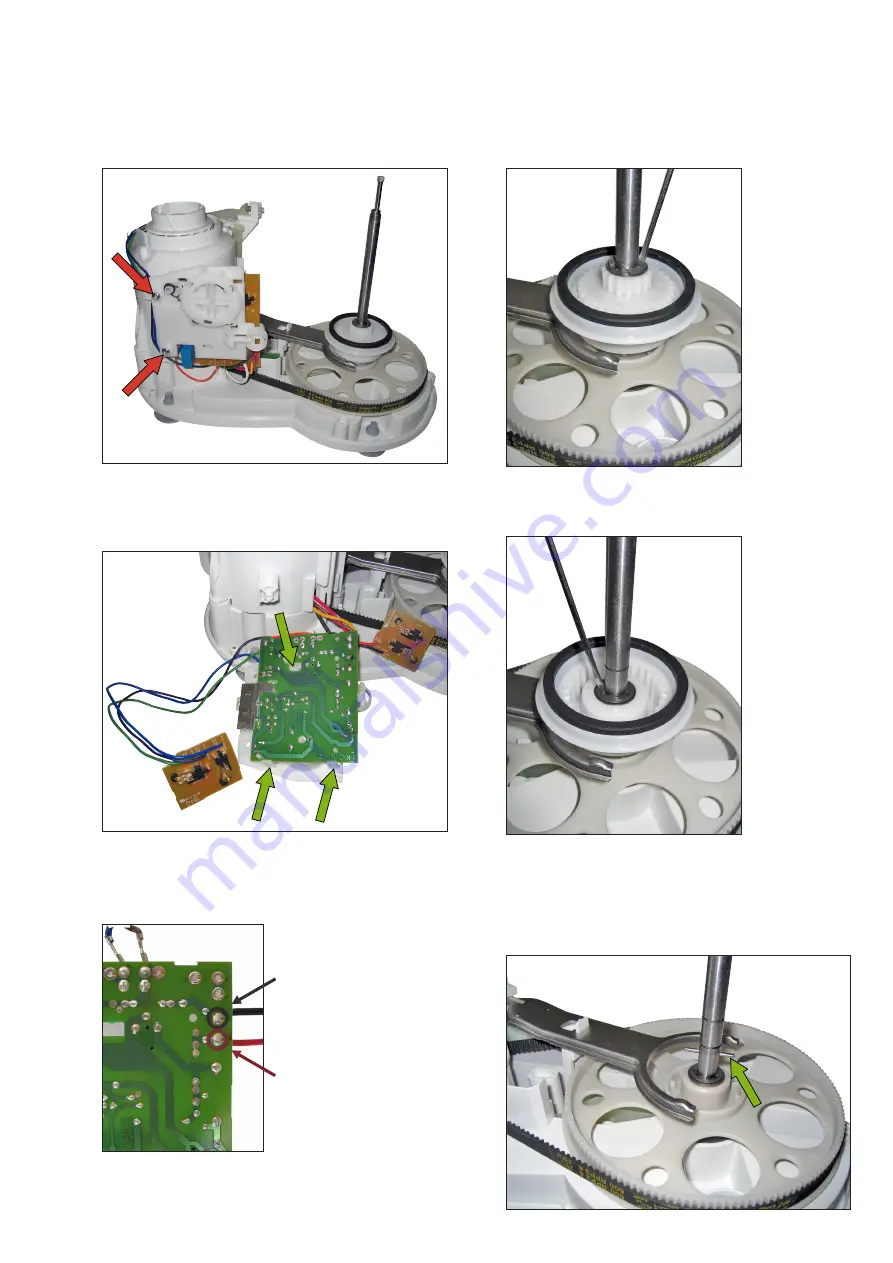
To remove the PCB´s:

1.  Remove the 2 screws to loosen the Main PCB.

To remove the PCB Frame:

1.  Release the 3 snaphooks, which hold the PCB on the 

frame.

Soldering of Motor wires on PCB:

-  Here you can see the colours of the Motor wires and their 

soldering points on the PCB.

Solder point 1 - black wire

Solder point 2 - red wire

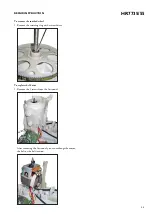
To remove the upper part of the coupling:

1.  Remove the retaining ring with a screwdriver.

To remove the lower part of the coupling:

1.  Remove the retaining ring with a screwdriver.

  In this situation you can exchange for example the 

coupling fork.

  If you want to exchange the toothed wheel, you have to 

remove the coupling fork and also the small axle from the 
„click & go“ system (green arrow).

Summary of Contents for Cucina HR7735

Page 1: ...ng and shaking of fruits dairy batters soups vegetables 2 0 L dry 1 5 L liquid capacity meat and fish Stainless steel metal blade Chopping blending pureeing and mixing of meat fish vegetables dairy fruits and nuts Plastic insert holder Disc shaped space saving tool holder for different inserts Stainless steel slicing insert medium Slicing vegetables and fruits Stainless steel shredding insert medi...

Page 2: ...65200 4203 065 64020 4203 065 64000 4203 065 65400 4203 065 65170 4203 065 65450 4203 065 65290 Housing Cap Screw cap 3 pcs Housing Top Coupling Toolholder Toolholder Blender Coupling HR7735 55 Power Knob Quick Clean Knob Spring Quick Clean Knob Cordset Holder Detection Lever Jar Housing printed HR7735 55 Spring Bowl Detection Horizontal Lever PCB Frame Assy PCB Assy Cordset EU Cordset UK Cordset ...

Page 3: ...HR7735 55 3 8 EXPLODEDVIEW 4 14 12 7 15 13 16 6 1 19 22 20 18 17 24 25 27 26 11 10 9 23 8 21 29 30 5 Shown parts without Pos no are not available as spareparts ...

Page 4: ...HR7735 55 4 8 EXPLODEDVIEW 35 45 46 47 50 52 55 54 36 37 38 63 62 64 ...

Page 5: ...epair something inside the foodprocessor 1 Remove the screw of the cord holder To remove the Top Housing 1 Push a screwdriver through the 3 Screw Caps to remove them 2 Use a screwdriver Torx T15 to remove the 3 screws from the Top Housing ...

Page 6: ... Toolholder coupling by turning it counterclockwise with protected tongs to prevent the coupling from damages You can use e g foam rubber 2 Remove the 4 screws on the bottomside of the foodprocessor The green arrow shows you the hole where you can stick through a pin to fixate the acc drive wheel when you want to remove the blender coupling After that you can turn the blender coupling clockwise fo...

Page 7: ... their soldering points on the PCB Solder point 1 black wire Solder point 2 red wire To remove the upper part of the coupling 1 Remove the retaining ring with a screwdriver To remove the lower part of the coupling 1 Remove the retaining ring with a screwdriver In this situation you can exchange for example the coupling fork If you want to exchange the toothed wheel you have to remove the coupling ...

Page 8: ...UCTION To remove the toothed wheel 1 Remove the retaining ring with a screwdriver To replace the Motor 1 Remove the 3 screws from the Airtunnel After removing the Airtunnel you can exchange the motor the belt or the belt tension ...

Reviews: