background image

14

2

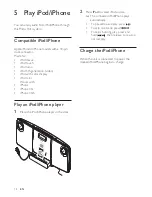
 Press 

iPod

 to select iPod source.

The connected iPod/iPhone plays 


»

automatically.

To pause/resume play, press 

• 

.

To skip to a track, press 

• 

/

.

To search during play, press and 

• 

hold 

/

, then release to resume 

normal play. 

Charge the iPod/iPhone

When the unit is connected to power, the 
docked iPod/iPhone begins to charge.

5 Play 

iPod/iPhone

You can enjoy audio from iPod/iPhone through 
this Micro Hi-Fi system.

Compatible iPod/iPhone

Apple iPod and iPhone models with a 30-pin 
dock connector.
Made for:

iPod classic

• 

iPod touch

• 

iPod nano

• 

iPod 5th generation (video)

• 

iPod with color display

• 

iPod mini

• 

Works with:
iPhone

• 

iPhone 3G

• 

iPhone 3GS

• 

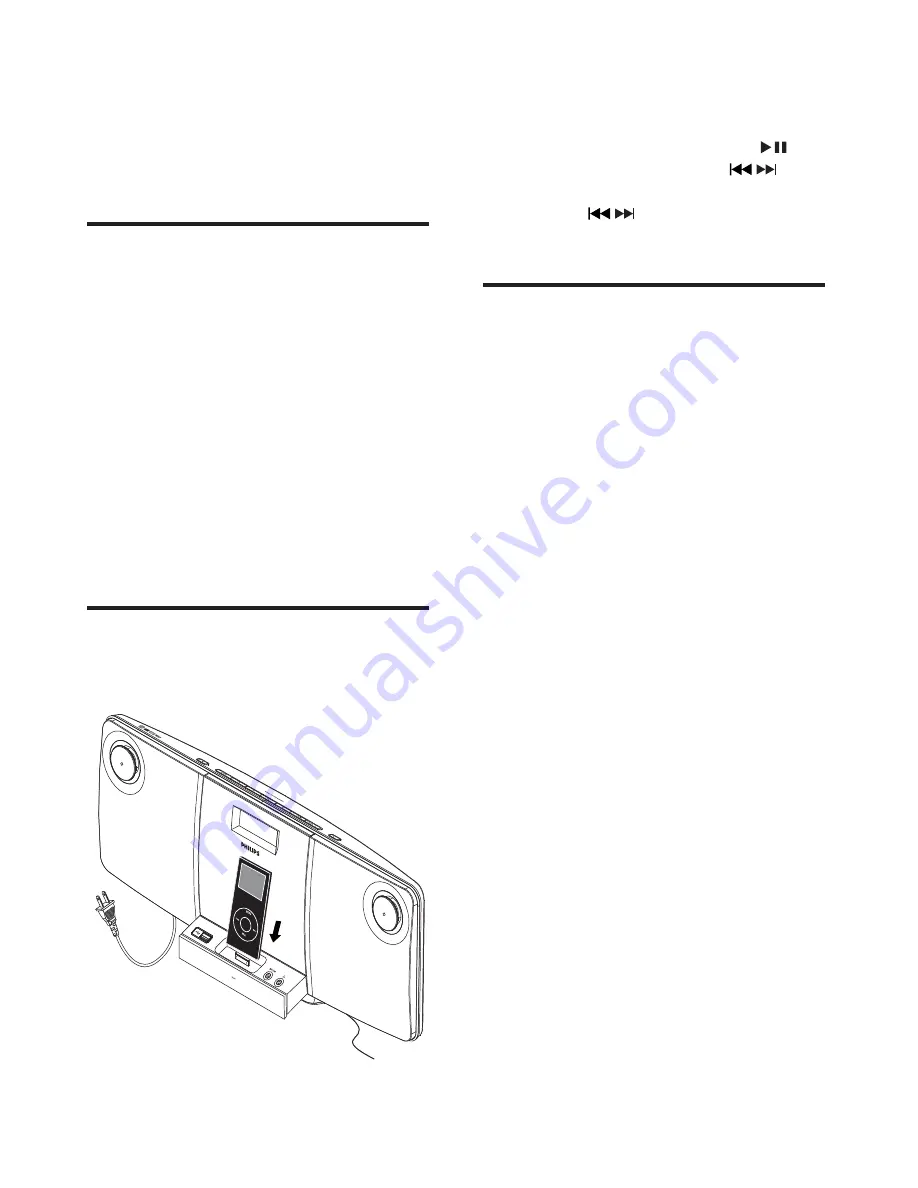
Play an iPod/iPhone player

1

  Place the iPod/iPhone player in the dock.


EN

Summary of Contents for DCM 278

Page 1: ...Register your product and get support at www philips com welcome EN User manual DCM278 ...

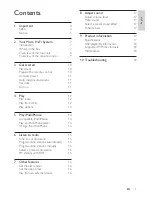
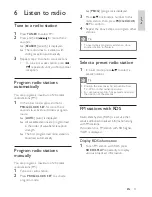
Page 2: ...patible iPod iPhone 14 Play an iPod iPhone player 14 Charge the iPod iPhone 14 6 Listen to radio 15 Tune to a radio station 15 Program radio stations automatically 15 Program radio stations manually 15 Select a preset radio station 15 FM stations with RDS 15 7 Other features 16 Set the alarm timer 16 Set the sleep timer 16 Play from an external device 16 8 Adjust sound 17 Adjust volume level 17 Mu...

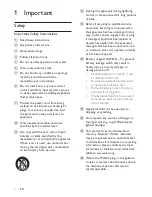
Page 3: ...f these materials may be regulated due to environmental considerations For disposal or recycling information please contact your local authorities or the Electronic Industries Alliance www eiae org r Where the MAINS plug or an appliance coupler is used as the disconnect device the disconnect device shall remain readily operable 1 Important Safety Important Safety Instructions a Read these instruct...

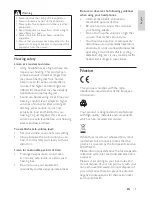
Page 4: ...lth Warning Never remove the casing of this apparatus Never lubricate any part of this apparatus Never place this apparatus on other electrical equipment Keep this apparatus away from direct sunlight naked flames or heat Never look into the laser beam inside this apparatus Ensure that you always have easy access to the power cord plug or adaptor to disconnect this apparatus from the power Hearing s...

Page 5: ...asy to separate into three materials cardboard box polystyrene foam buffer and polyethylene bags protective foam sheet Your system consists of materials which can be recycled and reused if disassembled by a specialized company Please observe the local regulations regarding the disposal of packaging materials exhausted batteries and old equipment Windows Media and the Windows logo are trademarks or...

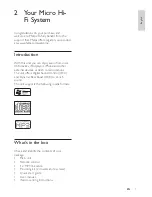
Page 6: ...discs USB devices iPod players iPhone and other external devices or listen to radio stations The unit offers Digital Sound Control DSC and Dynamic Bass Boost DBB to enrich sound The unit supports the following media formats What s in the box Check and identify the contents of your package Main unit Remote control 1 x MP3 link cable Mounting kit 2 dowels and 2 screws Quick start guide User manual W...

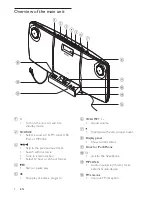
Page 7: ...ck 3 5mm for an external audio device l FM antenna Improve FM reception Overview of the main unit a Turn on the unit or switch to standby mode b SOURCE Select a source CD FM tuner USB iPod or MP3 link c Skip to the previous next track Search within a track Tune to a radio station Select 12 hour or 24 hour format d Start or pause play e Stop play or erase a program EN ...

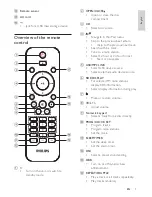
Page 8: ...lay RDS information Select display information during play g Mute or restore volume h VOL Adjust volume i Numeric keypad Select a track from a disc directly j PROG CLOCK SET Program tracks Program radio stations Set the clock k SLEEP TIMER Set the sleep timer Set the alarm timer l DSC Select a preset sound setting m DBB Turn on or off dynamic bass enhancement n REPEAT SHUFFLE Play a track or all t...

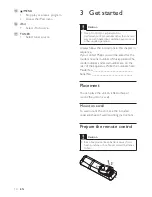
Page 9: ...er are on the rear of the apparatus Write the numbers here Model No __________________________ Serial No ___________________________ Placement You can place the unit on a flat surface or mount the unit on a wall Mount on a wall To wall mount the unit see the included separate sheet of wall mounting instructions Prepare the remote control Caution Risk of explosion Keep batteries away from heat sunsh...

Page 10: ... confirm the clock setting Turn on 1 Press The unit switches to the last selected source 1 Open the battery compartment 2 Insert two AAA batteries with correct polarity as indicated 3 Close the battery compartment Note If you are not going to use the remote control for a long time remove the batteries Do not use old and new or different types of batteries in combination Batteries contain chemical s...

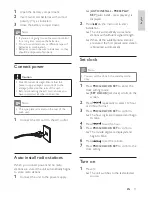
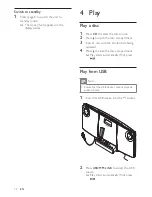
Page 11: ...isc compartment Play starts automatically If not press Play from USB Note Ensure that the USB device contains playable audio content 1 Insert the USB device into the socket 2 Press USB MP3 LINK to select the USB source Play starts automatically If not press Switch to standby 1 Press again to switch the unit to standby mode The clock if set appears on the display panel EN ...

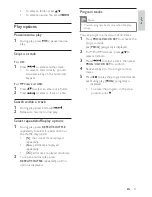
Page 12: ...ess Play options Pause resume play 1 During play press to pause resume play Skip to a track For CD 1 Press to select another track To select a track directly you can also press a key on the numerical keypad For MP3 disc and USB 1 Press to select an album or a folder 2 Press to select a track or a file Search within a track 1 During play press and hold 2 Release to resume normal play Select repeat s...

Page 13: ... is connected to power the docked iPod iPhone begins to charge 5 Play iPod iPhone You can enjoy audio from iPod iPhone through this Micro Hi Fi system Compatible iPod iPhone Apple iPod and iPhone models with a 30 pin dock connector Made for iPod classic iPod touch iPod nano iPod 5th generation video iPod with color display iPod mini Works with iPhone iPhone 3G iPhone 3GS Play an iPod iPhone player...

Page 14: ...DISPLAY repeatedly to display various broadcast information 6 Listen to radio Tune to a radio station 1 Press TUNER to select FM 2 Press and hold for more than 2 seconds SEARCH search is displayed The radio tunes to a station with strong reception automatically 3 Repeat step 2 to tune to more stations To tune to a weak station press repeatedly until you find optimal reception Program radio stations...

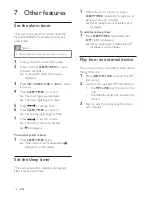
Page 15: ...features Set the alarm timer This unit can be used as an alarm clock The disc radio USB iPod is activated to play at a preset time Note Ensure that you have set the clock correctly 1 Press to switch to standby mode 2 Press and hold SLEEP TIMER for more than two seconds A prompt to select the source is displayed 3 Press CD TUNER USB or iPod to select a source 4 Press SLEEP TIMER to confirm The clock...

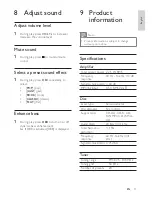
Page 16: ...armonic distortion 1 5 Frequency response 60 Hz 16 kHz 44 1 kHz Signal to noise ratio 75 dBA Tuner Tuning range FM 87 5 108 MHz Tuning grid 50 KHz Number of presets 20 8 Adjust sound Adjust volume level 1 During play press VOL to increase decrease the volume level Mute sound 1 During play press to mute unmute sound Select a preset sound effect 1 During play press DSC repeatedly to select POP pop J...

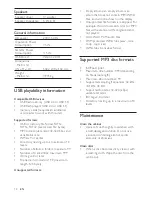
Page 17: ...l spirits ammonia or abrasives Clean discs When a disc becomes dirty clean it with a cleaning cloth Wipe the disc from the centre out Speakers Speaker driver 3 woofer Speaker impedance 5 W 8 General information AC power 230 V 50 Hz Operation Power Consumption 35 W Standby Power Consumption 5 W USB Direct Version 2 0 1 1 Dimensions Main Unit W x H x D 542 x 238 x 102 mm Weight Main Unit 3 935 kg US...

Page 18: ...pray intended for analogue records Clean the disc lens After prolonged use dirt or dust may accumulate at the disc lens To ensure good play quality clean the disc lens with Philips CD lens cleaner or any commercially available cleaner Follow the instructions supplied with cleaner E n g lis h EN ...

Page 19: ...oes not work Set the clock correctly Switch on the timer 10 Troubleshooting Warning Never remove the casing of this apparatus To keep the warranty valid never try to repair the system yourself If you encounter problems when using this apparatus check the following points before requesting service If the problem remains unsolved go to the Philips web site http www philips com welcome When you conta...

Page 20: ...y of the purchase receipt is required for any warranty claim b The warranty period is valid from the original date of purchase of the product c This warranty extends only to defects in material or workmanship occurring under normal use of the product when operated in accordance with the instructions d Philips may at its discretion choose to repair rather than replace this product e If a replacemen...

Page 21: ...22 EN ...

Page 22: ... 2010 Koninklijke Philips Electronics N V All rights reserved DCM278_79_UM_V1 0 ...

Reviews: