

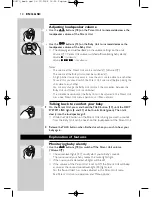

Adjusting loudspeaker volume
•
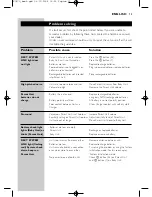
Use the
buttons (18) on the Parent Unit to increase/decrease the
loudspeaker volume of the Parent Unit.
•
Use the
buttons (13) on the Baby Unit to increase/decrease the
loudspeaker volume of the Baby Unit.
> The displays give visual feedback on the volume settings on the units:
Volume Off
= Parent Unit volume switched off/monitoring baby silently;
Volume
9
= minimum;
Volume
9 9 9 9 9
= maximum.
Notes:
–
The volume of the Parent Unit can be switched off (‘Volume Off ’).
The volume of the Baby Unit cannot be switched off.
–
A high pitched noise may occur in case the units are too close to each other.
To avoid this you should switch the Parent Unit volume off before placing the
units close to each other.
–
You can only change the Baby Unit volume if the connection between the
Baby Unit and Parent Unit is established.
–
The microphone sensitivity of the Baby Unit can be adjusted in the Parent Unit
menu. See ‘Parent Unit menu operation’ and ‘Menu options’.
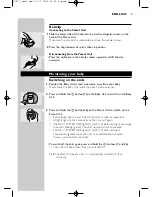
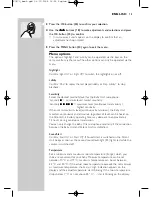
Talking back to comfort your baby
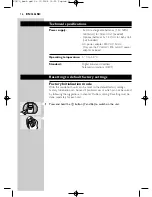
1 On the Parent Unit, press and hold the TALK button (17) until the DECT
SYSTEM LINK lights (3 and 21) of both units blink (green). Then talk
clearly into the loudspeaker grill.
> While the TALK button on the Parent Unit is being pressed, no sounds
from the Baby Unit can be heard on the loudspeaker of the Parent Unit.
2 Release the TALK button when finished or when you wish to hear your
baby again.
Explanation of features
Monitoring baby silently
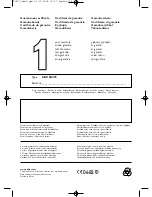
• Use the
buttons (18) to switch off the Parent Unit volume
(‘Volume Off ’).
> The sound-level lights (27) visually alert you to baby’s sounds.
The more sound your baby makes, the more lights light.
> When no sound is detected, all lights will be off.
> If the volume of the Parent Unit is set to Off, the Parent Unit will beep
as soon as the second sound-level-light (25) lights red.
For this ‘Sound Alert’ has to be activated in the Parent Unit menu.
See ‘Parent Unit menu operation’ and ‘Menu options’.
+ –
+
+ –
+ –
+
ENGLISH
10
SC479_book.qxd 06-07-2004 09:55 Pagina 10


