11
If you have a TV and a VCR...
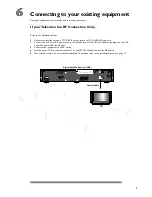
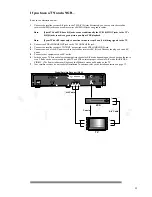
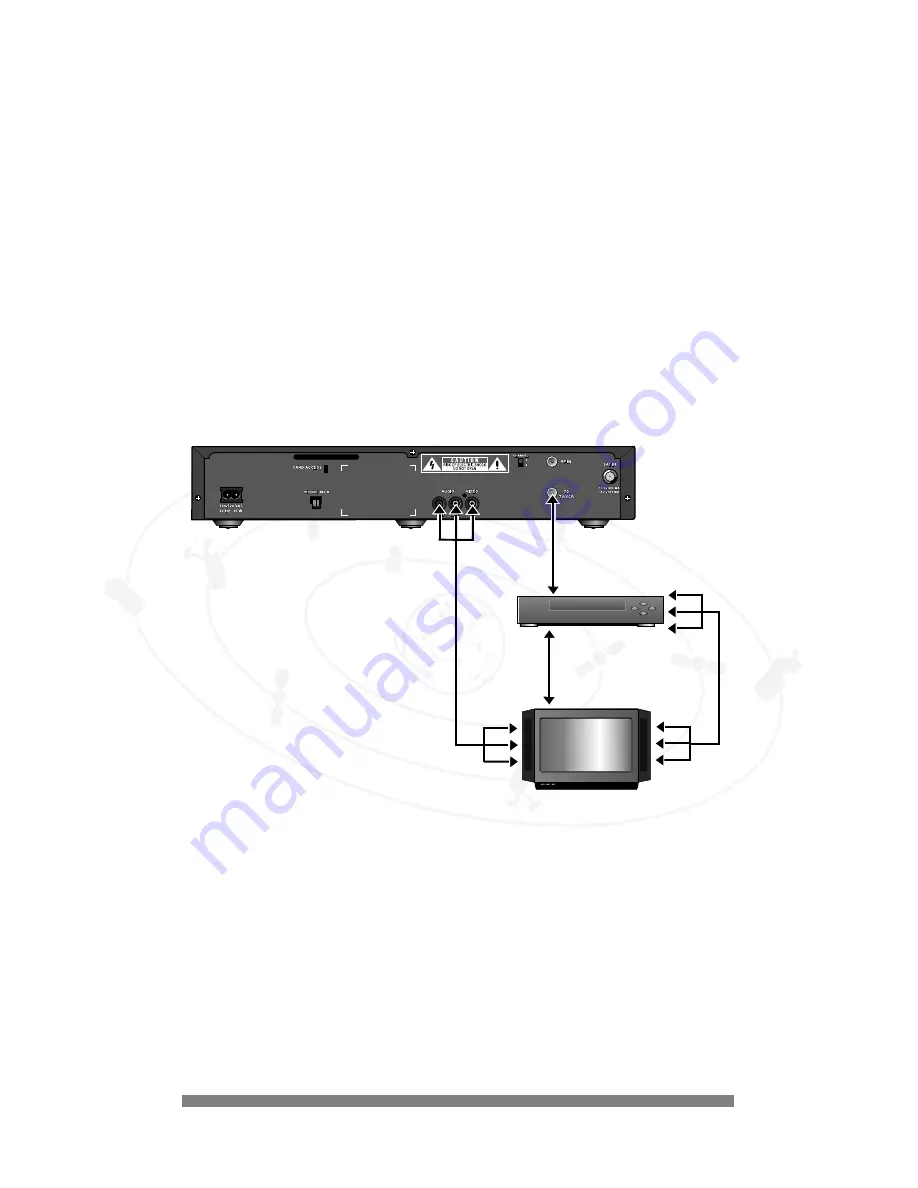
Refer to the illustration below:
1
Connect the satellite receiver A/V jacks to the TV’s A/V IN jacks. Alternately, you can connect the satellite
receiver’s AUDIO jacks to your audio receiver’s AUDIO IN jacks using audio cables.
Note:
If both TV and VCR have A/V jacks, connect additionally the VCR’s A/V OUT jacks to the TV’s
A/V IN jacks to achieve good picture quality at VCR playback.
Note:
If your TV has RF input only, connections made in steps 3 and 4 will bring signals to the TV.
2.
Connect the VCR’s VHF/UHF OUT jack to the TV’s UHF/VHF IN jack.
3.
Connect the satellite receiver’s ‘TO TV/VR’ output jack to the VCR’s UHF/VHF IN jack.
4.
Connect one end of the AC power cord to the satellite receiver’s AC IN jack. Connect the plug end to an AC
outlet.
5.
Connect other equipment to an AC outlet.
6.
Switch on your TV first and select the appropriate channel or A/V mode depending on the connection chosen in
step 2. Refer to the user manuals for your TV and VCR to select proper channel or A/V mode (AUX/VCR, S-
VIDEO, ...).The Power indicator will light and the Welcome screen will display on the TV.
7.
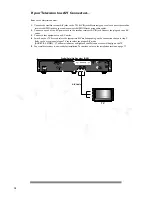
Your satellite receiver is now ready for installation.To continue, refer to the installation section on page 17.
T V
T V
TV
VCR
Digital Satellite Receiver (DSR)
A/V Cable
A/V Cable
Coaxial
Summary of Contents for DSX 5250
Page 1: ......


