12
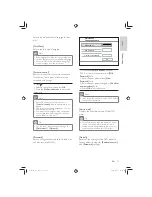
Turn on Progressive Scan
Connect a progressive scan TV with component
video jacks (see chapter ‘Connect video cables
- Option 1: Connect to component video jacks’
for details).
1
Turn on the TV to the correct viewing
channel for this DVD player.
2
Press
SETUP
.
3
Press
to select
[Video Setup]
.
4
Select
[Component Video]
>
[P-Scan]
,
then press
OK
.
A warning message is displayed.
»
5
To proceed, select
[Yes]
and press
OK
.
The progressive setup is complete.
»
Note
If a blank/distorted screen is displayed, wait for
•
15 seconds for the auto recover.
If no picture displayed, turn off the progressive
•
scan mode as follows: 1) Press to open the
disc compartment. 2) Press the
Numeric
button
‘1’
.
6
Press
SETUP
to exit the menu.
7
You can now turn on the progressive
scan mode on the TV (see the TV user
manual).
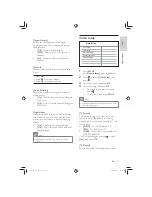
Video Setup
Component Video
TV Display
TV System
Picture Setting
Interlaced
P-Scan
Closed Caption
Tip
The video-in channel is between the lowest
•
and highest channels and may be called
FRONT, A/V IN, VIDEO, HDMI etc.. See the
TV user manual on how to select the correct
input on your TV.
If the audio output of this DVD player is
•
routed to other audio device (such as audio
system or receiver), turn on the audio device
to the appropriate audio input channel. Refer
to the device user manual for details.
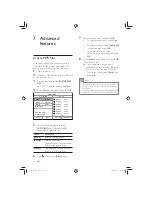
Select menu display language
1
Press
SETUP
.
»
[General Setup]
menu is displayed.
2
Select
[OSD language]
, then press .
The language options are different
•
depending on your country or
region. It may not correspond to the
illustration shown here.
3
Press
to select a language, then press
OK
.
Tip
You can set the default language for DVD
•
audio and disc menu, see chapter ‘Adjust
settings’ -
[Preferences]
for details.
Auto Standby
OSD Language
General Setup
English
Español
Português
EN
GYSBHQLQGG6HF
GYSBHQLQGG6HF


