4
5
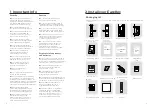
1.
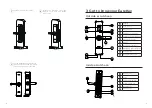
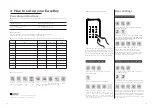
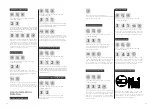
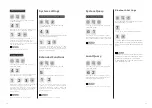
Inner escutcheon
bottom part (x1)
2.
Battery cover(x1)
3.
M6 fixed screw (x2)
4.
Inner escutcheon(x1)
5.
Square shaft
compressed spring (x2)
6.
Square shaft (x2)
7.
Mortise(x1)
8.
Fixed screw (x4)
9.
M6 connecting
screw tube (x2)
10.
Outer escutcheon(x1)
11.
M6 fixed screw (x1)
12.
M5 fixed screw (x3)
13.
Mounting plate (x1)
14.
M5 connecting
screw tube (x3)
Exploded Views
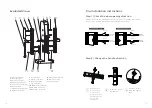
Pre-installation instructions
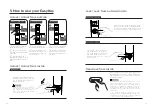
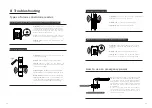
Step 1 | Check the door opening direction
This product can be installed on doors of 4 types of opening directions:
left-out pull, right-in push, right-out pull and left-in push.
Left-in
push
Right-
in push
Indoor
Indoor
Indoor
Indoor
Outdoor
Outdoor
Outdoor
Outdoor
Left-
out pull
Right-
out pull
Left-handle open
Right-handle open
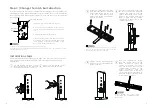
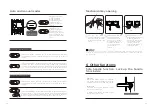
Step 2 | Change the handle direction
Remove the 2
cross recessed
screws, 1 cross
recessed set and
1 lever protective
cover in the
escutcheon.
1
Rotate the lever to
180 degrees
2
Put the 2 screws
back and tighten
them.
3
Summary of Contents for EasyKey 7300
Page 1: ......


