Alignments
GB 77
EM1A
8.
8.
Alignments
Note: The Service Default Mode (SDM) and Service
Alignment Mode (SAM) are described in chapter 5.
8.1
General alignment conditions
All electrical adjustments should be performed under the
following conditions:
•
Supply voltage: 110 / 220 V (
±
10 %); 50 / 60 Hz (
±
5 %)
•
Warm-up time:
≈
20 minutes
•
The voltages and oscillograms are measured in relation
to the tuner earth (with exception to the voltages on the
primary side of the power supply). Never use the cooling
fins / plates as ground.
•
Test probe: Ri > 10 M
Ω
; Ci < 2.5 pF.
•
Use an isolated trimmer / screwdriver for the alignments.
8.2
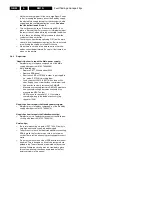
Alignments on the large signal panel (LSP)
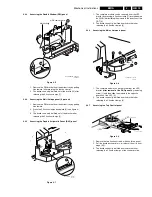
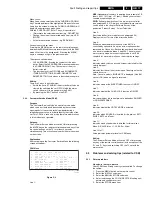
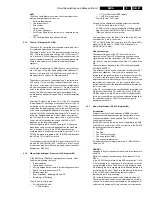
Figure 8-1
8.2.1
Vg2 adjustment
Rough method
Using a pattern generator displaying a black pattern (PAL
BG, 475.25 MHz), adjust the Vg2 potmeter of LOT (item
5430) to obtain normal picture (without visible fly-back lines).
Accurate method
1.
Connect the RF output of the pattern generator to the
antenna-input of the TV. Test pattern is a 'black' pattern
(blank screen on CRT without any OSD info).
2.
Set the channel of the oscilloscope to 50 V/div and the
time base to 5 ms. Select 'external triggering' on the
vertical pulse (anode of diode 6619, located near
connector 0325 to frame deflection coil).
3.
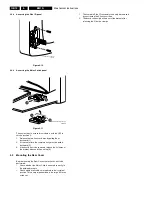
Measure the black level pulse during the vertical flyback
(1st full line after the frame blanking) at the R, G and B
cathodes of the CRT (pin 8, 6 and 11 of the CRT
connector). Select the cathode with the highest V
DC
value for the measurement.
4.
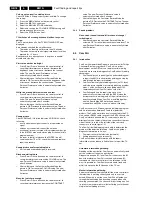
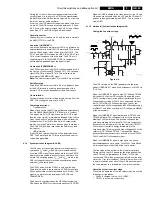
Adjust Vcutoff with the Vg2 (SCREEN) potmeter of the
LOT to 170
±
2 V
DC
.
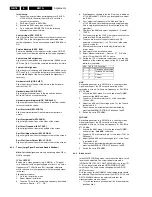
Figure 8-2
8.2.2
Focusing
1.
Tune the set to a circle or crosshatch test pattern (use an
external video pattern generator).
2.
Adjust the 1st Focus potmeter (upper LOT potmeter, see
figure 8-1) until the horizontal and vertical lines at 1/4
from east and west, at the height of the centre line, are of
minimum width without visible haze.
3.
Adjust the 2nd Focus potmeter (middle LOT potmeter,
see figure 8-1) until the horizontal and vertical lines at 1/
4 from north and south, at the height of the centre line,
are of minimum width without visible haze.
8.3
Alignments and settings in the Service
Alignment Menu
8.3.1
General
With the software alignments of the Service Alignment Mode
the Geometry, White tone and Tuner (IF)can be aligned. Put
the set in the SAM mode (see chapter 5). The SAM menu will
now appear on the screen.
Menu navigation is done with the 'CURSOR UP, DOWN,
LEFT or RIGHT' keys of the RC-handset.
8.3.2
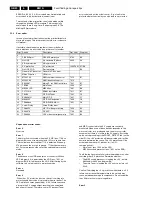
Geometry
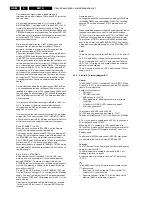
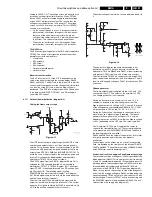
The geometry alignments menu contains several items to
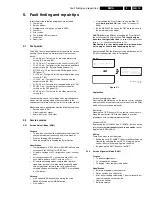
align the set, in order to obtain a correct picture geometry.
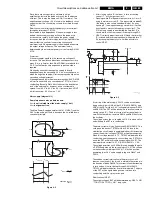
Figure 8-3
CL 06532130_013.eps
031000
Large Signal panel (LSP)
SSB
V.AMPL
V.SHIFT
CINCH
TUNER
3603
3609
3480
Focus 1
Focus 1
Screen
LOT
Warning
All alignments
are on hot-part !
H.AMPL
0V Ref.
CL 06532130_014.eps
131000
V
CUTOFF
[V
DC
]
max.
CL 96532156_012.eps
250100
East/West Trapezium
East/West Parabola
Horizontal Bow

