background image

HR7756/01

SMART

CONTROL

SMART

CONTROL

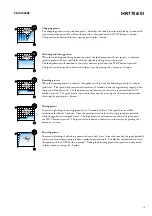
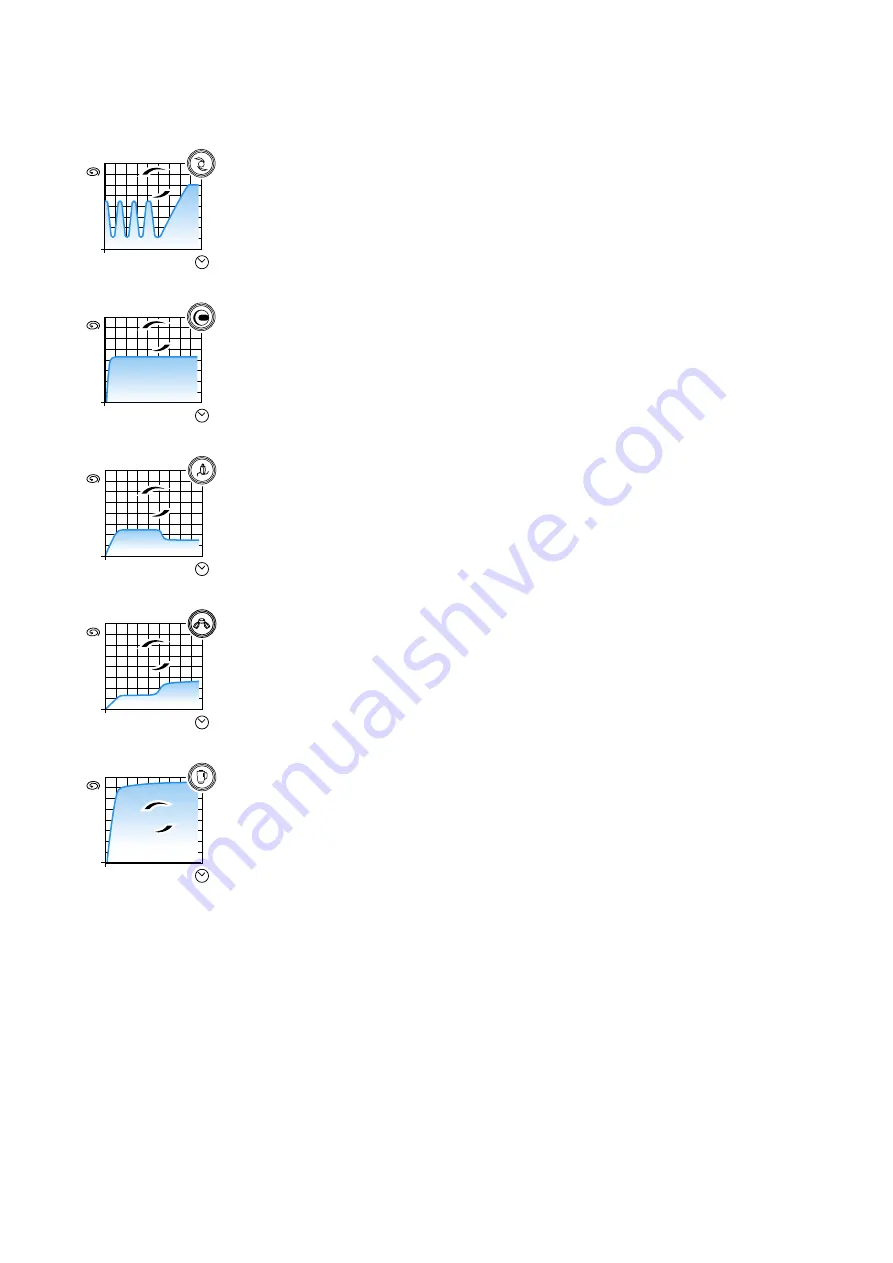
Chopping process

The chopping process starts with four pulses.  After that, the food processor will pick up speed until it 
runs at maximum power. He will continue to run at this speed until the STOP button is pressed. 
The speed can be decreased in three steps by pressing the - button.

SMART

CONTROL

SMART

CONTROL

Shredding and slicing process

When the shredding and slicing button is pressed, the food processor will start to run at a constant 
speed to produce the best end results with the adjustable slicing disc or the inserts. 
The food processor will continue to run at this constant speed until the STOP button is pressed. 
The speed can be increased or decreased in three steps by pressing the + button or - button.

SMART

CONTROL

SMART

CONTROL

Kneading process

When the kneading process is selected. the appliance will increase the kneading speed in 10 seconds 
(soft start).  This speed will be maintained for about 50 seconds to mix the ingredients properly.  Then 
the speed will be decreased.  The food processor will continue to run at this speed until the STOP 
button is pressed.  The speed can be increased in three steps by pressing the + button or decreased in 
three steps by pressing the - button.

SMART

CONTROL

SMART

CONTROL

Mixing process

To prevent splashing, the mixing process has a 7-second Soft Start.  The speed fi rst set will be 
maintained for about 35 seconds.  Then the speed increases to the fi nal setting to achieve perfectly 
whisked egg whites or whipped cream.  The food processor will continue to run at this speed until 
the STOP button is pressed.  The speed can be increased or decreased in three steps by pressing the + 
button or - button.

SMART

CONTROL

SMART

CONTROL

Blending process

To prevent splashing, the blending process features a Soft Start.  After a few seconds the speed gradually 
increases to maximum speed to produce a perfectly smooth result.  The blender will continue to run at 
this speed until the STOP button is pressed.  During the biending process the speed can be decreased 
in three steps by pressing the - button.

PROCESSES

3-8

Summary of Contents for Essence HR7756

Page 1: ... the requirements regarding interference suppression on radio and TV After the product has been repaired it should function properly and has to meet the safety requirements as officially laid down at this moment TECHNICAL INFORMATION Motor universal radio TV interference suppressed Power consumption 800 Watt max Voltage frequency 230 V 50 Hz Cordset 100 cm double insulated with moulded on plug Spe...

Page 2: ...15 minutes Plug the appliance in again Switch the appliance on again Safety lock item 7 Place the lid on the bowl in the right position The appliance will only function if the line on the applinace is directly opposite the mark on the lid of the food processor bowl and the same holds for the other accessoires The built in safety lock will now be deblocked and you can turn the appliance on Note tha...

Page 3: ...r about 50 seconds to mix the ingredients properly Then the speed will be decreased The food processor will continue to run at this speed until the STOP button is pressed The speed can be increased in three steps by pressing the button or decreased in three steps by pressing the button SMART CONTROL SMART CONTROL Mixing process To prevent splashing the mixing process has a 7 second Soft Start The ...

Page 4: ... gear Cordset EURO Cordset UK Cordset SWISS Center Gearwheel Pos Service code Description 32 33 34 35 39 40 42 43 44 45 47 49 55 56 57 60 61 62 63 64 65 4203 065 63800 4203 065 63760 4203 065 63770 4203 065 63780 4203 065 61570 4203 065 61550 4203 065 61560 4203 065 62310 4203 065 61520 4203 065 63670 4203 065 63690 4203 065 63680 4203 065 65560 4203 065 65550 4203 065 65850 4203 065 63730 4203 06...

Page 5: ...HR7756 01 EXPLODEDVIEW 8 7 3 4 5 1 2 6 19 5 8 ...

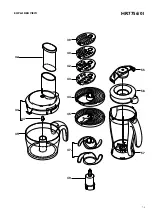
Page 6: ...HR7756 01 EXPLODEDVIEW 15 13 9 12 18 14 16 17 20 6 8 ...

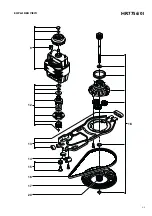
Page 7: ...HR7756 01 EXPLODEDVIEW 32 35 33 34 44 43 42 40 39 49 47 45 55 56 57 7 8 ...

Page 8: ...out Also the toolholder lowest part of Pos 62 showed wear in most of the cases For that an extra plastic ring see Pos 62 was added and the bowl bearing was changed slightly Therefor it is necessary to replace a worn out toolholder or bowl bearing everytime in combination Don t mix these parts with an old bowl bearing or toolholder 63 61 62 65 64 60 8 8 ...

Reviews: