Directions for use
GB 16
FTV1.9EE
3.
23
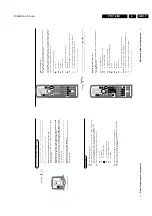
Connect y
our computer
Daisy chaining
The
Activ
e Loop
Thr
ough facility mak
es it possible to mak
e a daisy chain.
Connect the monitors (max.
2)
bef
or
e inser
ting the mains plug in the
wall sock
et
.
Connect another
V
GA cable to the
V
GA OUT
connector
1
at the back of
the monitor and to the
V
GA IN
connector of a second
V
GA monitor
.
In case of a Multimedia computer
,also connect the audio cables to
A
UDIO
OUT R
and
L
2
next to the
V
GA OUT
connector and to the audio inputs of
the second
V
GA monitor
.
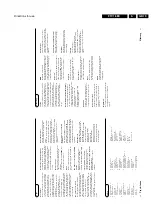
Computer Displa
y modes
V
G
A
640x480
31.468 kHz
60 Hz
V
G
A
640x400
31.468 kHz
70 Hz
V
G
A
640x350
31.468 kHz
70 Hz
MA
C II
640x480
35.000 kHz
67 Hz
SV
GA
800x600
35.156 kHz
56 Hz
XGA 1024x768
45.000 kHz
56 Hz
When a
V
GA computer is connected,
the selection is made automaticall
y.
A message is displa
yed when the monitor does not suppor
t one of the abo
ve
mentioned V
GA
modes.
Switch y
our computer to a cor
rect displa
y mode
.
MAINS INLET
VGA IN
AUDIO IN
L
R
VGA OUT
5
1
3
2
4
2
AUDIO OUT
22
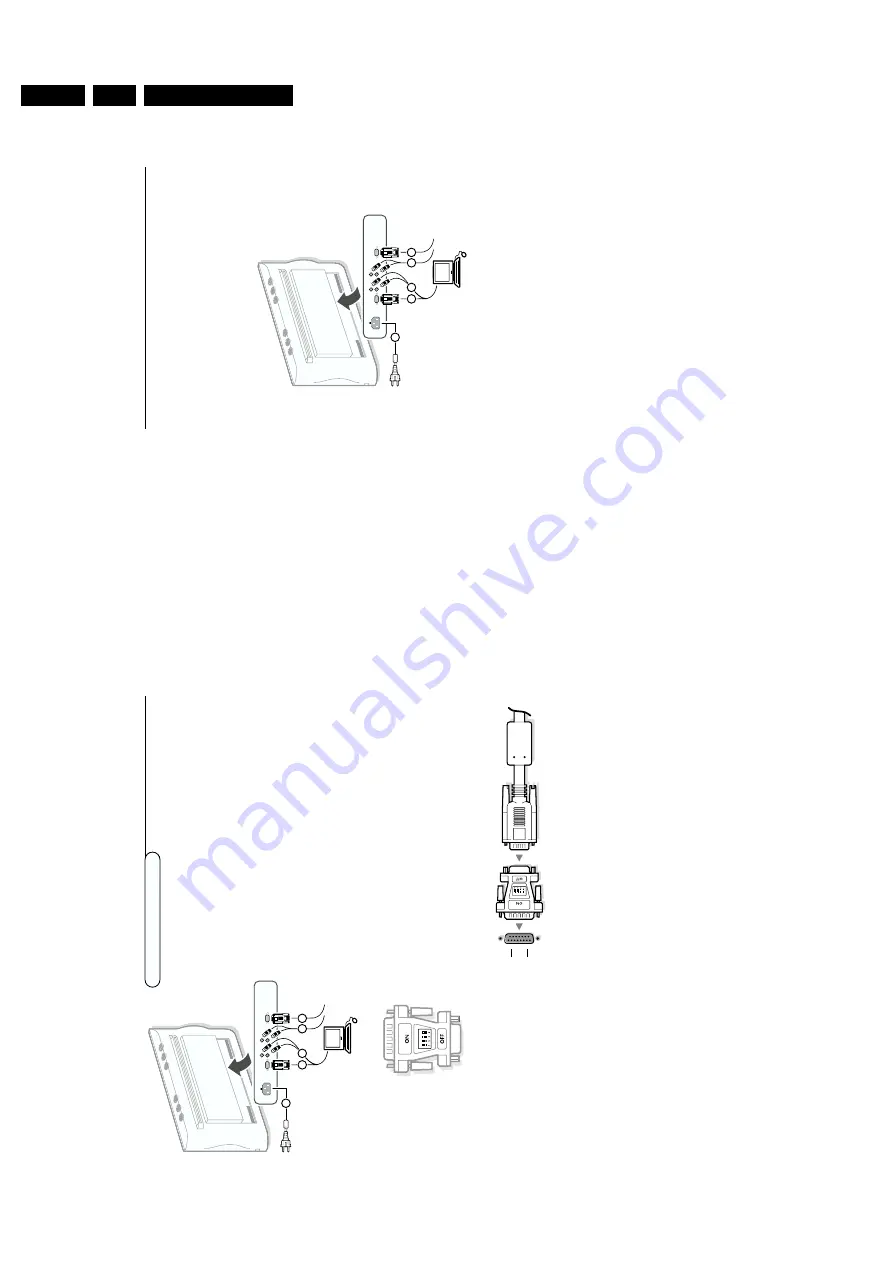
Connect y
our computer
&
Connect one end of a
V
GA cable supplied to the video car
d of the computer
and the other end to the
V
GA MONIT
OR IN
connector at the r
ear side of
the r
eceiv
er bo
x or at the
V
GA IN
connector
1
at the back of the monitor
in case y
ou ha
ve
no r
eceiv
er bo
x connected to the monitor
.
See the instructions with the monitor
.
é
Fix the connectors firml
y with the scr
ew
s on the plug.
“
In case of a Multimedia computer
,connect audio cables to the audio outputs
of y
our Multimedia computer and to the
A
UDIO MONIT
OR IN R
(right) and
L
(left) abo
ve
the
V
GA MONIT
OR IN
connector at the back of the r
eceiv
er
or to the
A
UDIO IN L
and
R
2
at the back of the monitor
.
Connect y
our
Apple Macintosh* computer
Attention:
Macintosh computer
s with separ
ate H and
V synchronisation signals
can be used together with the supplied adaptor
.M
acintosh computer
s with
Composite Sync and Sync on Green signals may need a special (not
supplied) adaptor or cab
le
.C
ontact your dealer
.
&
Connect the supplied s
witchable ada
ptor f
or
Apple video connectors to one
end of a
V
G
A cable
.
é
Put the DIP
switches on the ada
ptor in the f
ollo
wing positions :
1234
off
off
on
on
“
Connect the end of the
V
G
A cable with the ada
ptor to the video car
d of the
computer and the other end to the
V
GA MONIT
OR IN
connector on the
back of the r
eceiv
er bo
x or at the
V
GA IN
connector on the back of the
monitor in case y
ou ha
ve
no r
eceiv
er bo
x connected.
‘
Scr
ew
the connectors do
wn firml
y.
To
r
epr
oduce computer scr
een inf
ormation and/or pr
ogrammes,
see p
.24.
*
Apple Macintosh is a r
egister
ed trademark of
Apple Computer
,Inc
.
Connect y
our computer
15-pin D sub
(2-row)
15-pin mini D sub
(3-row)
a
MAINS INLET
VGA IN
AUDIO IN
L
R
VGA OUT
5
1
3
2
4
2
AUDIO OUT
Summary of Contents for FTV1.9EE
Page 45: ...Electrical diagrams and print layouts 45 FTV1 9EE 7 Teletext component side ...
Page 46: ...Electrical diagrams and print layouts 46 FTV1 9EE 7 Teletext copper side ...
Page 49: ...Electrical diagrams and print layouts 49 FTV1 9EE 7 Euro I O panel ...
Page 50: ...Electrical diagrams and print layouts 50 FTV1 9EE 7 Euro I O panel ...
Page 51: ...Electrical diagrams and print layouts 51 FTV1 9EE 7 Euro I O component side ...
Page 52: ...Electrical diagrams and print layouts 52 FTV1 9EE 7 Euro I O copper side ...
Page 54: ...Electrical diagrams and print layouts 54 FTV1 9EE 7 Feature box component side ...
Page 55: ...Electrical diagrams and print layouts 55 FTV1 9EE 7 Feature box copper side ...
Page 56: ...Electrical diagrams and print layouts 56 FTV1 9EE 7 Incredible sound Incredible sound ...
Page 57: ...Electrical diagrams and print layouts 57 FTV1 9EE 7 ECO NICAM ...
Page 74: ...Electrical diagrams and print layouts 74 FTV1 9EE 7 Personal notes Personal notes ...


