Pr
eparations
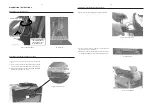
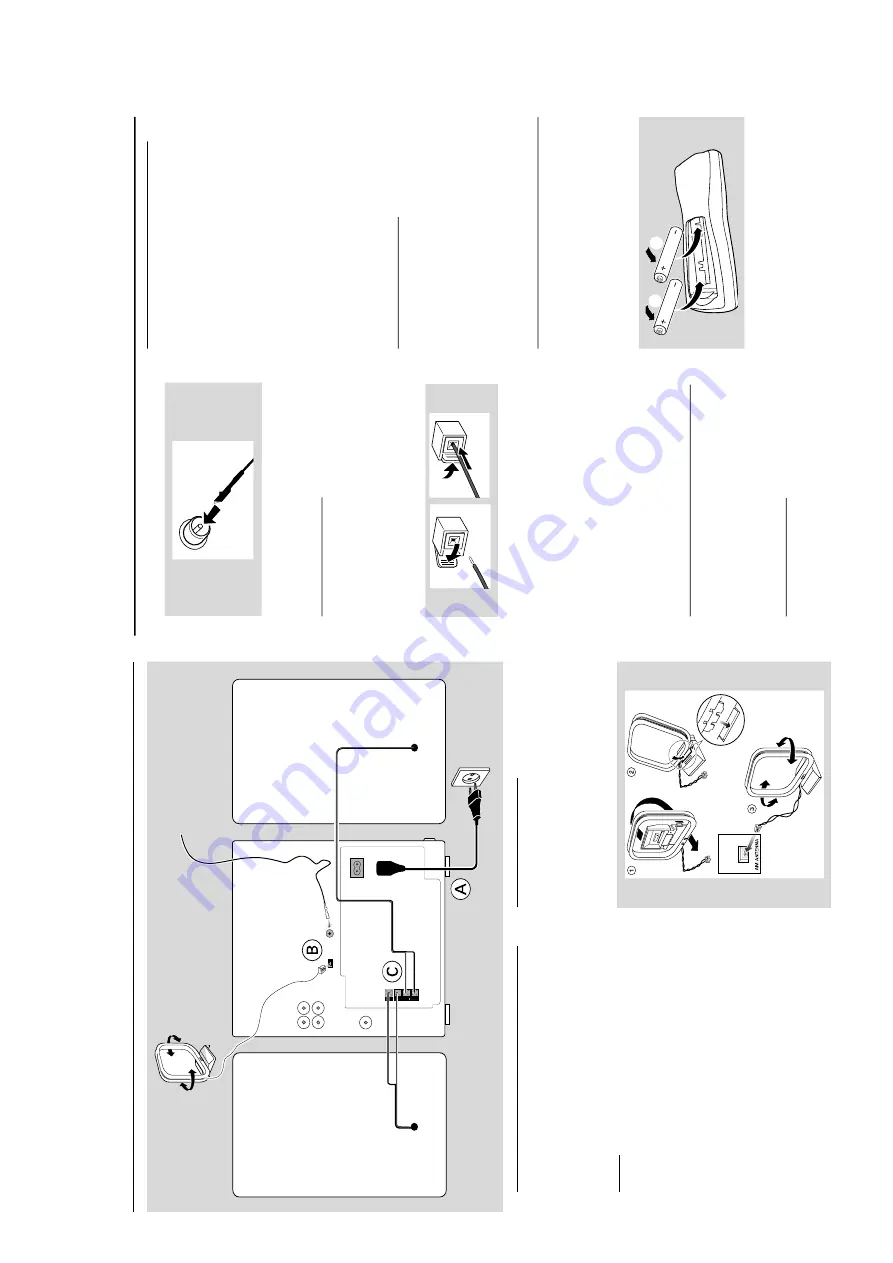
Rear Connections
The type plate is located at the r
ear of the
system.
F
or user
s in the U
.K.:
please follo
w the
instructions on page 2-2.
A
Po
w
e
r
Bef
ore connecting the
AC
po
w
er cord to the
wall outlet, ensure that all other connections
ha
ve
been made
.
WA
RNING!
–F
or optimal performance
, use only the
original po
wer cable
.
–N
ev
er mak
e or change connections with
the po
wer switched on.
To
av
oid o
v
erheating of the system,
a safety
circuit has been built in.
Ther
efor
e
, your
system mays
witch to Standb
y mode
automatically under e
xtr
eme conditions
. If
this happens
, let the system cool do
wn
befor
e r
eusing it
(not av
ailab
le for all ver
sions)
.
B
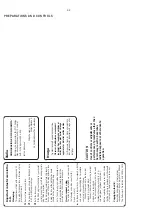
Antennas Connection
Connect the supplied
AM loop antenna and FM
antenna to the respectiv
e ter
minals.
Adjust the
position of the antenna f
o
r optimal reception.
AM Antenna
Fix the cla
w
to the slot
P
osition the antenna as far as possib
le from a
TV
,
VCR or other r
adiation source
.
SPEAKERS 6W
R
+
—
L
—
+
SUBW
OOFER
OUT
DIGIT
AL
OUT
A
UX/
CDR
IN
AM ANTENNA
AC
MAINS
L
R
speaker
(right)
speaker
(left)
AC
po
wer cor
d
FM wire antenna
AM loop
antenna
LINE
OUT
FM ANTENNA
English
Pr
eparations
FM Antenna
For better FM stereo reception, connect an
outdoor FM antenna to the FM
ANTENNA
ter
mi
nal.
C
Speak
ers Connection
Fr
ont Speak
ers
Connect the speak
er wires to the SPEAKERS
(FRONT) ter
minals,
r
ight speak
er to "
R
" and left
speak
er to "
L
", coloured (mar
ked) wire to "
+
"
and b
lack (unmar
ked) wire to "
-
".
1
2
Clip the str
ipped por
tion of the speak
er wire as
sho
wn.
Notes:
–F
or optimal sound perf
ormance
, use the
supplied speak
er
s
.
–D
o not connect mor
e than one speak
er to any
one pair of
+
/
-
speak
er terminals
.
–D
o not connect speak
er
s with an impedance
lo
wer than the speak
er
s supplied.
Please r
ef
er to
the SPECIFIC
ATIONS section of th
is manual.
Optional Connections
The optional equipment and connecting cords
are not supplied.
Ref
er to the oper
ating
instr
uctions of the connected equipment f
or
det
ai
ls.
Line Out Connection
Connect this output to an
y analogue audio
equipment f
or pla
yback or recording (CD
recorder
, tape recorder or amplif
ier f
o
r examp
le).
Use a cinch cab
le to connect the
LINE OUT
ter
minals to the analogue audio in ter
minals of
the equipment.
Connecting other equipment to y
our
sys
tem
Connect the audio left and r
ight OUT ter
minals
of a
TV
,V
CR,
Laser Disc play
e
r,
D
VD pla
yer or
CD Recorder t
o
the
A
UX/CDR IN
ter
m
inals.
Notes:
–D
o not connect equipment to both the LINE
OUT and
A
U
X/CDR IN terminals at th
e same time
.
Otherwise
, noise will be g
ener
ated and malfunction
might occur
.
–
If you ar
e connecting equipment with a mono
output (a single audio out te
rminal), connect it to
the
A
UX/CDR IN left terminal.
Alternatively
, you
can use a
“single to double”
cinc
h cable (still be
mono s
ound).
Digital Out Connection
Connect this digital output when recording on
any audio equipment with digital input (CD
Recorder
, Digital
Audio
Tape [D
A
T
] deck,
Digital
to
Analogue Con
ve
rter and Digital Signal
Processor
, f
o
r example).
Use a cinch cab
le to
connect the
DIGIT
AL OUT
ter
m
inal to the
digital input ter
m
inal of the equipment.
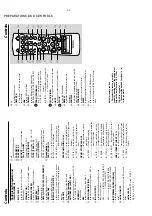
Inser
ting batteries into the
Remote Contr
ol
Inser
t tw
o batter
ies (T
ype R06 or
AA) into the
remote control with the cor
rect polar
ity as
indicated b
y the
+
and
-
symbols inside the
batter
y compar
tment.
1
2
CA
UTION!
–R
emo
ve batteries if the
y are e
xhausted
or not to be used for a long time
.
–
Do not use old and ne
w or differ
ent
types of batteries in combination.
–B
atteries contain chemical substances
, s
o
the
y should be disposed off pr
operly
.
PREPARATIONS AND CONTROLS
2-1


