background image

28

English

3139 115 20411

Clock/Timer

MINI HIFI SYSTEM

BAND

C 1  •   2   •  3

CDR

DUB

(HSD)

RECORD

DIM

CLOCK/
TIMER

PROG

VOLUME

STOP

•CLEAR

SEARCH•TUNING

PLAY PAUSE

PREV

NEXT

SIDE

PRESET

DYNAMIC BASS BOOST

1

3

2

4

6

5

7

9

8

VOLUME

á

à

ë

í

Ç

0

2

AUX/CDR

TV/AV

CD 123

TUNER

TAPE 1/2

AUTO REV.

CLOCK

BALANCE

CENTER

REAR

DPL TEST TONE

BTC

TIMER ON/OFF SLEEP

MUTE

DBB

TV VOL

TV VOL

SHUFFLE

DIM

REPEAT

L

R

+

-

+

-

DSC

VEC

PER

BTC

Å

É

BASS/

TR

EB

LE

P

E

R

S

O

N

A

L

D

S

C

VE

C

TAPE 1•2

CD 1•2•3

FM•AM

CDR/DVD

TAPE

CD

TUNER

AUX

LEFT

CENTER

RIGHT

SURR

SURR

IR SENSOR

AUTO

REVERSE

ECO POWER

PRO LOGIC

BASS

TREBLE

DEMO STOP

JOG CONTROL

STANDBY-ON

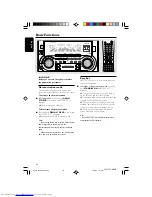
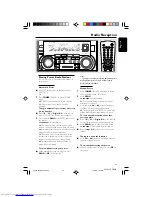
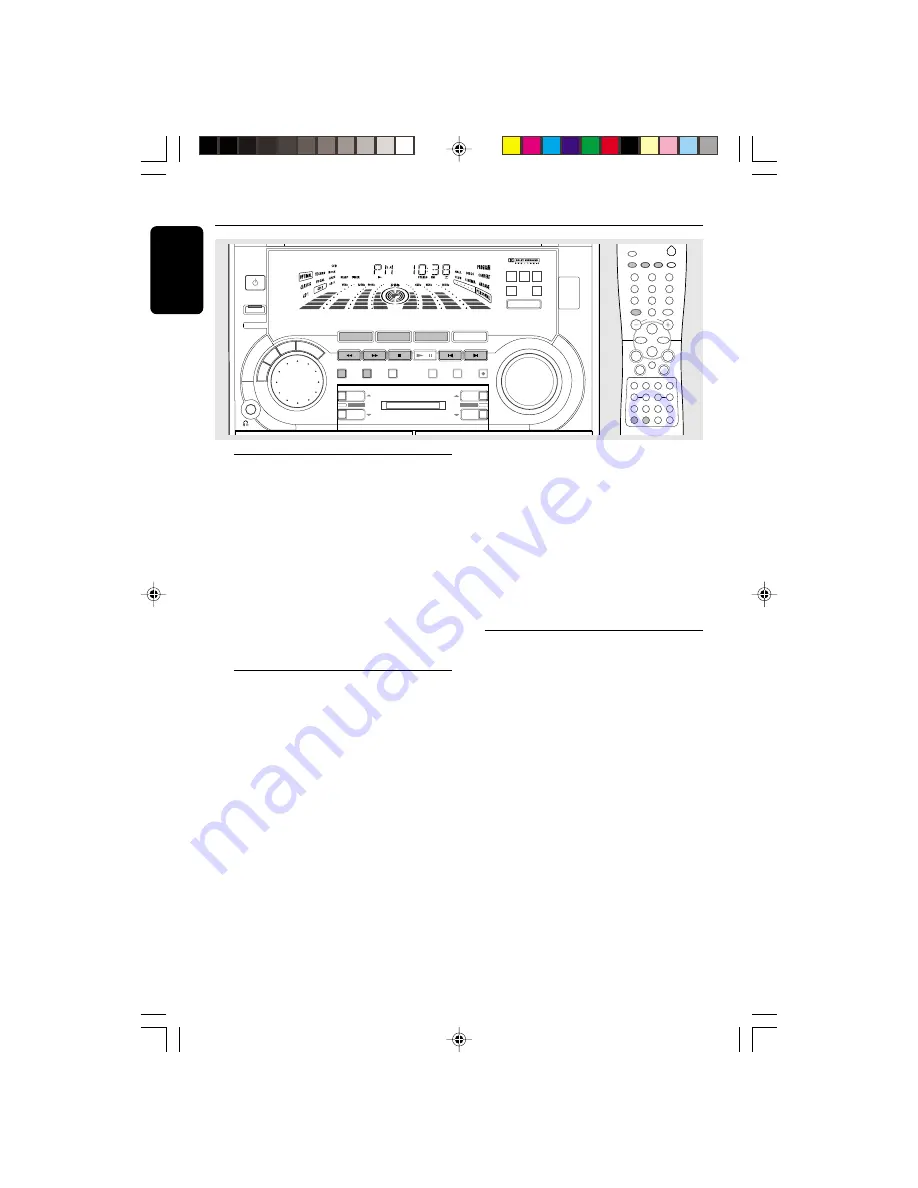
View Clock

The clock (if it is set) will be shown in Standby
mode.

To view the clock in any source mode
(CD or TUNER for example)

Press 

CLOCK/TIMER

 briefly


(or 

CLOCK

 on

the remote control).

The clock will be displayed for a few seconds.

If the clock has not been set, "

--

:

--

" will be

displayed.

Note:
– When in Eco Power Standby mode, the clock will
not be displayed.

Clock Setting

The clock can be set in either 12-hour or
24-hour mode ("

AM 12

:

00

" or "

00

:

00

" for

example)

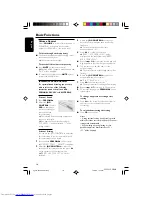
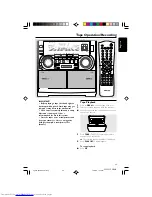
1

Press 

CLOCK/TIMER


twice

.

2

Press 

PROG


on the system repeatedly to select

clock mode.

If 12-hour mode is selected, "

AM 12

:

00

" will

start flashing.

If 24-hour mode is selected, "

00

:

00

" will start

flashing.

3

Press 

à

 or 

á

 on the system repeatedly to set

the hour.

4

Press 

í

 or 

ë

 on the system repeatedly to set

the minute.

5

Press 

CLOCK/TIMER

 again to store the

setting.

The clock will start working.

To exit without storing the setting

Press 

Ç

on the system.

Notes:
– The clock settings will be cancelled when the
power cord is disconnected or if a power failure
occurs.
– When in Eco Power Standby mode, the clock/
timer function will not operate.
– During clock setting, if no button is pressed
within 90 seconds, the system will exit clock setting
mode automatically.

Timer Setting

The system can switch on to CD, TUNER, or
TAPE 2 mode automatically at a preset time and
it can serve as an alarm to wake you up.

IMPORTANT!
– Before setting the timer, ensure that the
clock is set correctly.
– The timer will always be switched on
after it has been set.
– The timer will not start if a recording is in
progress.
– The volume of the timer will increase
from the minimum level until the last tuned
volume level is reached.

1

Press and hold 

CLOCK/TIMER

 for more than

two seconds

 to select timer mode.

"

AM 12

:

00

" or "

00

:

00

" or the last timer

setting will start flashing.

TIMER

 will start flashing.

The selected source will be lighted while

other available sources are flashing.

pg 001-033/P900/37-Eng

12/8/00, 1:53 PM

28

Summary of Contents for FW-P900

Page 1: ...1 3139 115 20411 Mini HiFi System FW P900 Toll Free Help Line Ligne d assistance en service libre Linea de ayuda telefónica sin cargo 800 531 0039 pg 001 033 P900 37 Eng 12 8 00 1 52 PM 1 ...

Page 2: ...lips family you re entitled to protection by one of the most comprehensive warranties and outstanding service networks in the industry What s more your purchase guarantees you ll receive all the information and special offers for which you qualify plus easy access to accessories from our convenient home shopping network And most importantly you can count on our uncompromising commitment to your to...

Page 3: ...DIM CLOCK TIMER PROG ECO POWER IR SENSOR VOLUME BASS TREBLE TAPE CD TUNER AUX P E R S O N A L D S C VEC TAPE 1 2 CD 1 2 3 FM AM CDR DVD LEFT CENTER RIGHT SURR SURR PRO LOGIC STOP CLEAR SEARCH TUNING PLAY PAUSE PREV NEXT SIDE PRESET BASS TREBLE DYNAMIC BASS BOOST 1 2 3 4 5 6 7 8 9 0 DEMO STOP OPEN OPEN JOG CONTROL pg 001 033 P900 37 Eng 12 8 00 1 52 PM 3 ...

Page 4: ...ype plug A polarized plug has two blades with one wider than the other A grounding type plug has two blades and a third grounding prong The wide blade or the third prong are provided for your safety When the provided plug does not fit into your outlet consult an electrician for replacement of the obsolete outlet 10 Protect the power cord from being walked on or pinched particularly at plugs conveni...

Page 5: ... TO BEAM VARO AVATTAESSA JA SUOJALUKITUS OHITETTAESSA OLET ALTTIINANAKYMATTOMAALLE LASERSATEILYLLE ALA KATSO SATEESEEN VARNING OSYNLIG LASERSTRÅLNING NÄR DENNA DEL ÄR ÖPPNAD OCH SPARRENAR URKOPPLAD BETRAKTA EJ STRÅLEN DANGER Invisible laser radiation when open AVOID DIRECT EXPOSURE TO BEAM or This warning label is located on the rearside and inside this laser product Canada English This digital ap...

Page 6: ...6 3139 115 20411 pg 001 033 P900 37 Eng 12 8 00 1 52 PM 6 ...

Page 7: ... Switching the system to Eco Power Standby mode 17 Power Saving Automatic Standby 17 Dim mode 17 Volume Control 18 Interactive Sound Control 18 19 CD Operation Discs for Playback 20 Loading Discs 20 Discs Playback 21 Programming the disc tracks 21 22 Repeat 22 Shuffle 22 Radio Reception Storing Preset Radio Stations 23 24 Tuning to Preset Radio Stations 24 External Sources Listening to External So...

Page 8: ... antenna AC power cord CS 900 speaker package includes one pair of surround speakers and one center speaker SW 900 powered subwoofer Safety Information Before operating the system check that the operating voltage indicated on the typeplate or the voltage indication beside the voltage selector of your system is identical with the voltage of your local power supply If not please consult your dealer ...

Page 9: ... automatically under extreme conditions If this happens let the system cool down before reusing it not available for all versions B Antennas Connection Connect the supplied AM loop FM antenna to the respective terminal Adjust the position of the antenna for optimal reception AM Antenna Position the antenna as far as possible from aTV VCR or other radiation sources FM Antenna 1 2 For better FM ster...

Page 10: ... inputs of the equipment Connecting other equipment to your system Connect the audio left and right OUT terminals of a TV VCR Laser Disc player DVD player or CD Recorder to the AUX CDR IN terminals Notes Do not connect equipment to both LINE OUT and AUX CDR IN terminals simultaneously Otherwise noise will be generated and malfunction might occur If you are connecting an equipment with mono output ...

Page 11: ...urround speakers Connect either the wired rear surround speakers or a pair of wireless rear speakers not supplied to the SURROUND OUT terminals Positioning the Speakers To get the best surround sound effect place the speakers as follows TV CENTER SPEAKER SURROUND RIGHT SURROUND LEFT FRONT LEFT FRONT RIGHT MINI HIFI SYSTEM SUB WOOFER Front Left and Right Speakers For the best sound place the left a...

Page 12: ... will light up with the selection Dolby Surround Dolby Center Phantom Dolby 3 Stereo Stereo Dolby Surround Dolby Surround This setting is for a full Dolby Surround Pro Logic mode DOLBY SURROUND will be displayed Dolby Center Phantom This setting is for use without the center speaker It redistributes the center speaker sound to the left and right speakers providing conventional stereo across the fr...

Page 13: ...UME clockwise until you hear a click The LED indicator will light up in green Switching the subwoofer to Standby mode Rotate the subwooferVOLUME counterclockwise until there is a click The LED indicator light will turn red Volume Adjustment You can adjust the subwoofer to suit the sound level of your front speakers Reinforcing the bass sound gives you a greater sense of atmosphere 1 Adjust the VOL...

Page 14: ...V on the remote control only to select TV orVideo mode DISPLAY SCREEN to view the current status of the system DISCTRAY DISC CHANGE to change disc s OPEN CLOSE to open or close the disc tray DISC 1 DISC 2 DISC 3 DISC DIRECT PLAY to select a disc tray for playback DPL DISPLAY PANEL to view the selected Dolby Pro Logic setting DOLBY PRO LOGIC DPL to select Dolby Surround Dolby Center Phantom Dolby 3...

Page 15: ...d Surround speakers º CENTER to adjust the sound level of the center speaker TIMER ON OFF to activate or deactivate the timer function SLEEP to activate deactivate or set the sleep timer function MUTE to interrupt or resume sound reproduction REAR to adjust the sound level of the surround speakers fi BALANCE L R to balance the sound level of the front left and right speakers fl SHUFFLE to playback t...

Page 16: ... EASY SET is displayed The system will search for all radio stations on the FM band and then the AM band All available radio stations with sufficient signal strength will be stored automatically The system will stop searching when all the available radio stations are stored or when the memory for 40 preset radio stations is used The last preset radio station will then be played when Easy Set compl...

Page 17: ...remote control LOW POWER STANDBY ON will be displayed after which the display screen will go blank The low power STANDBY ON LED will be lighted Note If the demonstration has not been deactivated it will resume five seconds later after the system has switched to Eco Power Standby or Standby mode Power Saving Automatic Standby As a power saving feature the system will automatically switch to Standby...

Page 18: ...OG CONTROL to select the desired Personal setting number and press á on the system to confirm the selection ADAPT LOW FREQ LEVEL will be displayed 3 Adjust the JOG CONTROL to select the desired Spectrum Analyzer band level for low frequency The level will increase or decrease between 3 and 3 4 Press á to confirm the selection ADAPT MID FREQ LEVEL will be displayed and the next followed by ADAPT HI...

Page 19: ...SS TREBLE CONTROL to select the desired BASS orTREBLE levels respectively The BASS TREBLE level will increase or decrease between level 3 and 3 Press BASS or repeatedly to select the low tone level BASS X or BASS X will be displayed Press TREBLE or repeatedly to select the high tone level TREBLE X or TREBLE X will be displayed Note X denotes the sound level Basic Functions Automatic DSC DBB VEC DB...

Page 20: ...o each tray Discs for Playback This system can playback all digital audio CD finalized digital audio CD Recordable CDR discs and finalized digital audio CD Rewritable CDRW discs Loading Discs 1 Press CD to select CD mode 2 Press OPEN CLOSE to open the disc tray 3 Load up to two discs on the disc tray To load the third disc press DISC CHANGE The disc tray will rotate until the empty tray is ready f...

Page 21: ...retrieve the inner disc and then open again with the inner disc accessible Programming the disc tracks Programming tracks is possible when playback is stopped Up to 40 tracks can be stored in the memory in any order 1 Load the desired discs on the disc tray refer to Loading Discs 2 Press PROG to start programming PROGRAM will start flashing 3 Press CD CD 1 2 3 or DISC 1 2 3 button to select a disc...

Page 22: ...T and PROGRAM will appear on the display The selected track disc s will now be played repeatedly until you press Ç 2 To resume normal playback press REPEAT until the OFF mode is displayed REPEAT will disappear from the display Note Selecting SHUFFLE during repeat playback will cancel all repeat modes CD Operation Shuffle All the available discs and their tracks or all the programmed tracks can be ...

Page 23: ...th sufficient signal strength will be stored automatically The system will stop searching when all the available radio stations are stored or when the memory for 40 preset radio stations is used The last preset radio station will then be played when completed To exit without storing the preset When automatic preset is in progress press PROG or Ç on the system Note If no preset number is selected a...

Page 24: ... your system 2 Press AUX CDR DVD repeatedly to select CDR DVD or normal AUX mode CDR DVD or AUX will be displayed When CDR DVD mode is selected any audio equipment connected to LINE OUT terminals of this mini system will be muted You will not be able to record or listen to the sound from the LINE OUT source MINI HIFI SYSTEM BAND C1 2 3 CDR STOP CLEAR SEARCH TUNING PLAY PAUSE PREV NEXT SIDE PRESET ...

Page 25: ...PE CD TUNER AUX LEFT CENTER RIGHT SURR SURR IMPORTANT Before playing a tape check and tighten slack tape with a pencil Slack tape may get jammed or may burst in the mechanism C 120 tape is extremely thin and is easily deformed or damaged It is not recommended for use in this system Store the tapes at room temperature and do not put them too close to a magnetic field for example a transformer TV or...

Page 26: ... During rewinding or fast forwarding of a tape it is also possible to select another source CD TUNER or AUX for example General Information on Recording For recording use only tape of IEC type I normal tape or IEC type II Cr02 The recording level is set automatically regardless of the position of theVolume VEC DSC and so forth The tape is secured at both ends with leader tape At the beginning and ...

Page 27: ...em to be recorded refer to CD Operation Programming the disc tracks 2 Press RECORD to start recording The disc will start playback automatically To select another track during recording 1 Press PAUSEÉ Å to interrupt recording 2 Pressí or ë or Digit 0 9 on the remote control to select the desired track 3 Press PLAYÉ Å to resume recording To stop recording Press Ç Recording and disc playback will st...

Page 28: ... selected AM 12 00 will start flashing If 24 hour mode is selected 00 00 will start flashing 3 Press à or á on the system repeatedly to set the hour 4 Press í or ë on the system repeatedly to set the minute 5 Press CLOCK TIMER again to store the setting The clock will start working To exit without storing the setting Press Çon the system Notes The clock settings will be cancelled when the power co...

Page 29: ...ng if no button is pressed within 90 seconds the system will exit timer setting mode automatically To deactivate theTIMER Press TIMER ON OFF on the remote control The display will show CANCEL and TIMER will disappear from the display To activate theTIMER Press TIMER ON OFF on the remote control The last timer setting will be shown for a few seconds and TIMER will appear on the display SleepTimer S...

Page 30: ...ght System shielded 3 way Bass reflex Impedance 6 Ω Woofer 1 x 6 5 full range Tweeter 1 x 2 5 Ferrofluid Dimensions w x h x d 240 x 310 x 290 mm 9 45 x 12 20 x 11 42 inch Weight 4 9 kg each 10 80 pounds each Surround speakers System closed satellite Impedance 6 Ω Speaker Driver 1 x 4 full range Dimensions w x h x d 235 x 135 x 155 mm 9 21 x 5 31 x 6 10 inch Weight 1 07 kg each 2 36 pounds each Cen...

Page 31: ...ghtly moistened with cleaning fluid or alcohol You also can clean the heads by playing a cleaning tape once C C B B A Demagnetizing the heads Use a demagnetizing tape available at your dealer Troubleshooting WARNING Under no circumstances should you try to repair the system yourself as this will invalidate the warranty Do not open the system as there is a risk of electric shock If a fault occurs f...

Page 32: ...r connections and location reversed The remote control does not function Select the source CD orTUNER for example properly before pressing the function button É í ë Reduce the distance to the system Insert the batteries with their polarities signs as indicated Replace the batteries Point in the direction of the system s sensor The timer is not working Set the clock correctly Press theTIMER ON OFF ...

Page 33: ...RVICE AVAILABLE Warranty service is available in all countries where the product is officially distributed by Philips Consumer Electronics Company In countries where Philips Consumer Electronics Company does not distribute the product the local Philips service organization will attempt to provide service although there may be a delay if the appropriate spare parts and technical manual s are not re...

Reviews: