2-8
SPR 00 0112
20
E n g l i s h
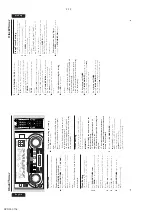
CD Operation
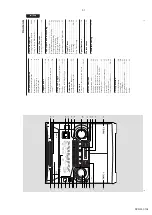
DISC CHANGE
DISC 1
DISC 2
DISC 3
OPEN•CLOSE
D
C
3
CHANGER
MINI HIFI SYSTEM
BAND
C1
• 2 • 3
CDR
DUB
(HSD)
RECORD
DIM
CLOCK/
TIMER
PROG
V
O
L
U
M
E
STOP•CLEAR
SEARCH
•TUNING
PLAY PAUSE
PREV
NEXT
SIDE
PRESET
▲
▲
TREBLE
DYNAMIC BASS BOOST
1
3
2
4
6
5
7
9
8
VOLUME
á
à
ë
í
Ç
0
2
AUX/CDR
TV/AV
CD 123
TUNER
TAPE 1/2
AUTO REV.
CLOCK
BALANCE
CENTER
REAR
DPL
TEST TONE
BTC
TV VOL
TV VOL
SHUFFLE
DIM
REPEAT
LR
+
-
+
-
DSC
VEC
PER
BTC
Å
É
IR SENSOR
AUTO
REVERSE
ECO POWER
PRO LOGIC
BASS
TREBLE
DEMO STOP
JOG CONTROL
STANDBY-ON
B
A
S
S
/T
R
E
B
LE
PE
RS
ON
AL
DS
C
V
E
C
T
APE 1•2
CD 1•2•3
FM•AM
CDR/DVD
T
APE
CD
TUNER
AUX
LEFT
CENTER
RIGHT
SURR
SURR
IMPOR
T
ANT!
–
This system is designed for regular discs
.
Ther
efor
e
, do not use an
y accessories such
as disc stabiliz
er rings or disc tr
eatment
sheets
, etc
., as offer
ed on the market,
because the
y may cause jamming of the
changer mechanism.
–
Do not load more than one disc into
each tr
ay
.
Discs f
or Pla
yback
This system can pla
yback all digital audio CD
,
finaliz
ed digital audio CD-Recordab
le (CDR)
discs and f
inaliz
ed digital audio CD-Rewr
itable
(CDR
W)discs.
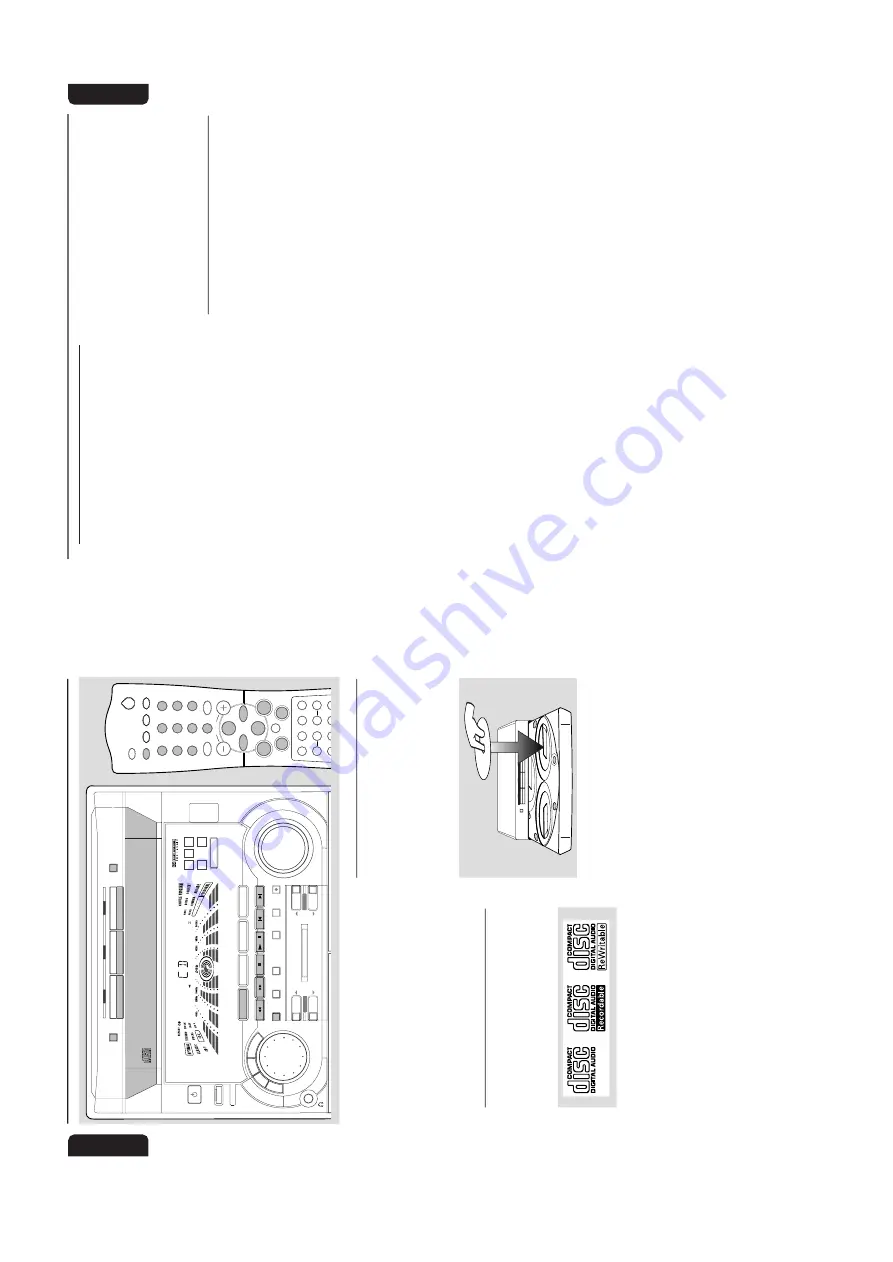
Loading Discs
1
Press
CD
to select CD mode
.
2
Press
OPEN•CLOSE
to open the disc tr
ay
.
3
Load up to tw
o discs on the disc tr
ay
.
To
load
the third disc
, press
DISC CHANGE
.
➜
The disc tr
ay
will rotate until the empty tr
ay
is ready f
or loading.
3
CD CHANGER
CLOCK
. TIMER
VOLUME
DEMO
PRESET
T
UNING
SHUFFLE
TIMER
PLAY
MODE
SIDE
SET CLOCK
TIMER SET
BAND
RECORD
DUBBING
CD
TAPE
PROGRAM
CLEAR
RDS
MODE
1
2
3
TIMER
DBB
PROGRAM
AMPM
SHUFFLE FM
MW LW
SW STEREO
NR
FRONT
BACK
RECORD
HSD
2
2
1
DISC CHANGE
DISC 1
DISC 2
DISC 3
OPEN•CLOSE
1
4
Press
OPEN•CLOSE
to close the disc tr
ay
.
➜
"
READING
" will be displa
yed.
The selected
disc
, total number of tr
acks and the pla
ying time
will appear on the displa
y.
➜
A lighted b
utton indicates that a disc is loaded
on the disc tr
ay
.
Notes:
–
Load the discs with the label side f
acing up.
–T
o ensur
e good system perf
ormance
, w
ait until
the disc tr
ay completely r
eads the disc(s) bef
or
e
pr
oceeding.
21
En
gli
sh
CD Operation
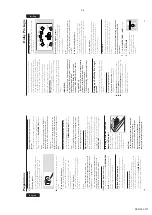
Discs Pla
yback
To
pla
yback all discs on the disc tra
y
●
Press
PLA
Y
É
Å
.
➜
All the a
vailab
le discs will pla
yback once and
then stop
.
➜
Dur
ing pla
yback,
the selected disc tr
ay
, tr
ack
n
umber and elapsed pla
ying time of the cur
rent
tr
ack will appear on the displa
y.
To
pla
yback one disc onl
y
●
Press the DISC DIRECT PLA
Y button :
DISC 1
,
DISC 2
or
DISC 3
.
➜
The selected disc will pla
yback once and then
stop
.
To
inter
rupt pla
yback
●
Press
PA
USE
É
Å
.
●
To
resume pla
yback,
press
PLA
Y
É
Å
again.
To
stop pla
yback
●
Press
Ç
.
To
sear
ch f
or a par
ticular passa
ge during
pla
yback
●
Press and hold
à
or
á
and release it when
the desired passage is located.
➜
Dur
ing searching,
the v
olume will be reduced.
To
select a desir
ed track
●
Press
í
or
ë
repeatedl
y (or
Digits 0–9
on
the remote control) until the desired tr
ack
appear
s on the displa
y.
●
If in the stop position,
press
PLA
Y
É
Å
to star
t
pla
yback.
Note:
–
If in Shuffle mode
, pressing
í
will cause the
play
er skip only to the beginning of the current
tr
ac
k.
To
skip to the beginning of the curr
ent
track during pla
yback
●
Press
í
once
.
Replace discs during pla
yback
1
Press
DISC CHANGE
.
2
To
change the inner disc
, press
DISC
CHANGE
again.
➜
"
DISC CHANGE
" will be displa
yed and the
disc will stop playing.
➜
The disc tr
ay
will close to retr
iev
e the inner
disc and then open again with the inner disc
accessib
le
.
Pr
o
gramming the disc tracks
Progr
amming tr
acks is possib
le when pla
yback is
stopped.
Up to 40 tr
acks can be stored in the
memor
y in an
y order
.
1
Load the desired discs on the disc tr
ay
(ref
er to
“Loading Discs”).
2
Press
PR
OG
to star
t progr
amming.
➜
PROGRAM
will star
t flashing.
3
Press
CD
(CD 1•2•3) or
DISC 1/2/3
button
to select a disc
.
4
Press
í
or
ë
(or
Digits 0–9
on the remote
control) to select the desired tr
ack.
5
Press
PR
OG
to store the tr
ack.
●
Repeat
steps 3–5
to store other discs and
tr
acks.
6
Press
PLA
Y
É
Å
to star
t progr
am pla
yback.
➜
"
PLAY PROGRAM
" will be displa
yed.
●
To
end
progr
amming without playback,
p
ress
Ç
once
.
➜
The total n
umber of tr
acks progr
ammed and
total pla
ying time will appear on the displa
y.
Notes:
–
If the total playing time is mor
e than "
99:59
"
or if one of the pr
og
rammed tr
ac
ks has a number
greater than 30,
then "
--:--
" will appear on the
display instead of the total playing time
.
–
If you attempt to pr
og
ram mor
e than 40 tr
ac
ks
,
"
PROGRAM FULL
" will be display
ed.
–
If you pr
ess any of the DISC DIRECT PLA
Y
buttons
, the system will playbac
k the selected disc
or tr
ac
k and the stored pr
og
ram will be ignored
tempor
ar
ily
. The
PR
OGRAM
display also will
disappear tempor
ar
ily fr
om the display
. It will
reappear when playbac
k of the selected disc ends
.
–
Dur
ing pr
ogr
amming,
if no button is pressed
within 20 seconds
, the system will exit the Pr
ogram
mode automatically
.
Summary of Contents for FW-P900
Page 20: ...D O N O T P R I N T B L A N K P A G E ...
Page 25: ...4 1 4 1 SET BLOCK DIAGRAM PCS 103 615 Blue Strip wOOx BassTreble ...
Page 44: ...PCS 103 378 9 6 9 6 COMPONENT LAYOUT CHIP LAYOUT 3 4 2 1 6 5 3 4 2 1 6 5 ...
Page 55: ...10 3 CS 53 302 Service Position ...
Page 56: ...10 4 CS 53 303 Wiring ...
Page 74: ...D O N O T P R I N T B L A N K P A G E ...
Page 101: ...14 1 14 1 SPR 00 0142 ...


