2-13
Brief Operating Instructions
FEA
TURES
24
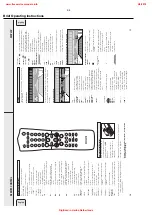
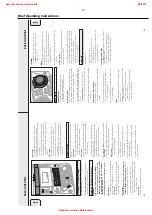
Storing text during stop mode
After you have recorded your CDR(W) you can enter text, e.g.
names to discs and tracks. The text will be displayed during
playback. Y
ou can enter up to 60 characters per text field.
Only use an unfinalized CDR or CDRW (finalized CDRW must
be unfinalized first).
1
If necessary
, press
Ç
STOP
on the unit (
Ç
on the remote
control) to stop playback.
2
Press CDR to select the CD recorder
.
3
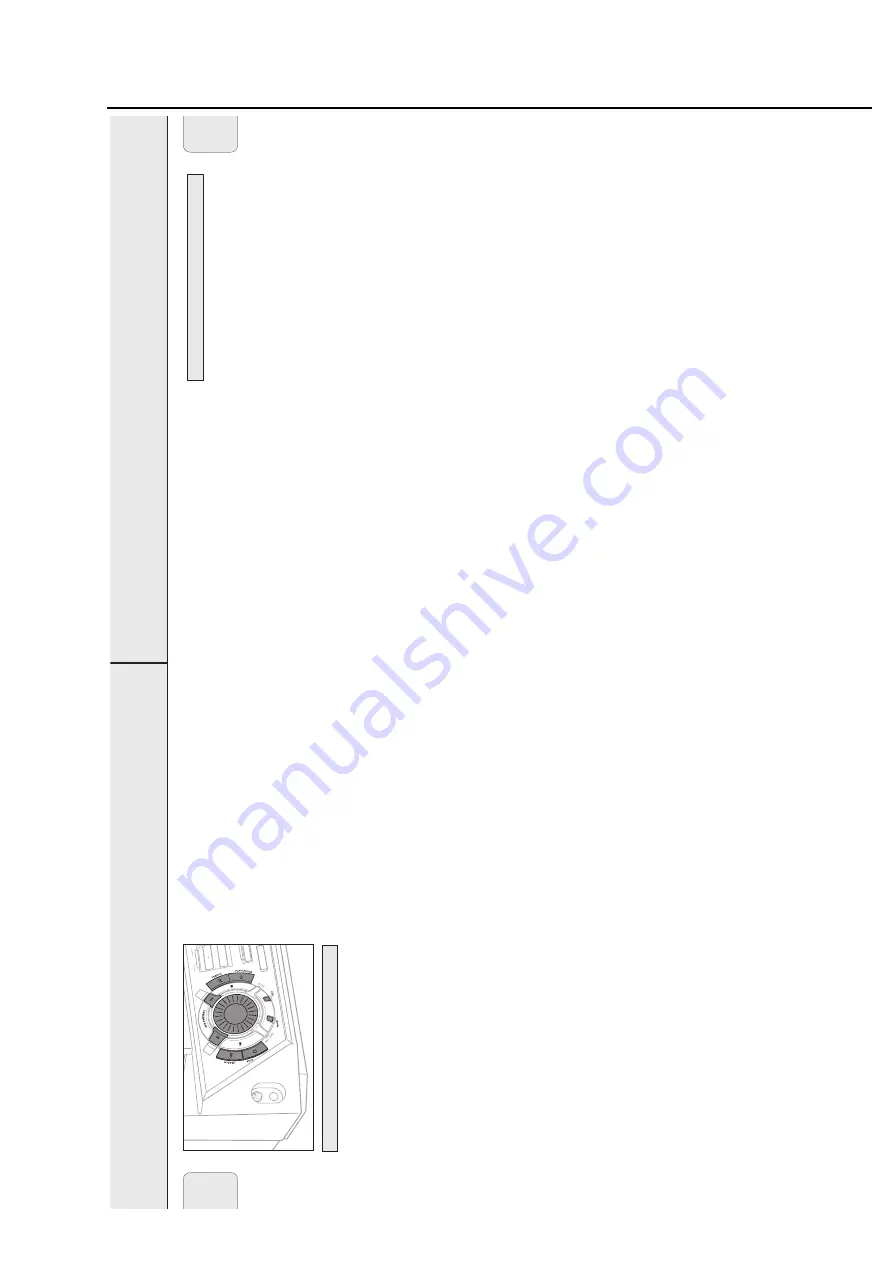
Press EDIT TEXT on the unit to enter the text edit menu.
y
CD
TEXT
EDIT
is blinking,
Text Edit
is displayed.
4
Press YES to confirm.
5
Rotate
í
JOG CONTROL
ë
to select either:
y
Album Artist
: for editing the CD artist.
y
Album Title
: for editing the CD title.
y
Artist Tr 1
or (
2
,
3
,…): for editing the artist of
track 1 or (2,
3,…).
y
Title Tr 1
or (
2
,
3
,…): for editing the title of track 1
or (2,
3,…).
6
Press YES to confirm the selection.
7
Rotate
í
JOG CONTROL
ë
(press the alphabet keys on
the remote control) to select a character
.
8
Press YES to confirm the selection.
y
The cursor moves to the next character space.
9
Repeat steps 7 and 8 for adding further characters.
10
Press EDIT TEXT to save the characters that have been
selected and to exit to the last position in the text editing
menu.
y
Update
is displayed.
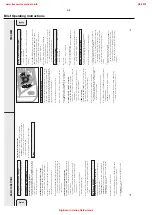
Storing text during recording
You can store and edit text even while recording a single
track or single CD, or when recording from an external source
or tuner
. Editing text during finalizing is not possible. Make
sure, when using high speed recording and automatic
finalizing, to enter the text before finalizing starts, otherwise
automatic finalizing will be cancelled.
•
Follow steps 3–10 of “Storing text during stop mode”.
Note: Editing text is not possible when a copy protected track
is analog recorded. Editing is stopped,
CDText
Saved
is displayed and your text is saved for later
editing.
Auto copied text
When an artist’
s name has been stored for a track, it will be
copied automatically into the next track.
•
Press either:
EDIT TEXT to confirm the copied text,
or
NO to delete the copied text and enter new text.
Inserting a space
1
Press
à
SEARCH
or
á
SEARCH
(
à
or
á
on the remote
control) to move to the position where the space is to be
inserted.
y
The position starts blinking.
2
Press YES to confirm the position of the insert character
.
y
A space will be inserted, text will move to the right.
Deleting and substituting a character
1
Press
à
SEARCH
or
á
SEARCH (
à
or
á
on the remote
control) to move to the character’
s position to be deleted or
substituted.
y
The character starts blinking.
2
If you want to delete the character:
Press NO.
y
The character is deleted and the text is shifted one
position to the left.
If you want to substitute the character:
Rotate
í
JOG CONTROL
ë
(press the alphabet keys on
the remote control) to select a new character
.
Press YES to confirm the selection.
•
To change another character
, press
à
SEARCH
or
á
SEARCH
(
à
or
á
on the remote control).
EDIT TEXT (on CD recorder only)
English
M
IC
M
IC
L
E
V
E
L
REC TY
PE
E
D
IT
C
O
M
P
IL
E
C
D
FIN
A
LIZ
E
C
D
C
D
RECORD
FEA
TURES
25
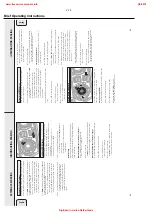
Erasing text
1
Press EDIT TEXT to enter the text edit menu.
y
CD
TEXT
EDIT
is blinking,
Text Edit
is displayed.
2
Rotate
í
JOG CONTROL
ë
to select the text erase menu.
y
Text Erase
is displayed.
3
Press YES to confirm.
4
Rotate
í
JOG CONTROL
ë
to select one of the following:
y
All Text
: All text of the selected disc is chosen to
be erased in one step.
y
Album Artist
: CD artist’
s name is chosen to be
erased.
y
Album Title
: CD title is chosen to be erased.
y
Artist Tr 1
or (
2
,
3
,…): artist’
s name of track 1 or
(2,
3,…) is chosen to be erased.
y
Title Tr 1
or (
2
,
3
,…): title of track 1 or (2,
3,…)
is chosen to be erased.
5
Press YES to confirm your selection.
y
Erase?
or
Erase All?
is displayed.
6
Press YES to start erasing.
y
Update
is displayed and the chosen text is erased.
Erasing from the memory
When the text memory of your CD recorder is full, the messages
Memory Full
and
Finalize Disc
will be displayed. If
you still want to add a new disc to the text memory
, you either
have to erase another disc from the memory or you have to
finalize another disc.
1
Press EDIT TEXT to enter the text edit menu.
y
CD
TEXT
EDIT
is blinking,
Text Edit
is displayed.
2
Rotate
í
JOG CONTROL
ë
to select the memory view
menu.
y
Text Memory
is displayed.
3
Press YES to confirm.
4
Rotate
í
JOG CONTROL
ë
to select the disc you wish to
erase from the text memory
.
5
Press YES to confirm.
y
Erase Memory
is displayed.
6
Press YES to confirm the text erasure of that particular disc.
Note: If there are no discs stored in the text memory
,
Memory
Empty
will be displayed.
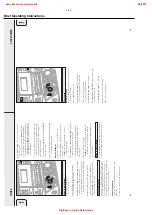
You can create a “track” by marking a passage of music within
one track on the current disc. This new “track” can be used for
recording or playing. The minimum track length is 4
seconds.
1
Press EDIT TRACK on the unit.
y
EDIT
TRACK
starts blinking,
Track
and the current track
number
?
are displayed. The current track number also
blinks in the music calendar
.
2
Rotate
í
JOG CONTROL
ë
until the desired track
number is displayed.
3
Press YES to confirm the selected track.
y
The marker position
A
and the track time will be
displayed. The first 4 seconds of the track will be played
continuously
.
4
Press
É
PLA
Y/P
AUSE on the unit to play to the desired
start position of your new “track” (The initial position of
marker
A
is always the start of the chosen track).
•
To fast forward to the desired start position, press
à
SEARCH
or
á
SEARCH on the unit.
•
To fine tune the position, first press
É
PLA
Y/P
AUSE on the
unit, then rotate
í
JOG
CONTROL
ë
.
5
Press YES to confirm the position of marker
A
.
y
The marker position
B
and the new “track” time will be
displayed. The first 4 seconds before marker position
B
until marker position
B
will be played continuously
.
6
Press
É
PLA
Y/P
AUSE on the unit to play to the stop position
of your new “track” (the initial position of marker
B
is always
the position of marker
A
plus 4
seconds).
7
Press YES to confirm the marked passage.
y
EDIT
TRACK
is shown,
A-B
and the track edit time are
displayed.
Note: If you open the CD changer tray
, the edit is deleted.
Clearing the track edit
1
Press NO during stop.
y
Clear A-B?
is displayed.
2
Press YES to clear the markers.
y
The markers
A-B
are cleared.
Track editing (on CD changer only)
English
www.freeservicemanuals.info
2/4/2018
Digitized in Heiloo Netherlands


