A
F
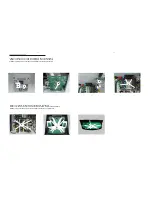
1)Remove 2 screws A and 1 screw B as indicated to loosen the Main Board.
2)Remove 2 screws C and 1 screw D as indicated to loosen the Tuner Board.
3)Remove 2 screws E and 4 screws F as indicated to loosen the Amp Board.
4)Remove 6 screws G as indicated to loosen the Switch power Board.
B
D
C
E
5)Remove screws H as indicated to loosen the Display Board & Key Board & Usb Board.
6)Remove Top panel and 6 screws I as indicated to loosen the Top Key Board.
G
H
I
Summary of Contents for FWM6000/10
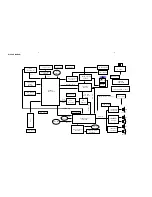
Page 18: ...WIRING DIAGRAM 4 1 4 1 ...
Page 21: ......
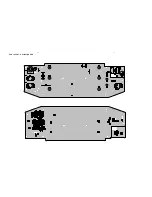
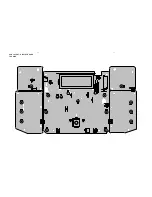
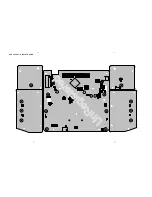
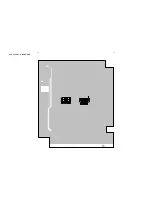
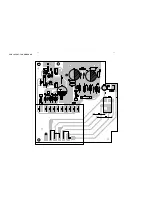
Page 22: ...PCB LAYOUT MAIN BOARD TOP SIDE 6 2 6 2 ...
Page 23: ...PCB LAYOUT MAIN BOARD BOTTOM SIDE 6 3 6 3 ...
Page 25: ...PCB LAYOUT KEY BOARD 7 2 7 2 ...
Page 26: ...PCB LAYOUT KEY MIC BOARD 7 3 7 3 ...
Page 27: ...PCB LAYOUT DISPLAY BOARD TOP SIDE 7 4 7 4 ...
Page 28: ...PCB LAYOUT DISPLAY BOARD 7 5 7 5 ...
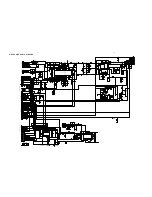
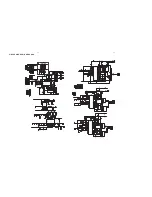
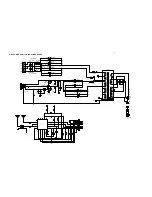
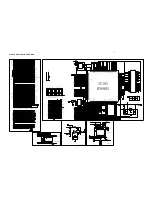
Page 29: ...CIRCUIT DIAGRAM AMP BOARD 8 1 8 1 ...
Page 31: ...PCB LAYOUT AMP BOARD TOP SIDE 8 3 8 3 ...
Page 32: ...PCB LAYOUT AMP BOARD 8 4 8 4 ...
Page 33: ...PCB LAYOUT TUNER BOARD 8 5 8 5 ...
Page 35: ...PCB LAYOUT MCU BOARD TOP SIDE 9 2 9 2 ...
Page 36: ...PCB LAYOUT MCU BOARD BOTTOM SIDE 9 3 9 3 ...
Page 38: ...PCB LAYOUT CD BOARD TOP SIDE 10 2 10 2 ...
Page 39: ...PCB LAYOUT CD BOARD BOTTOM SIDE 10 3 10 3 ...
Page 40: ...11 1 11 1 EXPLODED VIEW ...

