1.0 TECHNICAL SPECIFICATION and SERVICE HINTS
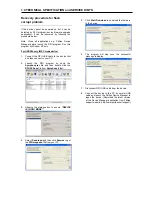
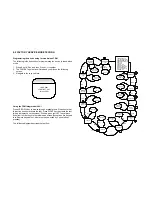
AC/DC adapter and to the computer with the
provided USB cable.
2. Launch
the
Device Manager
at
Start->Programs-
>Philips GoGear HDD->Philips GoGear HDD
on
your PC
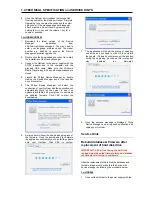
A dialogue box will pop up; click
Restore
and
OK
to confirm and start restoring the unit to its factory
setting.
3. Follow all screen instructions to complete the
restoration.
4. The Device Manager will close automatically once
the success message is displayed. Close all
opened application and then safely remove your
GoGear micro jukebox by clicking on the
icon
in your task tray bar. When prompted, “The USB
Mass Storage Device can now be safely removed
from the system”, click OK and unplug your micro
jukebox.
5. Once the GoGear micro jukebox is disconnected
from the computer, the display will show “Firmware
Upgrading” for a couple of seconds and then start
up as usual.
For HDD086/HDD085/HDD082
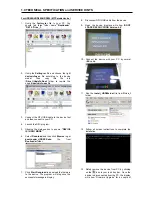
1. Download the latest version of the Device
Manager application from
http://www.philips.com/support. You may need to
enter your language preference and the model
number e.g.hdd085, to access the Device
Manager application upgrade file.
2. Double click the downloaded execution file to start
the installation of the Device Manager.
3. Connect the GoGear to the power supply with the
AC/DC adapter and to the computer with the
provided USB cable. Make sure that Windows
Media Player along with any other applications are
closed.
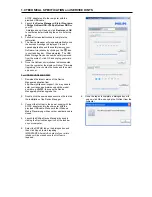
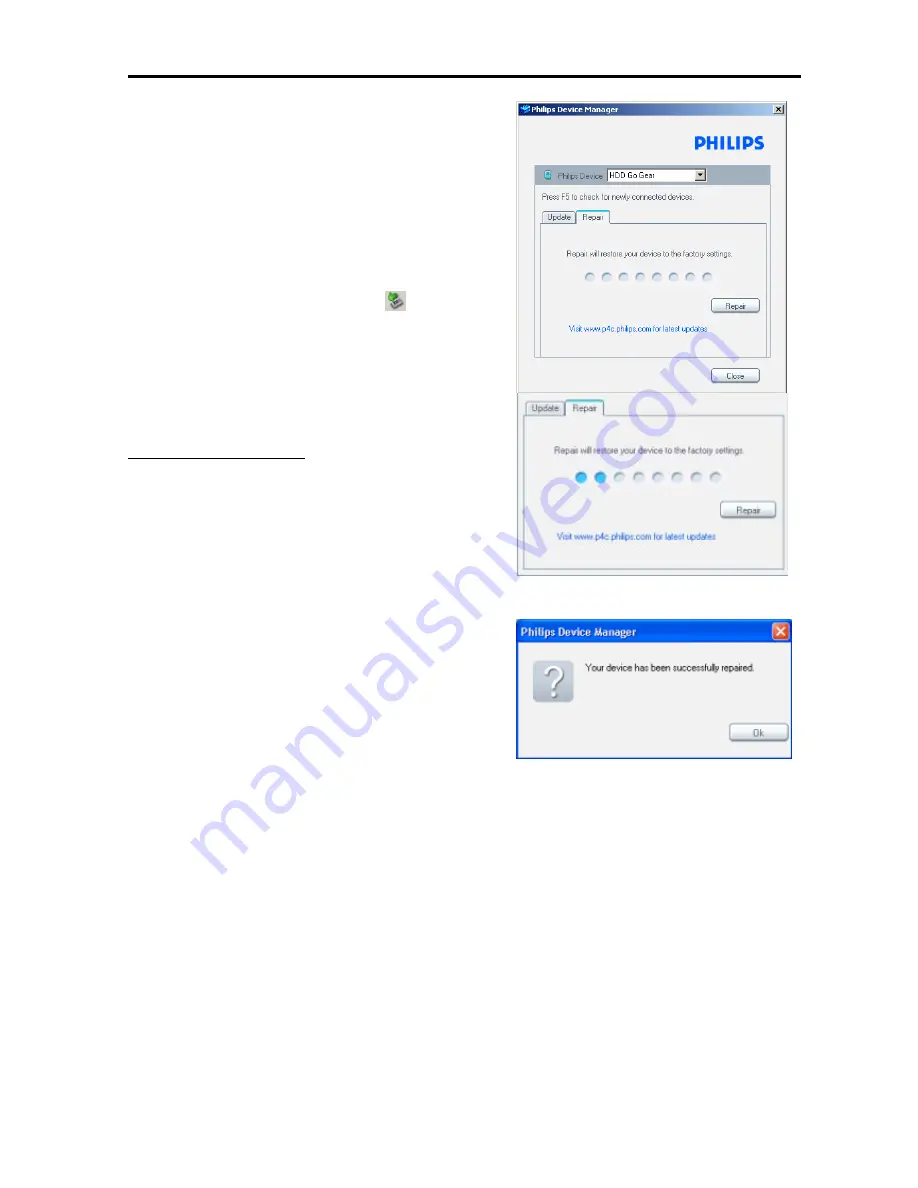
4. Launch the Philips Device Manager by double
clicking the Device Manager icon at the task bar
on your computer.
5. Select the REPAIR tab on the dialogue box and
then click Repair to start repairing.
IMPORTANT: All music & content of your micro
jukebox will be erased once the GoGear is
repaired.
6. Once the repair is complete a dialogue box will
pop up; click OK and unplug the GoGear from the
computer.


