6.0 FACTORY SERVI
C
E MODE TESTING
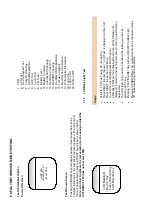
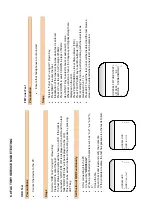
1. FSM
Test USAGE
Descrip
tion
2. LCD
Test
Po
w
er O
N
s
creen
3.
Device Keypad Test
4.
5-
key R
emote Key
<
HDD 084>
<
F
S
M
/DVT X.X
>
<
W
eek
XX
X>
5. SDRAM
R
ea
d/Write
6. HD
D
Te
st
7. Audio
Te
st
8. FM
Tune
r
9. Battery
Level
10. Battery
Charging
11. Internal
MIC
Che
cking
12. RealTi
me
Cl
ock
RT
C
13. EEPROM
Check
ing
14. Harddi
sk
HDD
Initializatio
n
15. Firmware
Up
grad
e
16. Rea
d
Devi
ce
Information
17.
Write Device Information
Test Bro
w
se
Screen
18.
Log to file
19.
Log to LCD
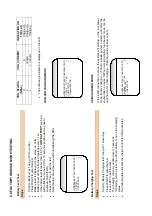
Pressing
UP/DOWN keys will
display
names of test ca
ses that can be
sele
cted follo
wing a
re the test ca
se
s tha
t are displ
aye
d. The cu
rren
t test
that will be selected by
pressi
ng RIGHT
key will be as shown bel
ow.
20.
Write to RTC
Note: sc
roll bar to indica
te th
e tes
t se
lected c
an b
e used prov
ided the
UI+FSM/
D
VT
FW does no
t exce
ed 1 M
B
.
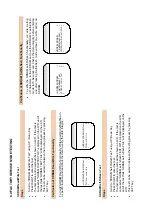
1.1.3
LCD
Bac
k Light Tes
t
LCD B
acklight
> Device Key 5-key Remote
Key
LCD R
emote Key
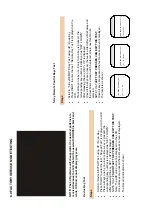
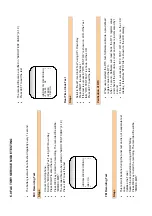
Steps
•
Sc
roll to “LCD Tes
t” us
ing UP / Down K
ey
•
Press RIG
H
T
to enter the test. “ LCD Te
st” is di
splaye
d on the LCD.
•
Press RIG
H
T
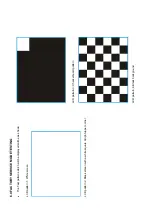
to see the first bitmap
•
To view the n
ext bitmap press RIG
H
T a
gain.
•
4 bitmaps
(T
BD) are thus
displ
ayed an
d once all the
bitmaps a
re
dis
played, it return to the tes
t bro
w
se
r scre
en, wh
ere a next test ca
n
be sel
ect
ed
.
•
The LCD test
can be exite
d in
betwe
en
the testing proce
ss by
pre
ssi
ng LEF
T
key.
•
Pressing “PLAY/PAUSE” Key w
ill turn ON/OFF the
Back Li
ght.
•
Pressin
g UP/DO
W
N Key T
he co
ntra
st level can be
ch
ange
d in step
s
of 1 while di
splaying the te
st pattern
s.
Summary of Contents for HDD082
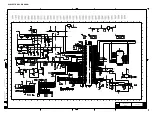
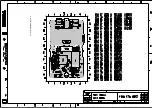
Page 22: ...9 0 COMPONENT LAYOUT ...
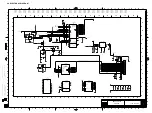
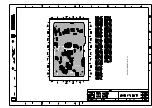
Page 23: ...9 0 COMPONENT LAYOUT ...
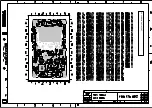
Page 24: ...9 0 COMPONENT LAYOUT ...


