Temperature and Fabric Guide
Follow garment label instructions for best ironing results.Test iron temperature setting on an inside
or small hidden section of garment before ironing.
Fabric guide located on the heel rest of iron gives temperature settings for most common fabrics.
Ironing velvet or any other nap/sensitive fabric is not recommended. Be sure to check manufacturers label for care instructions.
*Trademarks of fiber manufacturers.
IRONING INSTRUCTIONS
Turn Te m p e r a t u re Control to section marked
•
S t a rt at the beginning
of Min section and slowly increase temperature setting as needed to
reach proper temperature.
Iron delicate fabrics on wrong side to avoid shining or glazing.If
moisture is necessary, use a press cloth and MED setting.
When pressing suede, use brown paper as press cloth and to cover
ironing board.This will help prevent suede from rubbing off.
When pressing Ultrasuede* use a press cloth and press lightly on
wrong side. Brush fabric lightly to remove press marks.
When pressing some triacetates,a higher heat setting may be
required.Slowly increase temperature as needed to reach proper
temperature.
Turn Temperature Control to section marked
•
. Start at the
beginning of the
•
section for lightweight 100% synthetic permanent
press fabrics.Some heavier polyester fabrics may require steam at
positions 1 (
•
) or 2 (
••
) setting.Some durable silk fabrics may
require a higher heat setting.Slowly increase setting as needed to
reach proper temperature.
Turn Te m p e r a t u re Control to
• • •
.Turn Steam Control to Position
.
Most permanent press blends containing cotton require this setting.
Test iron on inside seam or small hidden section of garment.If shine
or color change occurs,use a press cloth.
Turn Te m p e r a t u re Control to
• • •
or
• •
. Turn Steam Control to
Position .
When ironing wool,always use a press cloth and moisture. Never
press wool dry.
Turn Temperature Control to maximum setting. Turn Steam Control
to Position . Lightly dampen fabric for thorough pressing.Iron dark
colored fabrics on the wrong side to avoid shining.
TEMP
CONTROL
SETTING
Min
Lo
Med
Med
Max
STEAM
SETTING
O= Dry Iron
Only
O= Dry Iron
Only
Pos.1=
.
Pos.1=
.
Pos. 2= .
Pos. 2= .
FABRIC
Acetates
Acrylics
Acrilan*
Creslan*
Orlon*
Sheer Synth
Suede
Ultrasuede
Nylons
Antron*
Caprolan*
Qiana*
Triacetates
Arnel*
Metallics
Polyesters
Dacron*
Fortrel*
Kodel*
Trevira*
Rayon
Silk
Perm Press
Polyester
Cotton
Wool
Cotton
Linen
9
3
3
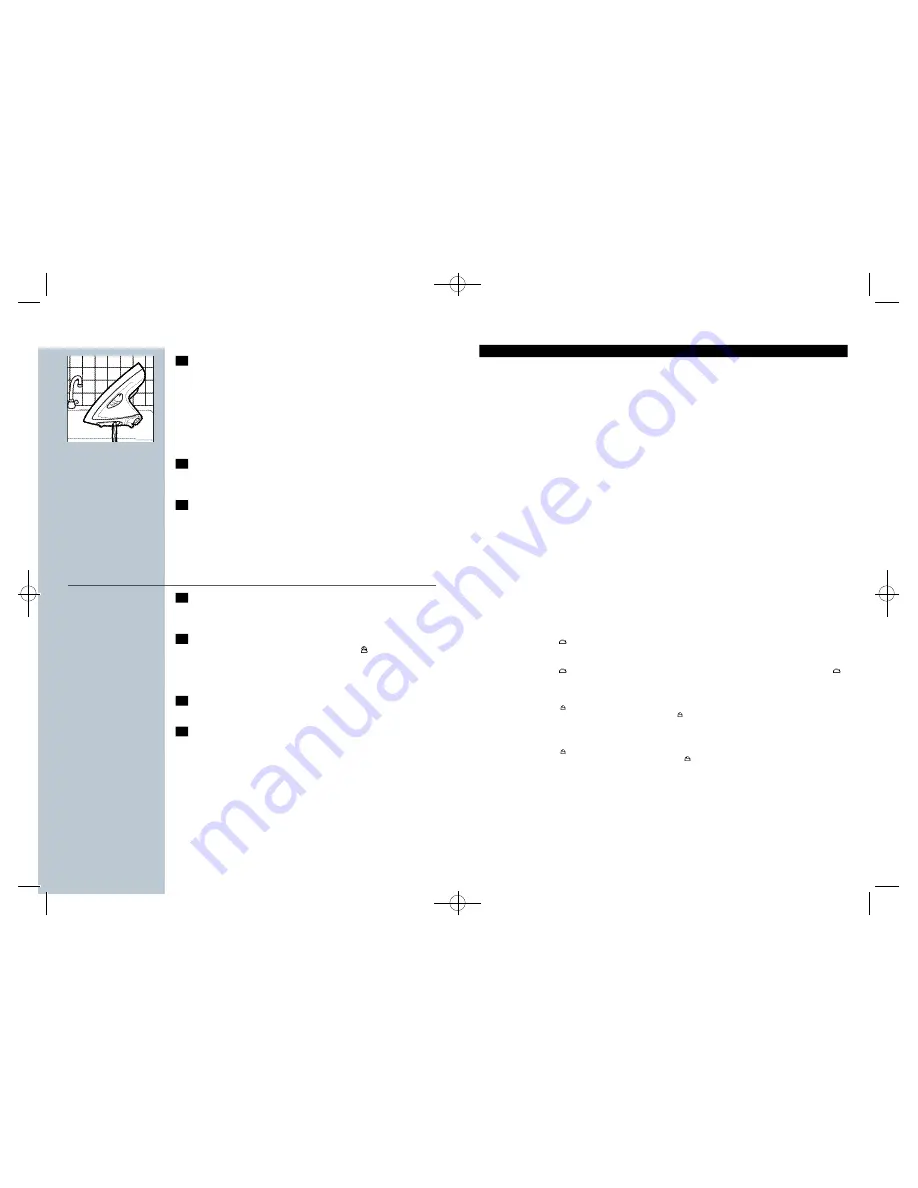
Regularly rinse the removable water reservoir with water.
Empty the removable water reservoir after cleaning or before
storing.
4
Loop cord around cord wrap when storing.
Always store the iron standing on its heel in a safe dry place.
5
To clean body of iron, use mild detergent and soft cloth only.
Never use harsh household cleansers, abrasive cleansers or
scouring pads to clean iron housing
– scratching/fading of
housing colors may occur
.
To clean and maintain
Ceralon Non-Stick Coated Soleplate
1
To remove residue build-up on soleplate, allow iron to cool and
clean soleplate with soft cloth and non-abrasive cleanser. Most
built-up materials should come off easily.
2
To clean vents, fill iron with water and set Temperature Control
to maximum setting. Set Steam Control to . Allow iron to
heat up until Amber Pilot Light goes off. Allow to Steam for a
few minutes. Iron over old cotton cloth to remove remaining
cleanser from bottom and steam vents.
3
Unplug cord from electrical outlet, empty removable water
reservoir and allow iron to cool down completely.
4
Wipe soleplate clean before storing.
Note:
Scratches in Non-Stick Coated Soleplate do not affect
performance of iron. If residue becomes lodged in scratches follow
steps 1 and 2 above to clean.
8
HI296/IRON.V1 1/13/00 2:12 PM Page 12


