- After a few minutes, pilot light “Iron heating
up” (H) will go out. This indicates that the
soleplate has reached the set temperature.
- When pilot light “Steam tank heating up
U
(C) goes out and the manometer (M) needle
is in the green section, the steam tank is
heated up and steam is ready.
You can now start steam ironing.
- While steam-ironing
keep the steam
activator (G)
pressed-in (fig. 10).
• During steam-ironing
the two pilot lights
(C) and (H) will
come on from time
to time.
When this happens,
either the iron or
the steam tank is being heated-up to the
required temperature. You can continue
ironing.
Steaming in a vertical position
Hanging curtains and
clothing (jackets,
woman's suits, coats)
can be steamed by
holding the iron in a
vertical position
(fig. 11).
Dry-ironing
• For ironing without steam, do not press-in the
steam activator (G).
• You may switch off the steam tank by setting
switch "Steam tank on/off"
≤
(B) to
position
O
.
When finished ironing
- Switch off the steam tank and the iron
(fig. 12, 13).
- Remove the mains plug from the wall socket.
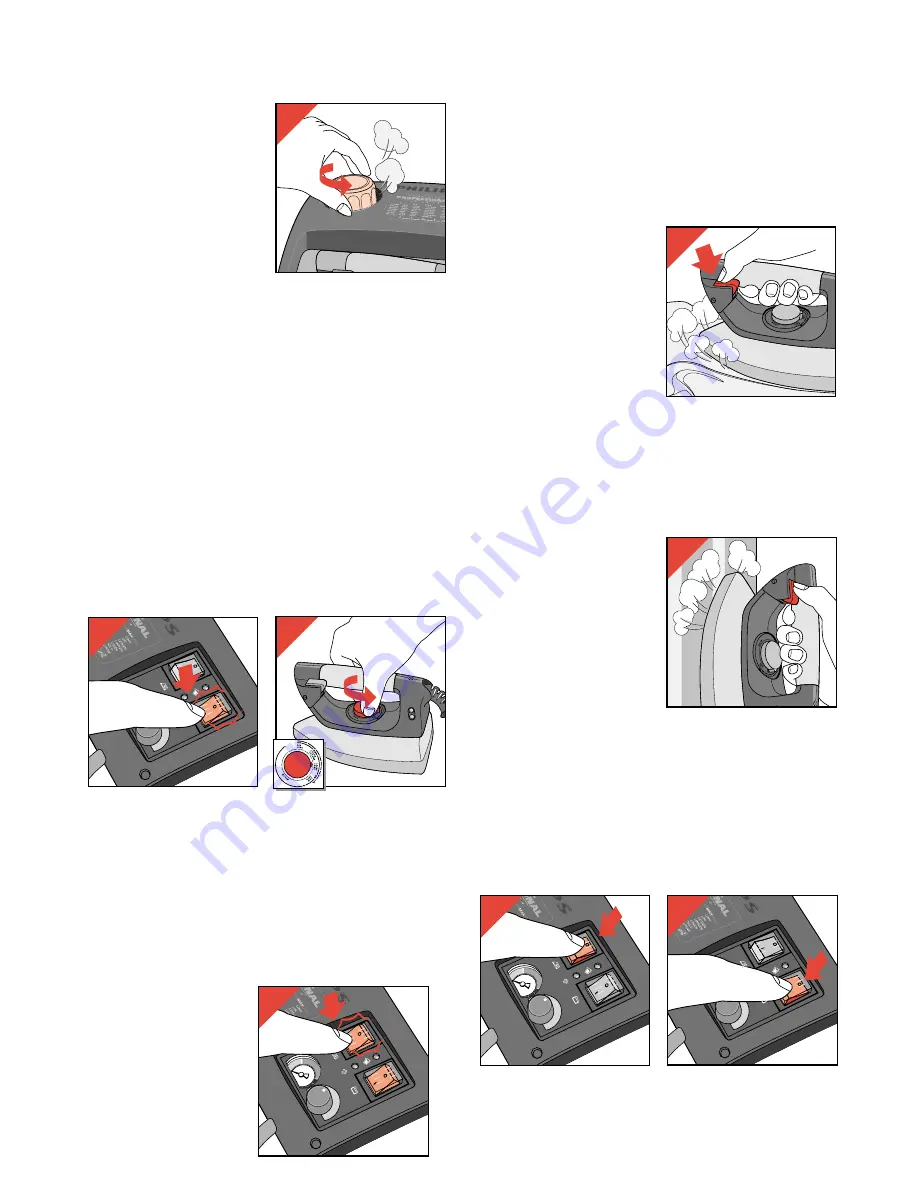
- Carefully unscrew the
cap of the steam tank
(anti-clockwise) until
you can hear steam
escaping (fig. 6).
Wait for the hissing
sound to stop.
This high-pitched
sound is completely
normal and is not
dangerous.
- Carefully unscrew the cap of the steam tank
further, until you hear the hissing sound again.
Wait again until the sound stops. Proceed in
the same manner until the cap is unscrewed.
- Wait for a few minutes. Then slowly pour
water into the filling opening (E) (fig. 2).
- Close the steam tank by turning the screw cap
manually (clockwise) until tight (fig. 3).
Steam-ironing
• As indicated on the temperature dial (I) and
the table, steam-ironing is only possible at
higher ironing temperatures, so set the dial to
2
or
3
.
- Insert the mains plug into a wall socket.
- Set switch "Steam tank on/off"
≤
(B) to
position |. The pilot light in the switch as well
as pilot light “Steam tank heating up
U
(C) will
come on (fig. 7).
• The iron heats up faster than the steam tank.
Hence you can switch on the iron a few
minutes later than the steam tank.
- Select the required ironing temperature with
the temperature dial (I) (fig. 8).
- Set switch "Iron
on/off"
≥
(D) to
position |.
The pilot light in
the switch as well
as pilot light “Iron
heating up” (H)
will come on
(fig. 9)
FILLING OPENING
WITH SCREW CAP
6
3
4
5
2
1
9
10
3
4
5
2
1
7
8
11
6
3
4
5
2
1
12
3
4
5
2
1
13
Summary of Contents for HI984/03
Page 1: ...HI 984 HI 985 ...
Page 3: ...FILLING OPENING WITH SCREW CAP A B N D C O E L F H G I J K M 1 ...
Page 32: ...32 ...
Page 33: ...33 ...
Page 34: ...4222 001 76703 u ...


