6
EN
3 First-time setup
7KHÀUVWWLPH\RXXVH
+03
, do the
following setup:
In
>0HQX/DQJXDJH@
, select the menu
language on
+03
;
In
[Wireless (WiFi)]
, connect
+03
to your home network
through Wi-Fi.
To exit the setup screen,
On the remote control, press .
»
You enter the Home screen.
To change your setup options,
From the Home screen, go to
[Setup]
.
Connect to Wi-Fi
Connect
+03
to a wireless router
(Access Point). You can connect
+03
to
the network that is built around the router.
To connect to the Internet, make sure that the
router connects to the Internet directly and no
dial-up is required on the computer.
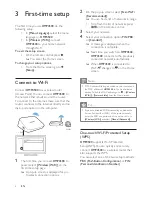
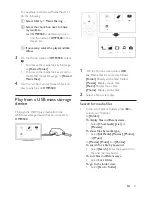
1
7KHÀUVWWLPH\RXFRQQHFW
+03
to
power, select
[Wireless (WiFi)]
on the
ÀUVWWLPHVHWXSSDJH
»
A pop-up screen is displayed for you
to select connection options.
Ԟൗഥᇆ
WWW
HDMI
Җ֊იခ
ཐ
2
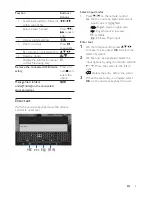
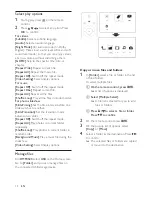
On the pop-up screen, select
[Scan Wi-Fi
(Recommended)]
.
»
<RXFDQÀQGDOLVWRIQHWZRUNVLQUDQJH
To refresh the list of networks, press
፷ᣗ
on the remote control.
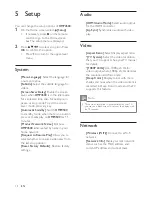
3
Select your network.
4
Select your connection option:
PIN
,
PBC
,
or
[Standard]
.
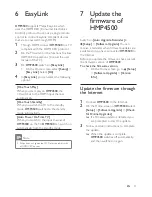
»
A message is displayed when the
connection is complete.
»
Next time you switch on
+03
,
+03
connects to the previously
connected network automatically.
»
When
+03
is connected to
Wi-Fi, changes to on the Home
screen.
Note
,I0$&DGGUHVVÀOWHULQJLVHQDEOHGRQ\RXUURXWHUDGG
the MAC address of
+03
to the list of allowed
GHYLFHV7RÀQGWKH0$&DGGUHVVJRWR
>
[Wireless
(WiFi)]
>
>1HWZRUN,QIR@
from the Home screen.
Tip
If you have disabled SSID broadcasting or hidden the
6HUYLFH6HW,GHQWLÀHU66,'RIWKHURXWHUPDQXDOO\
enter the SSID and password of the network. Go to
[Wireless (WiFi)]
andselect
>0DQXDO$GYDQFHG@
.
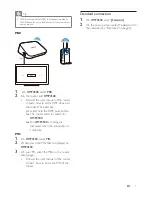
One-touch Wi-Fi Protected Setup
(WPS)
+03
supports Wi-Fi Protected
Setup(WPS). You can quickly and securely
connect
+03
to a wireless router that
also supports the WPS.
You can select one of the two setup methods:
3%&3XVK%XWWRQ&RQÀJXUDWLRQ
, or
PIN
3HUVRQDO,GHQWLÀFDWLRQ1XPEHU
.


