The steam produced is transported out via the
steam hose and the selected nozzle.
You can use it e.g. to give carpet a hygienic
depth treatment or to remove fat or soot from
smooth surfaces.
The appliance is easy to use due to the controls
on the handgrip (“Remote Steam Control”).
Making the appliance ready for use
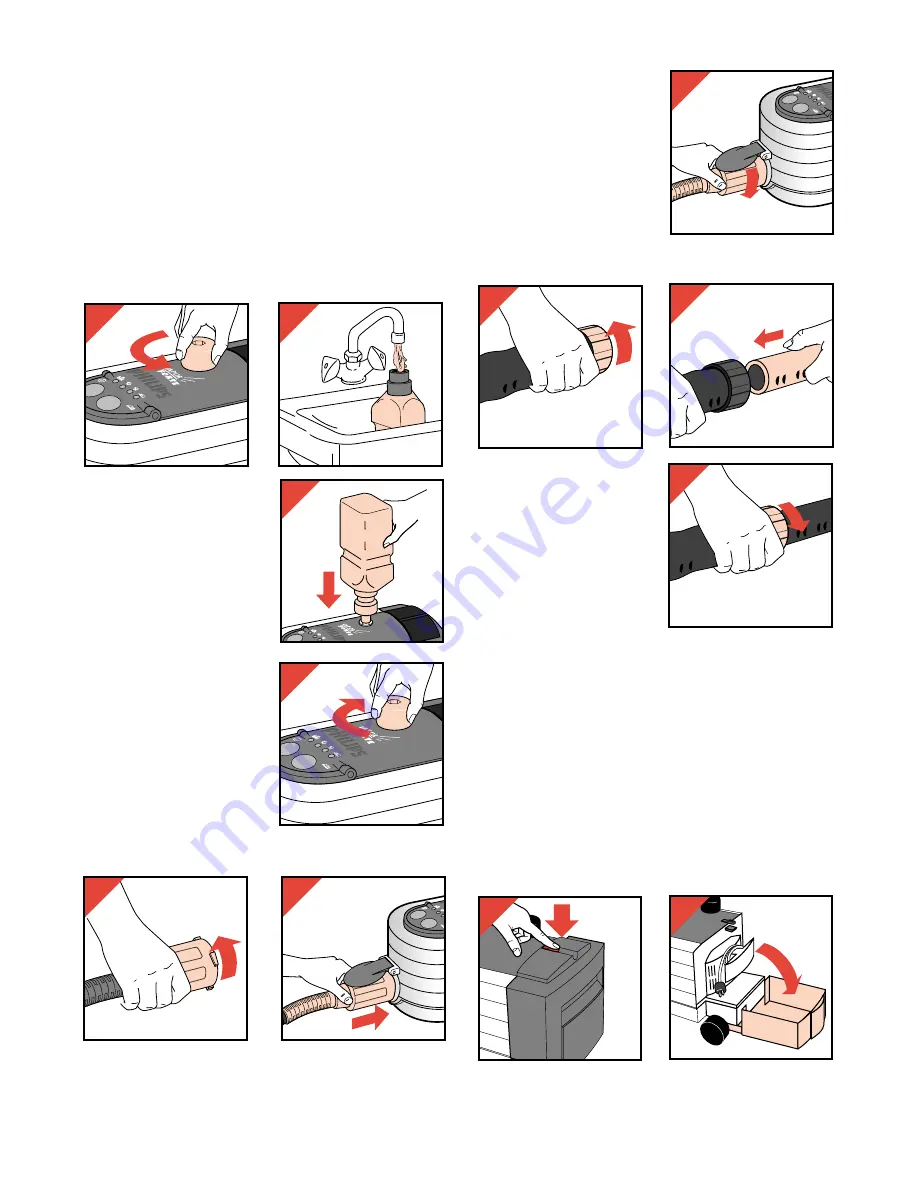
Filling the steam tank
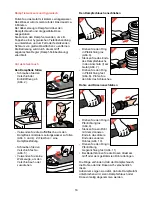
- Unscrew the filling cap
(fig. 2).
- Use the filling flask to
fill up the steam tank
(fig. 3 and 4).
(2
1
⁄
2
flaskfuls = full.)
- Screw the filling cap
firmly (fig. 5).
• Do not use any tools for
screwing and
unscrewing the filling
cap.
Connecting the steam
hose
- Rotate the ring in the direction of the arrow (fig. 6).
- Insert the end of the hose into the opening of the
appliance (fig. 7).
- Then rotate the ring into
the opposite direction
(fig. 8).
Check if the hose is well
connected.
Connecting nozzle and tubes
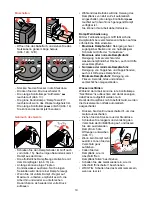
- Rotate the ring in the
direction of the arrow
(fig. 9).
- Insert the narrowed
section of one tube
into the wider section
of the other tube
(fig. 10).
- Then rotate the ring
into the opposite
direction (fig. 11).
• If you wish, you can connect nozzles directly to
the handgrip or mount only the bent tube
between handgrip and nozzle.
The rings secure the steam hose, nozzle and
tube(s), so that they cannot become
disconnected unintentionally.
Apart from this, the rings also ensure that the
steam supply stops if the hose or a nozzle is
disconnected prematurely.
Switching on
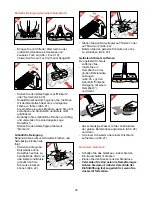
- Open the storage compartment and pull out the
full length of mains cord (fig. 12A, 12B).
5
2
6
8
10
11
9
7
3
4
5
12B
12A


