3-34
Chapter 3: Installing and Configuring the ITS
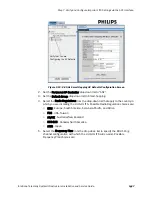
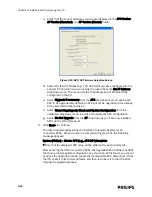
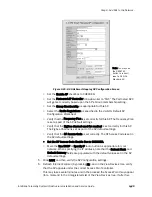
c) Verify that the correct firmware versions are displayed in the APC Version,
AP Version (Standard), and AP Version (Cluster) fields.
d) Select the ICN IP address (e.g., 172.31.240.4) you have configured for the
support PC on which you are running the wizard from the Use IP Address
drop-down menu. The menu lists the IP addresses of all Ethernet NICs
configured on the PC.
e) Select Upgrade if necessary from the APC drop-down menu to allow each
APC to be upgraded. By default, an APC will not be upgraded if it is already
at the selected firmware version.
f) Select Smart Hopping-only Check and Update Configuration from the
unlabeled drop-down menu to verify and update the APC configuration.
g) Select Do Not Upgrade from the AP drop-down as you have only installed
APCs on the ITS at this point.
4. Click Next> to continue.
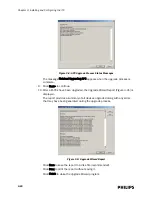
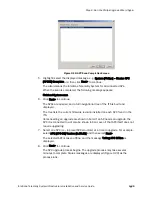
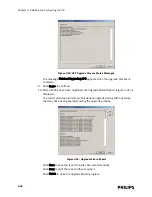
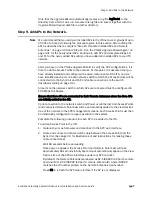
The wizard automatically scans the IntelliVue Telemetry System for all
connected APCs. When the scan is completed (Figure 3-19), the following
message appears:
System [Philips] – Master APC [e.g., APC-02*] Complete
* Note that the displayed APC value will be different for each clinical site.
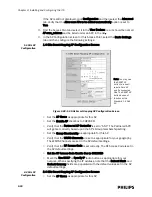
After scanning the ITS for connected APCs, the Upgrade Wizard will list any APCs
that have an incompatible configuration key. If such an APC is found, you cannot
continue the upgrade process. Locate the incompatible APC, disconnect it from
the ITS, reset it to its factory defaults, and then reconnect it to the ITS before
retrying the upgrade process.
Figure 3-18: APC/AP Firmware Selection Screen
Summary of Contents for IntelliVue Telemetry System Infrastructure
Page 8: ...viii Contents ...
Page 14: ...xiv About This Guide ...
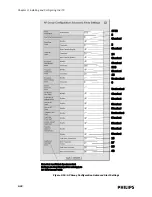
Page 100: ...3 22 Chapter 3 Installing and Configuring the ITS Figure 3 10 APC Filter Configuration Screen ...
Page 162: ...5 12 Chapter 5 Troubleshooting and Testing ...
Page 168: ...A 6 Chapter A Installing Multiple ITSs at a Single Hospital Site ...
Page 180: ...Index 8 Index ...

