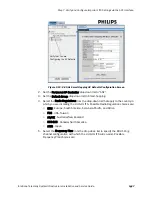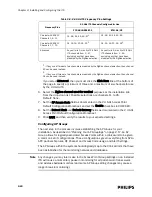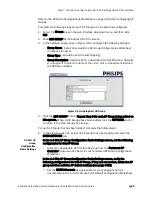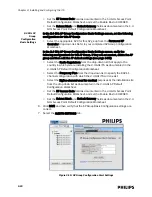
Step 9. Add APs to the Network.
IntelliVue Telemetry System Infrastructure Installation and Service Guide
3
-
37
Note that the Upgrade Wizard automatically creates a log file, logfile.txt, in the
directory from which it was run. Rename this log file and save it together with the
Upgrade Wizard Report disk file in another directory.
Step 9. Add APs to the Network.
Note
We recommend that you add your installed APs to the ITS network in groups of up to
25 APs at a time by following the procedure given in this section. After adding the
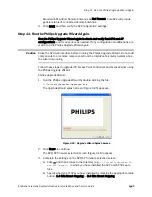
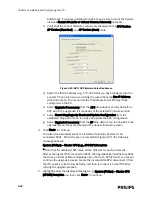
APs as described here, complete “Step 10. Rename Installed APs and Remote
Antennas.” on page 3-40 and “Step 11. Run the Philips Upgrade Wizard Again.” on
page 3-41 for the newly added APs. Continue to add APs and complete Steps 10
and 11 for the newly added APs until you have added all installed APs to your ITS
network.
After you have run the Philips Upgrade Wizard to verify the APC configurations, it is
time to add the Access Points to the network. At this point, it is assumed that you
have already installed and configured the wired components of the ITS, and you
have identified each port on each network switch to which the Access Points will be
connected (via the Sync Unit and PoE Unit cable connections to the switch
described starting on page 3-4).
All ports on the network switch to which APs are connected must be configured to
100 Mbps Full Duplex.
Ensure that Core APs are connected to their Remote Antennas when the Core APs
are initially added to the ITS.
Upon connection to the network switch and Power over Ethernet Unit, Access Points
(and connected Remote Antennas) will be automatically added to the View Devices
tree of the network in the APC management screens. Each Access Point must then
be individually configured for proper operation in the system.
Complete the following procedure for each AP to be added to the ITS.
To add an Access Point to the ITS:
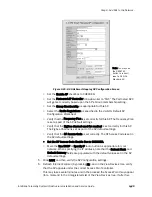
1. Re-launch your web browser and reconnect to the APC web interface.
2. Route and connect a network patch cable between the Access Point and the
Sync Unit. (See page 3-4 for illustrations of and instructions for making these
cable connections.)
Wait 60 seconds before proceeding.
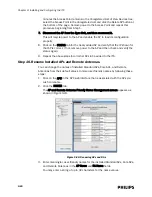
Once power is applied, the Access Point (and Remote Antennas) will take
approximately 60 seconds to fully boot and will automatically appear in the View
Devices tree of the APC web interface under any AP Controller.
By default, the Remote Antennas are labeled as AP-1-ID#### (AP-port 1-remote
antenna ID) or AP-2-ID#### (AP-port 2-remote antenna ID) where ID####
matches the ID number printed on the Remote Antenna’s device label.
Press F5 to refresh the APC web interface if the AP is not displayed.
Summary of Contents for IntelliVue Telemetry System Infrastructure
Page 8: ...viii Contents ...
Page 14: ...xiv About This Guide ...
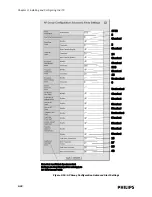
Page 100: ...3 22 Chapter 3 Installing and Configuring the ITS Figure 3 10 APC Filter Configuration Screen ...
Page 162: ...5 12 Chapter 5 Troubleshooting and Testing ...
Page 168: ...A 6 Chapter A Installing Multiple ITSs at a Single Hospital Site ...
Page 180: ...Index 8 Index ...

