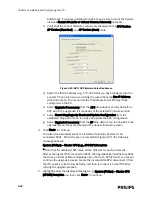
Step 11. Run the Philips Upgrade Wizard Again.
IntelliVue Telemetry System Infrastructure Installation and Service Guide
3
-
45
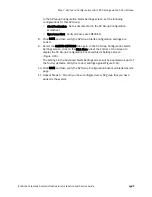
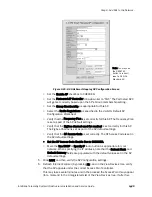
Select the clinical unit/group containing the APs to roam away from the APC, for
example Group [CCU North].
As the APs are roamed to another APC, the message Roaming APs from Group
[Group Name] is displayed.
When all APs in the group have been roamed to another APC, the message All
APs successfully roamed is displayed.
Note
If you are upgrading only a single APC system, the message WARNING: Couldn't
Roam all APs. Continue anyway?? is displayed. Continue the upgrade process if you
see this message.
9. Select Next> to continue.
If there are more AP groups that must be roamed away from the APC, then you
are returned to the Select AP Group to Roam screen (Figure 3-30). Roam the
remaining AP groups away from the APC, one group at a time.
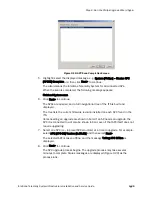
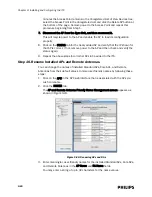
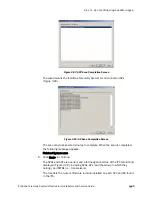
Otherwise, the APC upgrade process begins. The upgrade process may take
several minutes to complete. Status messages are displayed (Figure 3-31) as
the process runs.
The message Finished Upgrading APC appears when the upgrade process is
complete.
10. Click Next> to continue.
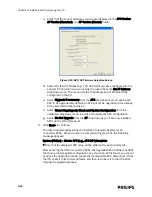
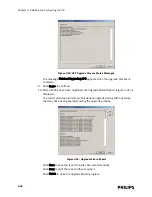
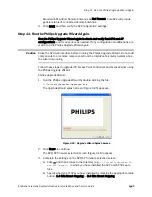
The AP Roam Back screen (Figure 3-32) appears.
Select the clinical unit/group containing the APs to roam back to the upgraded
APC.
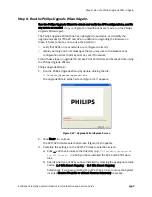
Figure 3-31: APC Upgrade Process Status Messages
Summary of Contents for IntelliVue Telemetry System Infrastructure
Page 8: ...viii Contents ...
Page 14: ...xiv About This Guide ...
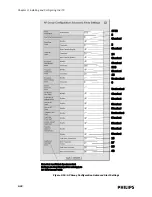
Page 100: ...3 22 Chapter 3 Installing and Configuring the ITS Figure 3 10 APC Filter Configuration Screen ...
Page 162: ...5 12 Chapter 5 Troubleshooting and Testing ...
Page 168: ...A 6 Chapter A Installing Multiple ITSs at a Single Hospital Site ...
Page 180: ...Index 8 Index ...

