


Step 3. Set Up Your Service PC.
IntelliVue Telemetry System Infrastructure Installation and Service Guide
3
-
9
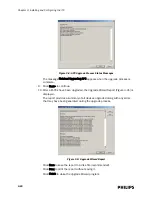
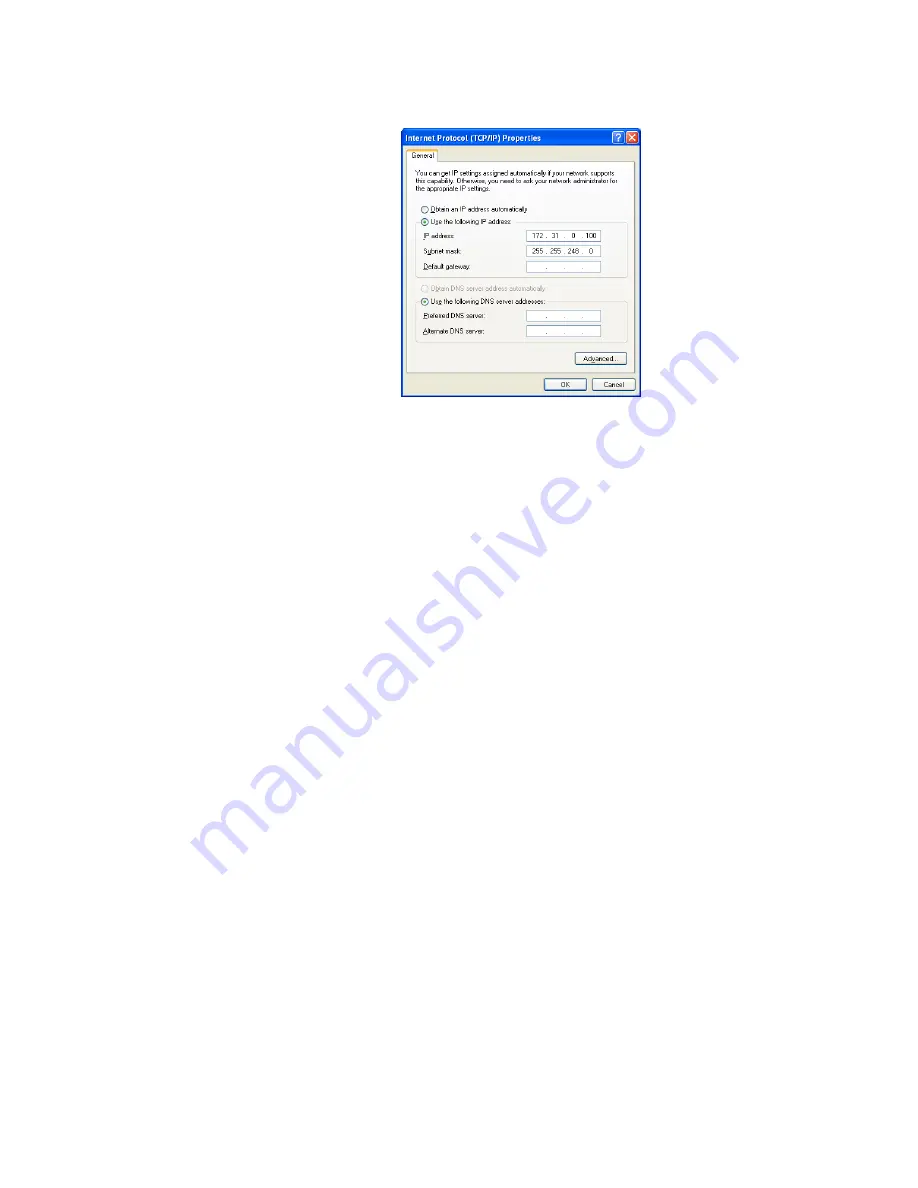
The Internet Protocol Properties dialog appears.
g) Mark the Use the following IP Address radio button, enter the following
Routed or Non-Routed settings, and then click OK:
Non-routed Configuration, where “n” represents the ICN Database Domain
Number:
-
IP address - 172.31.(n).4
-
Subnet mask - 255.255.248.0
-
Default gateway - 172.31.(n+3).0
Routed Configuration:
-
IP address - 172.31.240.4
-
Subnet mask - 255.255.240.0
-
Default gateway - 172.31.240.1
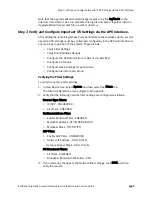
h) Click OK at each open dialog to close the dialogs and save the Local Area
Connection settings.
Copying the Upgrade Wizard files to your PC
To install the Philips Upgrade Wizard, and ITS AP and APC image files on the service
PC that is connected to the ITS subnet:
1. Copy the newest version of the Philips Upgrade Wizard wizard (Version A.00.14
or greater) from the Network Infrastructure Tools CD-ROM to your PC:
a) Place the Network Infrastructure Tools CD in the PC’s CD ROM drive.
b) Create a folder on a local drive on your PC; for example:
C:\TelemetryUpgrader\
c) Copy
D:\Tools\PHILIPS AP AND APC UPGRADER TOOL\
UPGRADER
.EXE
to
C:\TelemetryUpgrader\UPGRADER.EXE
.
2. Copy the newest versions of APC and AP firmware files from the Network
Infrastructure Tools CD-ROM (Note that earlier releases of the APC and AP
firmware also reside on the Network Infrastructure Tools CD-ROM.):
a) Create a version-specific folder inside the
C:\TelemetryUpgrader
folder for
each version of the APC you need to support or upgrade; for example:
Summary of Contents for IntelliVue Telemetry System Infrastructure
Page 8: ...viii Contents ...
Page 14: ...xiv About This Guide ...
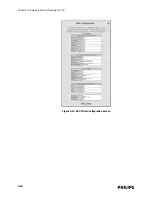
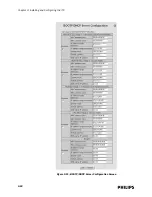
Page 100: ...3 22 Chapter 3 Installing and Configuring the ITS Figure 3 10 APC Filter Configuration Screen ...
Page 162: ...5 12 Chapter 5 Troubleshooting and Testing ...
Page 168: ...A 6 Chapter A Installing Multiple ITSs at a Single Hospital Site ...
Page 180: ...Index 8 Index ...


