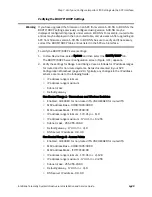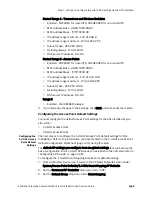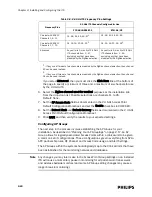
Step 5. Add the APCs to the Network.
IntelliVue Telemetry System Infrastructure Installation and Service Guide
3
-
15
Note
The APCs will appear in the APC web interface with the System ID of Philips. Do not
modify this setting.
5. Select the APC in the View Device tree (selected device is displayed green) and
then select the Configure tab.
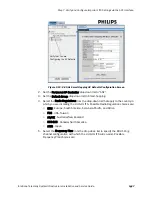
In the AP Controller Network Configuration screen, configure the following
parameters as necessary:
• System ID - Verify setting is Philips. If not, change it to Philips.
• AP Controller Name - Enter APC Name from APC worksheet (page 2-29).
• IP Addressing - Verify that the Specify IP radio button is marked and that the
IP Address, Subnet Mask and Default Gateway settings are as expected per
APC worksheet (page 2-29). If not, change the settings to match the
worksheet.
6. Click SAVE, and then verify the settings by selecting the Status tab.
7. At this time, add all other APCs to the network by repeating steps 1, 2, 3, 5, and
6 for each APC.
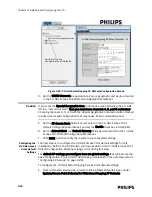
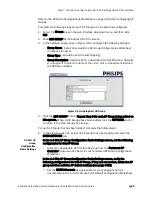
Figure 3-4: APC Web Interface
Not Used
Newly Added
APC
Summary of Contents for IntelliVue Telemetry System Infrastructure
Page 8: ...viii Contents ...
Page 14: ...xiv About This Guide ...
Page 100: ...3 22 Chapter 3 Installing and Configuring the ITS Figure 3 10 APC Filter Configuration Screen ...
Page 162: ...5 12 Chapter 5 Troubleshooting and Testing ...
Page 168: ...A 6 Chapter A Installing Multiple ITSs at a Single Hospital Site ...
Page 180: ...Index 8 Index ...


