


3 - 4
Quick Start Guide - IR Dongle v2.0
December 2018
IR Dongle v2.0
Battery Replacement
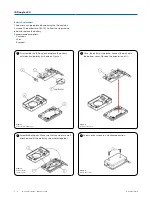
The battery can be replaced by opening the IR dongle by
2 screws. Type of battery: CR2032. Follow the steps shown
below to replace the battery.
Recommended suppliers:
• Panasonic
• Varta
• Energizer
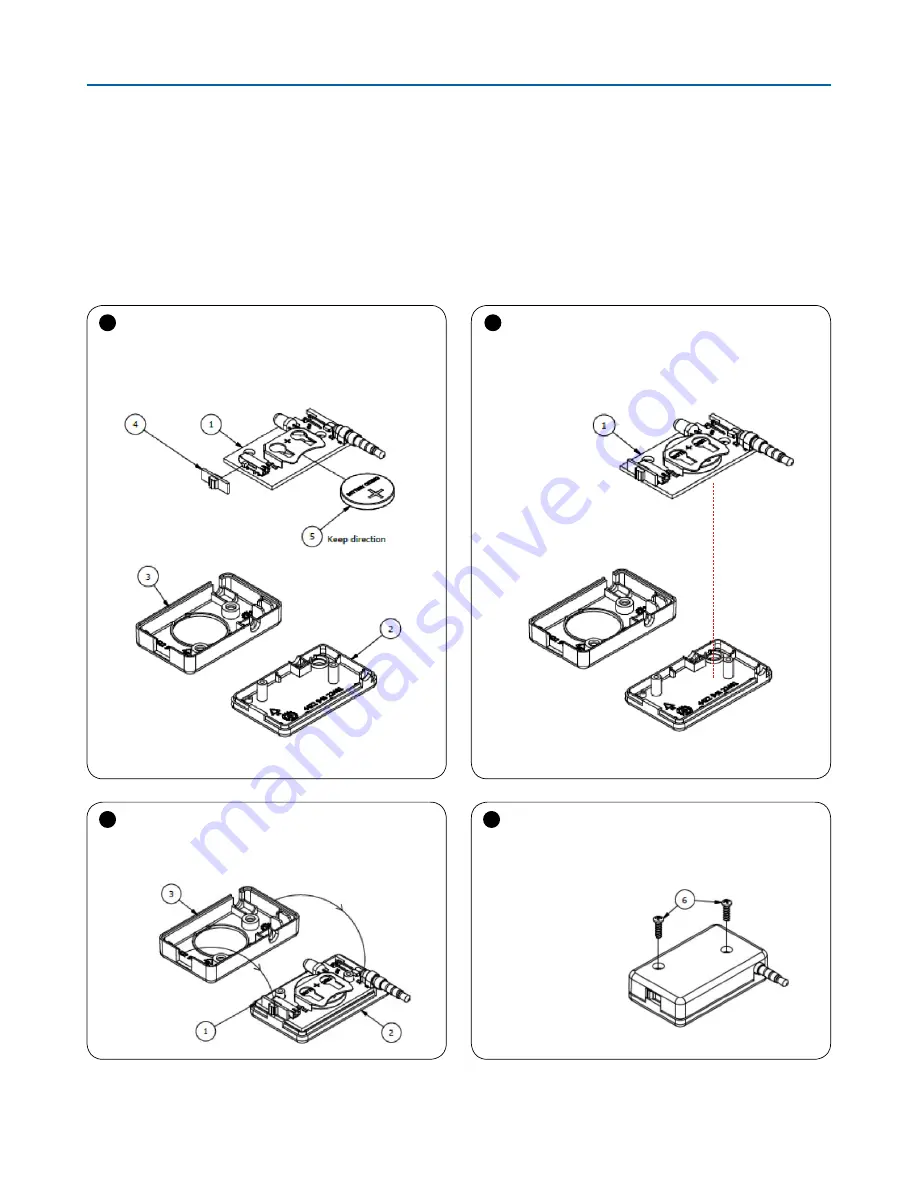
1
Disassemble the IR Dongle and replace the battery
with identical polarity as shown on Figure 1.
2
Once, the battery is replaced, connect the part with
the bottom cover. Observe the orientation of (1).
Figure 1
Disassemble of IR Dongle
Figure 2
Assemble the parts
3
Assemble both parts. Make sure that the sides are well
attached and fit the matching screw holes together..
4
Screw up the screws in a clockwise direction.
Figure 4
Attach the screws
Figure 3
Bring together
the two parts


