Service Modes, Error Codes, and Fault Finding
5.
3.
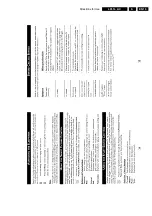
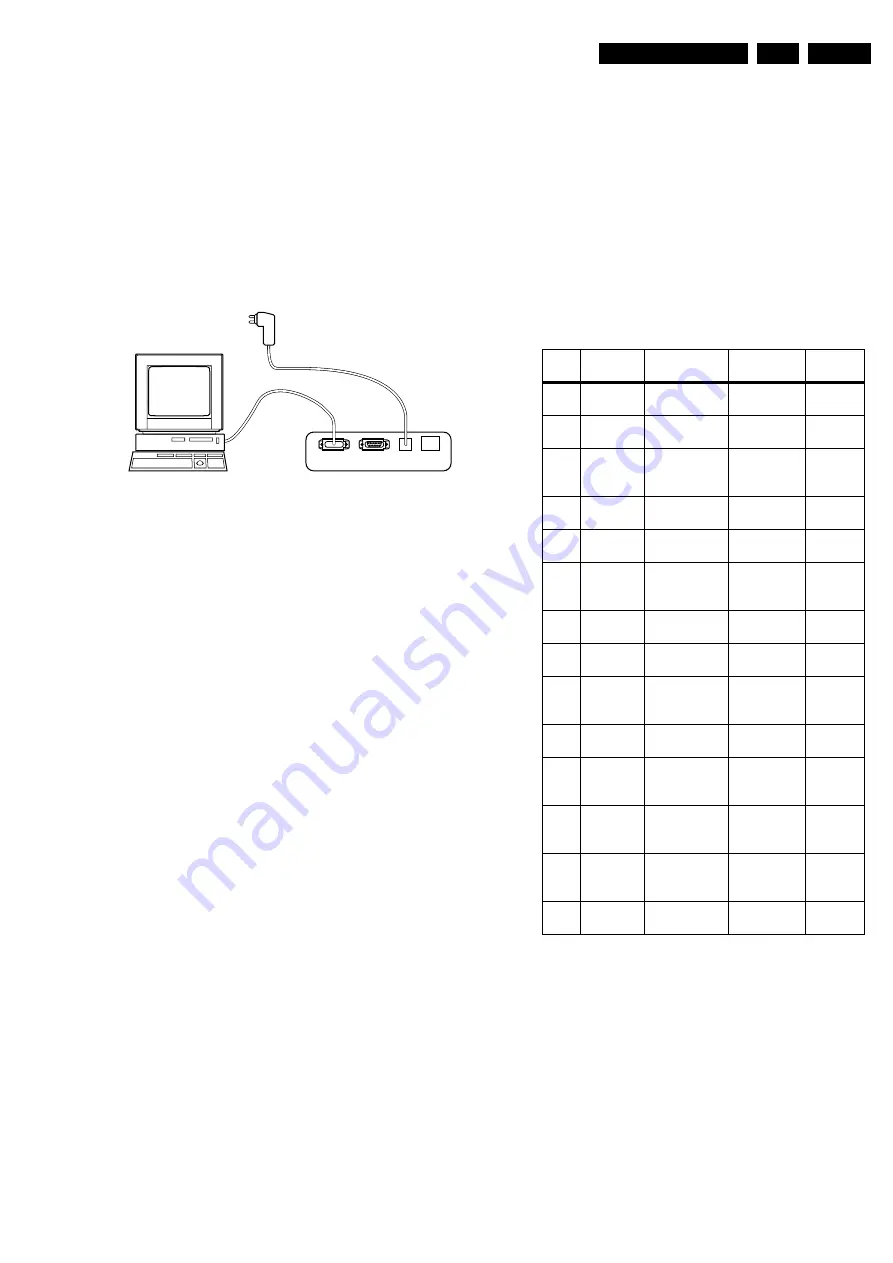
Connect the AC power adapter to the supply connector
(marked with “POWER 9V DC”) on the ComPair interface.
4.
Switch the ComPair interface OFF.
5.
Switch the television set OFF (remove the AC power).
6.
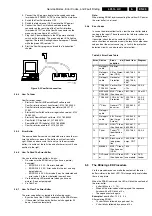
Connect the ComPair interface cable between the
connector on the rear side of the ComPair interface
(marked with “I2C”) and the ComPair connector on the
mono carrier (see figure 8-1 suffix D).
7.
Plug the AC power adapter in the AC power outlet and
switch on the interface. The green and red LEDs light up
together. The red LED extinguishes after approx. 1 second
while the green LED remains lit.
8.
Start the ComPair program and read the “introduction”
chapter.
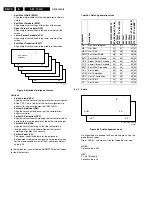
Figure 5-3 ComPair connection
5.4.4
How To Order
ComPair order codes:
•
Starter kit ComPair32/SearchMan32 software and
ComPair interface (excl. transformer): 3122 785 90450.
•
ComPair interface (excluding transformer): 4822 727
21631.
•
Starter kit ComPair32 software (registration version): 3122
785 60040.
•
Starter kit SearchMan32 software: 3122 785 60050.
•
ComPair32 CD (update): 3122 785 60070.
•
SearchMan32 CD (update): 3122 785 60080.
•
ComPair interface cable: 3122 785 90004.
5.4.5
Error Buffer
The error code buffer contains all detected errors since the last
time the buffer was erased. The buffer is written from left to
right. When an error occurs that is not yet in the error code
buffer, it is written at the left side and all other errors shift one
position to the right.
5.4.6
How To Read The Error Buffer
You can read the error buffer in 3 ways:
•
On screen via the SDAM (only if you have a picture).
Examples:
–
ERROR: 0 0 0 0 0: No errors detected
–
ERROR: 6 0 0 0 0: Error code 6 is the last and only
detected error
–
ERROR: 9 6 0 0 0: Error code 6 was first detected and
error code 9 is the last detected (newest) error
•
Via the blinking LED procedure (when you have no
picture). See next paragraph.
•
Via ComPair.
5.4.7
How To Clear The Error Buffer
The error code buffer is cleared in the following cases:
•
By activation of the CLEAR command in the SDAM menu:
•
If the content of the error buffer has not changed for 50
hours, it resets automatically.
Note:
When leaving SDAM by disconnecting the set from AC power,
the error buffer is not reset.
5.4.8
Error Codes
In case of non-intermittent faults, clear the error buffer before
you begin the repair. These to ensure that old error codes are
no longer present.
If possible, check the entire contents of the error buffer. In
some situations an error code is only the result of another error
code and not the actual cause (e.g., a fault in the protection
detection circuitry can also lead to a protection).
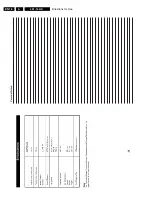
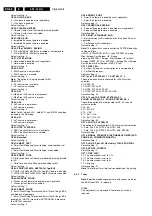
Table 5-3 Error Code Table
5.5
The Blinking LED Procedure
Via this procedure you can make the contents of the error
buffer visible via the front LED. This is especially useful when
there is no picture.
When the SDAM is entered, the LED will blink the contents of
the error-buffer.
•
n short blinks (n = 1 - 14),
•
When all the error-codes are displayed, the sequence
finishes with a LED blink of 3 s,
•
The sequence starts again.
Example of error buffer: 12 9 6 0 0
After entering SDAM:
•
12 short blinks followed by a pause of 3 s,
•
9 short blinks followed by a pause of 3 s,
86532027_003.EPS
050898
PC
VCR
I
2
C
Power
9V DC
Error Device
Error de-
scription
Check item
Diagram
0
Not appli-
cable
No Error
1
Not appli-
cable
X-Ray Protec-
tion (USA)
2465, 7460
A2
2
Not appli-
cable
Horizontal
Protection
7460, 7461,
7462, 7463,
6467
A2
3
TDA8359/
TDA9302
Vertical Pro-
tection
7861, VloAux
+13v
A2, A3
4
MSP34X5/
TDA9853
MAP I
2
C iden-
tification error
7831, 7861
A9 or A11
5
TDA95XX
POR 3.3V / 8V
Protection
7200, 7560,
7480
A1, A2.
A5, A6,
A7
6
I
2
C bus
General I
2
C
bus error
7200, 3624,
3625
A7
7
Not appli-
cable
-
-
-
8
Not appli-
cable
E/W Protec-
tion (Large
Screen)
7400, 3405,
3406, 3400
A2
9
M24C08
NVM I
2
C iden-
tification error
7602, 3611,
3603, 3604
A7
10
Tuner
Tuner I
2
C
identification
error
1000, 7482
A2, A4
11
TDA6107/
8
Black current
loop protec-
tion
7330, RGB
amps, CRT
B1, B2
12
M65669
MAP I
2
C iden-
tification error
(USA)
7803
P
14
DVD Load-
er
DVD I
2
C iden-
tification error
DVD Inter-
face module
DVD
Loader
Summary of Contents for L01.1L AC
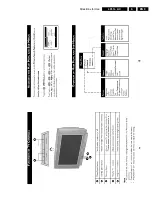
Page 6: ...Directions for Use EN 6 L01 1L AC 3 3 Directions for Use 3 1 16 9 Sets ...
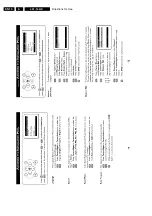
Page 7: ...Directions for Use EN 7 L01 1L AC 3 ...
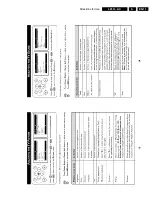
Page 8: ...Directions for Use EN 8 L01 1L AC 3 ...
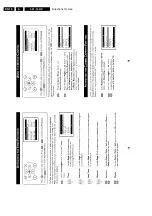
Page 9: ...Directions for Use EN 9 L01 1L AC 3 ...
Page 10: ...Directions for Use EN 10 L01 1L AC 3 ...
Page 11: ...Directions for Use EN 11 L01 1L AC 3 ...
Page 12: ...Directions for Use EN 12 L01 1L AC 3 ...
Page 13: ...Directions for Use EN 13 L01 1L AC 3 ...
Page 14: ...Directions for Use EN 14 L01 1L AC 3 ...
Page 15: ...Directions for Use EN 15 L01 1L AC 3 ...
Page 16: ...Directions for Use EN 16 L01 1L AC 3 Personal Notes ...
Page 17: ...Directions for Use EN 17 L01 1L AC 3 3 2 4 3 Sets Personal Notes ...
Page 42: ...Spare Parts List EN 82 L01 1L AC 10 10 Spare Parts List Not applicable yet ...
Page 43: ...Revision List EN 83 L01 1L AC 11 11 Revision List First release ...

