background image

5

Philips/Magnavox Components

The I-TV remote control can control up to six
different components and is already 

pre-pro-

grammed

for use with newer Philips/

Magnavox audio/video equipment. Unless
you want to change a factory setting,skip the
programming instructions and simply start
using your new remote control.

Programming Other Components

To control component brands other than
Philips/Magnavox,you’ll need to perform the
following steps to manually program the I-
TV with codes listed under 

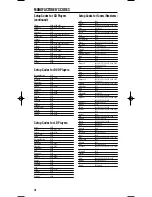
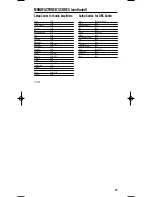
Manufacturer’s

Codes

on pages 14 through 19. Or as alterna-

tive, you can use the 

Auto Scan

feature, on

page 6, to program your component codes.

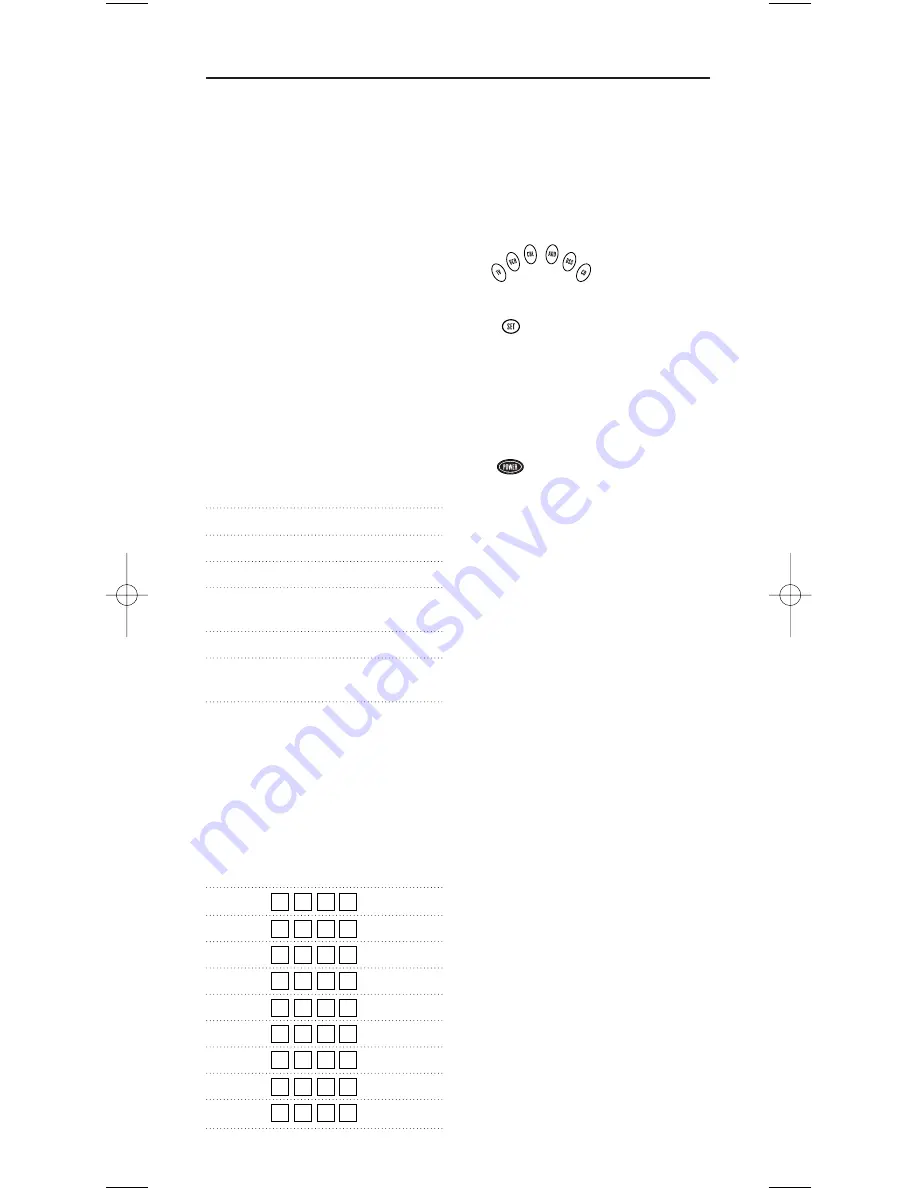
The following chart lists the I-TV’s compo-
nent keys and what type of device each key
will control:

Key

Programmed To Control

TV

TV

VCR

VCR, DVD or LD Player

CBL

Cable Box

AUD

Amplifier, Tuner, Misc.Audio,
or CD Player

DSS

Digital Satellite System

CD

CD Player,Amplifier, Tuner, or
Misc.Audio

NOTE: If you want the component keys to
control other types of devices, you’ll need to
reassign the component keys. See page 7.

IMPORTANT: Please completely read and
review the following steps before proceeding.We
recommend highlighting the codes (starting on
page 14) for the brands you wish to program or
writing them down in the supplied chart.

Setup Codes For My Components

TV

VCR

CBL

DSS

CD

DVD

AUDIO

LD

OTHER

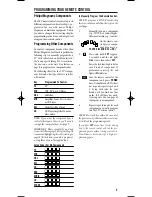
To Manually Program The Remote Control:

NOTE: To program a TV/VCR Combo, skip
these instructions and follow the steps on the
next page.

1.

Manually turn on a component
(e.g.,TV, VCR,etc.) and,if applic-
able, insert media (e.g., cassette).

2.

On the remote con-

trol, press a compo-
nent key once (e.g.,

TV

,

VCR

,

CBL

,

AUD

,

DSS

, or 

CD

).

3.

Press and hold 

SET

(approx.

5 seconds) until the red light
blinks twice, then release 

SET

.

4.

Enter the first four-digit code for
your brand of component. If
performed correctly, the red
light will blink twice.

5.

Aim the remote control at the
component and press 

POWER

once. It should turn off. If it does
not respond, repeat steps 2 and
3, trying each code for your
brand until you find one that
works. If it still does not work,
try using 

Auto Scan

(on page 6)

to program your component.

6.

Repeat steps 1 through 5 for each
component you want to program
into the I-TV remote control

NOTES: Press each key within 10 seconds of
the previous entry. Otherwise, the remote con-
trol will exit the programming mode.

If you press 

SET 

at any time (except during

step 3), the remote control will exit the pro-
gramming mode without saving your entries.
You will have to start with step 1 to begin pro-
gramming again.

PROGRAMMING YOUR REMOTE CONTROL

REM380 Manual Engl  12/28/99 12:10 PM  Page 5

Summary of Contents for Magnavox REM380

Page 1: ...out Batteries 4 Using The Lighted Keypad 4 Programming Your Remote Control 5 Operating Your Remote Control 8 About Other Features 10 Quick Features Setup Guide 11 Troubleshooting 13 Manufacturer s Codes 14 TABLE OF CONTENTS User s Guide REM380 I TV Universal Remote Control ...

Page 2: ...ing channels Auto Scan code search to help program remotecontrolforavarietyof components includingolder discontinuedmodels Multi component Power Key for master on off control of home entertainment components with a single key press FavoriteCommandKeysthatallowyouto define and program a number of key presses into a sequence that can be accessed by a single key press 2 Use the illustration below to ...

Page 3: ...GHT Key Press LIGHT once to turn on or off the keypad back light e POWER Key Press POWER once to turn on or off the selectedhomeentertainmentcomponent r Keypad Use the keypad 0 9 to directly enter in channels for example 09 or 31 The keypadisalsousedforallprogramming sequences such as entering in your pro gramming codes t SCAN Key PressSCAN oncetochangechannelsevery 3 seconds Press it again to sto...

Page 4: ...eaturewillhelpconservethebatterylife should your remote control get stuck in a place where keys remain depressed e g between the sofa cushions Replacement And Code Saver When the batteries need replacing the I TV remote control will stop working and will require four 4 new AAA alkaline batteries for continued operation Once you remove the old batteries program settings and codes will be saved for ...

Page 5: ... on page14 forthebrandsyouwishtoprogramor writing them down in the supplied chart Setup Codes For My Components TV VCR CBL DSS CD DVD AUDIO LD OTHER To Manually Program The Remote Control NOTE To program a TV VCR Combo skip these instructions and follow the steps on the next page 1 Manually turn on a component e g TV VCR etc and if applic able insert media e g cassette 2 On the remote con trol pre...

Page 6: ... then release SET c EntertheTVcodefor the TV VCR Combo If performed cor rectly the red light will blink twice 6 continued If there is no separate TV code listed you will need to perform the following steps to access vol ume control a Press VCR once b Press and hold SET until the red light blinks twice then release SET c Press VOL Programming With Auto Scan If your component does not respond to the...

Page 7: ...e entertainment components Byfollowingtheseinstructions you can re assign or duplicate a component key onto an unused component key 1 Press and hold SET until the red light blinks twice then release SET 2 Enter 9 9 2 The red light will blink twice 3 Press the Component key e g TV VCR etc to be moved once then press the Component key e g AUD etc tobere assigned once When re assignment is done the r...

Page 8: ...oned to return to normal operation NOTE On Screen guide is an interactive channel listings menu that is available on most DSS Satellite systems and is also used with advanced converters being offered by some cable systems This feature is not applic able for all DSS or cable boxes SELECT Key TheSELECT keyallowsyoutochoosefeatures displayed on your On Screen menu while in the I TV mode and programs ...

Page 9: ...wing instructions to program the FC1 or FC2 key for this channel 1 On the remote control press and hold SET until the red light blinks twice then release SET 2 Enter 9 9 5 The red light will blink twice 3 Press and release either FC1 or FC2 4 On the remote con trol press TV VCR CBL or DSS once 5 Enter 7 1 NOTE If you have access to over 100 channels enter in 071 6 Press and hold SET until the red ...

Page 10: ...n all modes Example To Set Volume Lock To TV Mode 1 On the remote control press TV once 2 Press and hold SET until the red light blinks twice then release SET 3 Press VOL The red light will blink twice Punch Through The VCR Transport Keys i e REW PLAY FFWD REC STOP and PAUSE are set at the factorytocontroltheVCR evenif TV CBL or DSS is the selected mode In other words VCRcontrol punchesthrough reg...

Page 11: ...ress SET until Red Light blinks twice release SET Aim I TV at component press SCAN once When off press any key to stop x 2 Press SET until Red Light blinks twice release SET to lock code x 2 1 2 3 4 5 NOTE Not VOL VOL EXIT SCAN or SET Auto Scan Press component key once e g TV Press SET until Red Light blinks twice release SET Enter 9 9 0 the Red Light will blink twice Press 1 once for 1st digit Wa...

Page 12: ...9 9 2 the Red Light will blink twice x 2 2 Device Re Assignment e g AUD Key Becomes Secondary VCR Key Press SET until Red Light blinks twice release SET x 2 1 Press SET until Red Light blinks twice release SET x 2 5 Enter 9 9 5 the Red Light will blink twice Press FC1 or FC2 once or x 2 2 3 Press component key that controls channels once e g CBL Then enter channel e g 7 1 4 NOTE If over 100 channe...

Page 13: ...an be operated with an infrared remote control PROBLEM TV VCR Combo does not respond properly SOLUTION Use the VCR codes for your brand Some combo units may require both a TV code and aVCR code for full oper ation see page 6 PROBLEM CH CH and LAST do not work for your RCA TV SOLUTION Due to an RCA design 1983 1987 only the original remote control will operate these functions PROBLEM Changing chann...

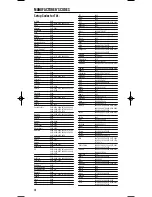
Page 14: ...teq 0046 JBL 0083 JCB 0029 JVC 0082 Janeil 0075 KEC 0209 KTV 0059 0068 0209 0214 0246 0309 Kawasho 0187 Kaypani 0081 Kenwood 0048 0059 Kloss 0053 0075 0107 LG 0085 LXI 0076 0083 0183 0185 0207 Logik 0045 Luxman 0085 MEI 0214 MGA 0048 0059 0179 0207 MTC 0048 0059 0085 0089 0214 Magnavox 0049 0053 0057 0059 0083 0125 0208 0215 0216 0415 Majestic 0045 Marantz 0059 0083 Matsushita 0279 Megatron 0032 0...

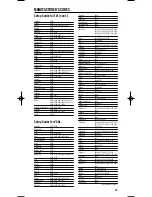
Page 15: ...nex 0080 0269 Daewoo 0049 0074 0307 0590 Daytron 0049 Denon 0071 Dynatech 0029 Electrohome 0066 Electrophonic 0066 Emerex 0061 Emerson 0029 0031 0065 0066 0072 0090 0097 0117 0150 0213 0237 0238 0240 0241 0307 0323 0324 0390 0508 0590 Fisher 0076 0083 0095 0133 Fuji 0062 0064 Funai 0029 GE 0064 0077 0089 0094 0231 0269 Garrard 0029 GoVideo 0261 0461 0555 GoldStar 0066 0067 Gradiente 0029 0037 Grun...

Page 16: ... 0029 GE 0064 for TV use 0080 0089 for TV use 0076 0077 for TV use 0122 0269 Hitachi 0064 for TV use 0080 0029 HQ 0029 Lloyds 0029 MGA 0269 Magnavox 0110 for TV use 0083 0064 for TV use 0080 0029 Magnin 0269 Memorex 0066 0191 for TV use 0279 Mitsubishi 0077 for TV use 0122 Orion 0031 0323 0508 Panasonic 0064 for TV use 0080 0191 for TV use 0279 Penney 0064 for TV use 0080 0269 0191 for TV use 0279...

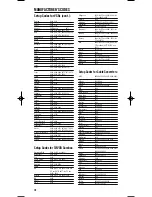
Page 17: ...753 Zenith 0885 Setup Codes for CD Players ADC 0047 0062 Adcom 0184 0263 Aiwa 0041 0153 0186 Akai 0185 AudioAlchemy 0223 Audio Technica 0199 BSR 0223 0274 0395 Burmester 0449 CaliforniaAudio Labs 0058 Carrera 0223 Carver 0186 0208 0328 0466 Craig 0644 Crown 0151 Curtis Mathes 0058 DAK 0274 DBX 0283 DKK 0029 Denon 0032 0063 0902 Emerson 0184 0193 0334 0498 Fisher 0117 0203 0208 0371 GE 0038 0363 Ga...

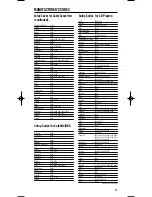
Page 18: ...46 Setup Codes for Tuners Receivers ADC 0560 Adcom 0645 Aiwa 0150 0187 0218 0434 1118 1434 Akai 0105 0253 Capetronic 0560 Carver 0037 0071 0218 0389 1118 1218 Casio 0224 Clarinette 0224 Curtis Mathes 0109 Denon 0033 0302 0800 1133 1189 Emerson 0284 0453 Fisher 0071 0248 0389 Garrard 0175 0310 0453 0492 Hafler 0175 Harman Kardon 0139 0218 0920 Inkel 0091 JBL 0139 JVC 0103 Kenwood 0056 0071 0106 021...

Page 19: ...298 0921 Pioneer 0042 0329 Realistic 0424 Sansui 0350 Sony 0249 0718 Soundesign 0107 Technics 0337 Victor 0360 Wards 0042 0107 Yamaha 0383 Setup Codes for DBS Audio Aiwa 0039 0188 0433 Fisher 0081 Harman Kardon 0506 JBL 0506 JVC 0102 Jerrold 0488 0549 Nikko 0405 Paramount Pictures 0346 RCA 0085 SSI 0346 Schneider 0405 ScientificAtlanta 0489 Sony 0039 0188 Soundesign 0405 Starcom 0488 Yorx 0405 199...

Reviews: