background image

1 - 5

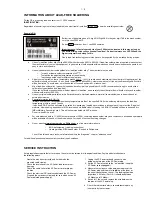
INFORMATION ABOUT LEAD-FREE SOLDERING

Philips CE is producing lead-free sets from 1.1.2005 onwards.

IDENTIFICATION:

Regardless of special logo (not always indicated) one must treat all sets from 1 Jan 2005 onwards, according next rules:

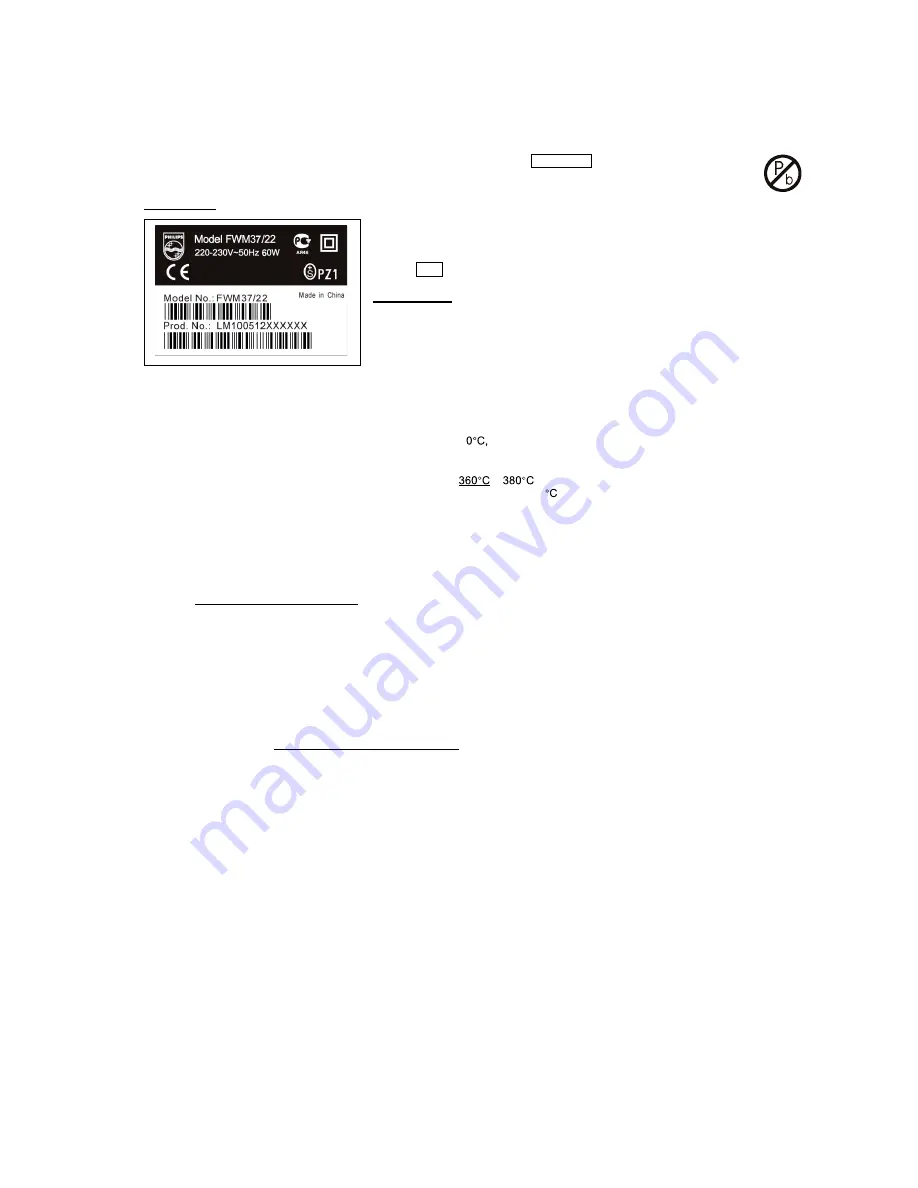
Example S/N:

Bottom line of typeplate gives a 14-digit S/N. Digit 5&6 is the year, digit 7&8 is the week number,
so in this case 2005 wk12

So from 0501 onwards = from 1 Jan 2005 onwards

Important note: In fact also products of year 2004 must be treated in this way as long as
you avoid mixing solder-alloys (leaded/ lead-free). So best to always use SAC305 and the
higher temperatures belong to this.

Due to lead-free technology some rules have to be respected by the workshop during a repair:

Use only lead-free solder alloy Philips SAC305 with order code 0622 149 00106. If lead-free solder-paste is required, please contact
the manufacturer of your solder-equipment. In general use of solder-paste within workshops should be avoided because paste is not
easy to store and to handle.

Use only adequate solder tools applicable for lead-free solder alloy. The solder tool must be able

o

To reach at least a solder-temperature of 40

o

To stabilize the adjusted temperature at the solder-tip

o

To exchange solder-tips for different applications.

Adjust your solder tool so that a temperature around

− 

is reached and stabilized at the solder joint. Heating-time of the

solder-joint should not exceed ~ 4 sec. Avoid temperatures above 400

otherwise wear-out of tips will rise drastically and flux-fluid

will be destroyed. To avoid wear-out of tips switch off un-used equipment, or reduce heat.

Mix of lead-free solder alloy / parts with leaded solder alloy / parts is possible but PHILIPS recommends strongly to avoid mixed
solder alloy types (leaded and lead-free).
If one cannot avoid or does not know whether product is lead-free, clean carefully the solder-joint from old solder alloy and re-solder
with new solder alloy (SAC305).

Use only original spare-parts listed in the Service-Manuals. Not listed standard-material (commodities) has to be purchased at
external companies.

Special information for BGA-ICs:
- always use the 12nc-recognizable soldering temperature profile of the specific BGA (for de-soldering always use the lead-free
temperature profile, in case of doubt)
- lead free BGA-ICs will be delivered in so-called

'

dry-packaging

'

(sealed pack including a silica gel pack) to protect the IC against

moisture. After opening, dependent of MSL-level seen on indicator-label in the bag, the BGA-IC possibly still has to be baked dry.
(MSL=Moisture Sensitivity Level). This will be communicated via AYS-website.
Do not re-use BGAs at all.

For sets produced before 1.1.2005 (except products of 2004), containing leaded solder-alloy and components, all needed spare-parts
will be available till the end of the service-period. For repair of such sets nothing changes.

On our website

www.atyourservice.ce.Philips.com

you find more information to:

BGA-de-/soldering (+ baking instructions)

Heating-profiles of BGAs and other ICs used in Philips-sets

You will find this and more technical information within the "magazine", chapter "workshop news".

For additional questions please contact your local repair-helpdesk.

SERVICE INSTRUCTION

1. Unplug the AC Power cord and connect a wire

between the two pins of the AC Power plug.

2. Set the AC Power switch to the "on" position (keep the

AC Power cord unplugged!).

3. Measure the resistance value between the pins of the

AC Power plug and the metal shielding of the tuner or
the aerial connection on the set. The reading should be
larger than 4.5 Mohm (For U.S. it should be between
4.2 Mohm and 12 Mohm).

4. Switch "off" the set, and remove the wire between the

two pins of the AC Power plug.

Safety regulations require that after a repair, the set must be returned in its original condition. Pay in particular attention to
the following points:

·

Route the wire trees correctly and fix them with the
mounted cable clamps.

·

Check the insulation of the AC Power lead for external
damage.

·

Check the strain relief of the AC Power cord for proper
function.

·

Check the electrical DC resistance between the AC Power
Plug and the secondary side (only for sets which have a AC
Power isolated power supply):

Check the cabinet for defects, to avoid touching of any
inner parts by the customer.

Summary of Contents for MCD159

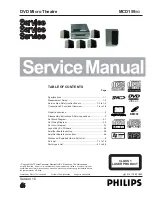
Page 1: ...ds Subject to modification DVD Micro Theatre Version 1 0 CLASS 1 LASER PRODUCT 3141 785 31820 TABLE OF CONTENTS Page Specifications 1 1 Measurement Setup 1 2 Service Aids Safety Instruction etc 1 3 to 1 5 Connections Functional Overview 1 6 to 1 8 Repair Instructions 2 Disassembly Instructions Service positions 3 Set Block Diagram 4 1 Set Wiring Diagram 4 2 Set circuit diagram 5 1 Layout Key VFD b...

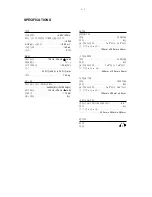
Page 2: ...m S 1 85kg 6 B Q 5 THD 10 70 dB 78 H H D 1x3 1x2 O D x x 100mm x 400mm x 56mm 5 H 1x3 1x2 D O D x x 400mm x 100mm x 56mm 6 0 O D x x 230mm x 285mm x 360mm 7 8 4 5 6m 5 a 100Hz 20kHz 1dB Q 1V p p O 4x50W 8 2x100W 4 5 a 100Hz 20kHz 1dB K N 8 N 8 78 H N 4 78 H H 1x3 1x2 D O D x x 100mm x 400mm x 56mm N 8 N 4 30 ...

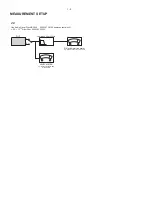
Page 3: ...LEVEL METER e g Sennheiser UPM550 with FF filter S N and distortion meter e g Sound Technology ST1700B DUT CD Use Audio Signal Disc SBC429 4822 397 30184 replaces test disc 3 L P F 13 th order filter 4822 395 30204 MEASUREMENT SETUP ...

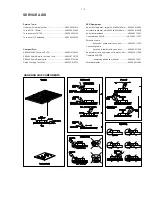
Page 4: ...t Disc 4822 395 10216 ESD Equipment Anti static table mat large 1200x650x1 25mm 4822 466 10953 anti static table mat small 600x650x1 25mm 4822 466 10958 Anti static wristband 4822 395 10223 Connectorbox 1M1 4822 395 11307 Extension cable to connect wristband to conn box 4822 320 11305 Connecting cable to connect table mat to conn box 4822 320 11306 Earth cable to Connect product to mat or box 4822...

Page 5: ... braccialetto a resistenza Assicurarsi che i componenti e anche gli utensili con quali si lavora siano anche a questo potenziale GB ESD PROTECTION EQUIPMENT Complete Kit ESD3 small tablemat wristband connection box extention cable and earth cable 4822 310 10671 Wristband tester 4822 344 13999 CLASS 1 LASER PRODUCT GB Warning Invisible laser radiation when open Avoid direct exposure to beam S Varni...

Page 6: ...es has to be purchased at external companies Special information for BGA ICs always use the 12nc recognizable soldering temperature profile of the specific BGA for de soldering always use the lead free temperature profile in case of doubt lead free BGA ICs will be delivered in so called dry packaging sealed pack including a silica gel pack to protect the IC against moisture After opening dependent...

Page 7: ... F G 0 4 4 5 4 3 6 645 1 2 M 5 ADVD 0 7 8 M 7 W 5 M A 8 9 1 2 3 K 0 E M D H Y a 0 A M B C B D E A M B C B F A G 4 F A G 4 M H A 7 8 4 M I L M Y M ADVD7 8 S W J 5 F F G K G B M X a M 7 8 L J M M N 4 M M X N O 2 F A Q P 1 1 K a M 2 1 5 M 7 8 M DVD VIDEO OUT J M J Q 4 ADVD7 8 1 2 M K a M 2 1 5M J a LINE IN MAUDIO OUT JR W ...

Page 8: ...eo input G S Q J Q Y Pb Cb Pr Cr YUV M J 4 ADVD7 8 1 2 M X LINE IN J M AUDIO OUT JR W 9 C D E F U Q V 0 W Progressive Scan ProScan X Y M C D E F 0 2 Y Pb Pr F A Q P 2 1 2 F A Q P 1 3 Q 9 C _ K A M M 9 6 U V _ jcXi dcVa DkZgk Zl DVD 3 5 5 6 9 6 7 8 U W Z P Q P Q DVD 3 N M 9 Z U V 3 U V 3 Z 9 I J U V _ 3 SOURCE Y IR 7 8 VOLUME D S 2 3 4 5 6 7 8 9 10 DVD MIN I SY STEM MP E G 4 1 2 3 8 10 9 7 5 4 6 PO...

Page 9: ... 3 3 A B 3 U V M B AUDIO E MPEG4 CD B _ F G E DVD N O 6 CD DVD O 3 Y H M TITLE V M 9 3 _ 9 DVD A R N M 3 9 _ 9 3 M 9 0 M V _ W 3 F _ W 3 G OK C 9 Z U V 3 U V 3 Z MUTE I J 9 6 Q A 0 9 Q U V M X _ a 12 13 14 15 16 17 18 19 20 21 30 29 28 27 26 25 24 22 23 SUBTITLE O ANGLE M M DVD SETUP MENU W 0 9 M PBC V M 9 V P Q W S _ A 3 M X N 3 _ 9 DVD 9 DVD 3 V _ W a Y a 9 3 3 V _ W a X 9 3 DVD 3 V _ W a Y a 9 ...

Page 10: ...l ǃtie wires ǃsocket is nomal check and change related components ǃtie wiresǃsocket of DVD FKDQJH 03 ERDUG FKHFN LI VSHDNHU LV RN FKHFN VSHDNHU DQG RXWSXW ZLUH FKHFN LI SXEOLF RXWSXW FLUFXLW RI ZKROH XQLWǃ 03 FLUFXLW LV RN check AMP IC TDA8947 and change IC nosearch from DVD FKFN SRZHU VXSSO FLUFXLW RI ZKROH XQLW LV RN check staicǃnoisy circuitǃCPU circuit and change components FKHFN LI ODVHU KHDG...

Page 11: ... Amplifier board as shown below 3 Loosen 4 screws E on the top of power board to dismantling the power board as shown below 1 Loosen 6 screws on the bottom cover as shown below B C Dismantling of the bottom cabinet Dismantling of the front assembly Dismantling of the Power Amplifier Board 1 Loosen 5 screws A on the rear cabinet as shown below 2 Loosen 1 screws B on the main board as shown below A ...

Page 12: ... 2 5 0 ...

Page 13: ... 5 1 5 0 ...

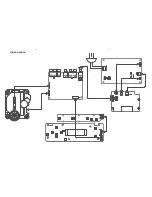
Page 14: ...5 1 5 1 CIRCUIT DIAGRAM ...

Page 15: ...5 2 5 2 PCB LAYOUT KEY VFD BOARD ...

Page 16: ...PCB LAYOUT AMP BOARD TOP VIEW 5 3 5 3 ...

Page 17: ...PCB LAYOUT AMP BOARD BOTTOM VIEW 5 4 5 4 ...

Page 18: ...6 1 SET MECHANICAL EXPLODED VIEW 6 1 bottom decode disc swbkt vol loop lens pannel power stb source play pushknob pushpcb gearbkt spsw top cddr drlens ...

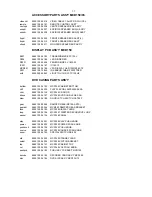
Page 19: ...S Y bottom 9965 100 04192 MCD159 CABINET BOTTOM cbl1 9965 100 04205 FLAT FLEX CBL 24PX250X0 5XA cddr 9965 100 04194 MCD159 CD DOOR drlens 9965 100 04197 MCD159 DVD DOOR LENS SAN drsw 9965 100 04189 DOOR LATCH SWITCH DL 700F gear 9965 100 00068 DAMPER GEAR MC150 ARTS gearbkt 9965 100 00046 MCM190 DAMPER GEAR BRACKET lens 9965 100 04193 MCD159 DISPLAY LENS loop 9965 100 04196 MCD159 TWEETER DECORATI...

Page 20: ...07A pwpcb 9965 100 04216 POWER PCB ASS Y DVD AMP 140W spt 9965 100 04215 SPEAKER TERMINA 10P WP10 2 WOOFER SPK BOX CASING ASS Y SWITCH 9965 100 04222 SWITCH KCD1 6A 250V acline 9965 100 04219 AC LINE CORD 1 95m jack1 9965 100 04221 JACK VH3 96 3P pwwire 9965 100 04218 POWER WIRE 130 2P wire1 9965 100 04220 WIRE 2M 2 0 10 wofbox 9965 100 04217 WOOFER SPEAKER BOX MCD159 Note Only these parts mention...

Reviews: