24
Note
This product supports the resolution display of
•
720p and above.
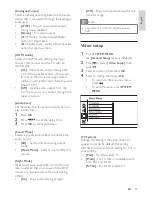
[HDMI Setup]
When you connect this apparatus and TV
with HDMI cable, select the best HDMI video
setting that your TV supports.
•
[Wide Screen Format]
– Define the wide
screen format for disc play.
Note
This setting is only available if you have set the
•
[TV Display]
setting to
[16:9 Wide Screen]
.
•
[HDMI Video]
– Select the HDMI video
output resolution that is compatible with
your TV display capability.
Note
If the setting is not compatible with your TV,
•
a blank screen appears. Wait for 15 seconds
for auto recover or switch to its default mode
as follows: 1) Press . 2) Press
. 3) Press
ZOOM.
•
[EasyLink]
-- Set one-touch play and
one-touch standby between EasyLink-
compliant devices.
Note
Compliant devices must be connected to the
•
unit via HDMI.
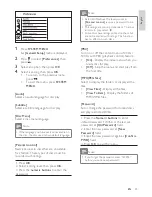
Preferences
Note
Stop disc play before you can access to
•
[Preferences]
.
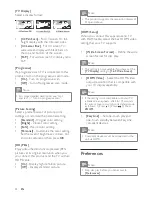
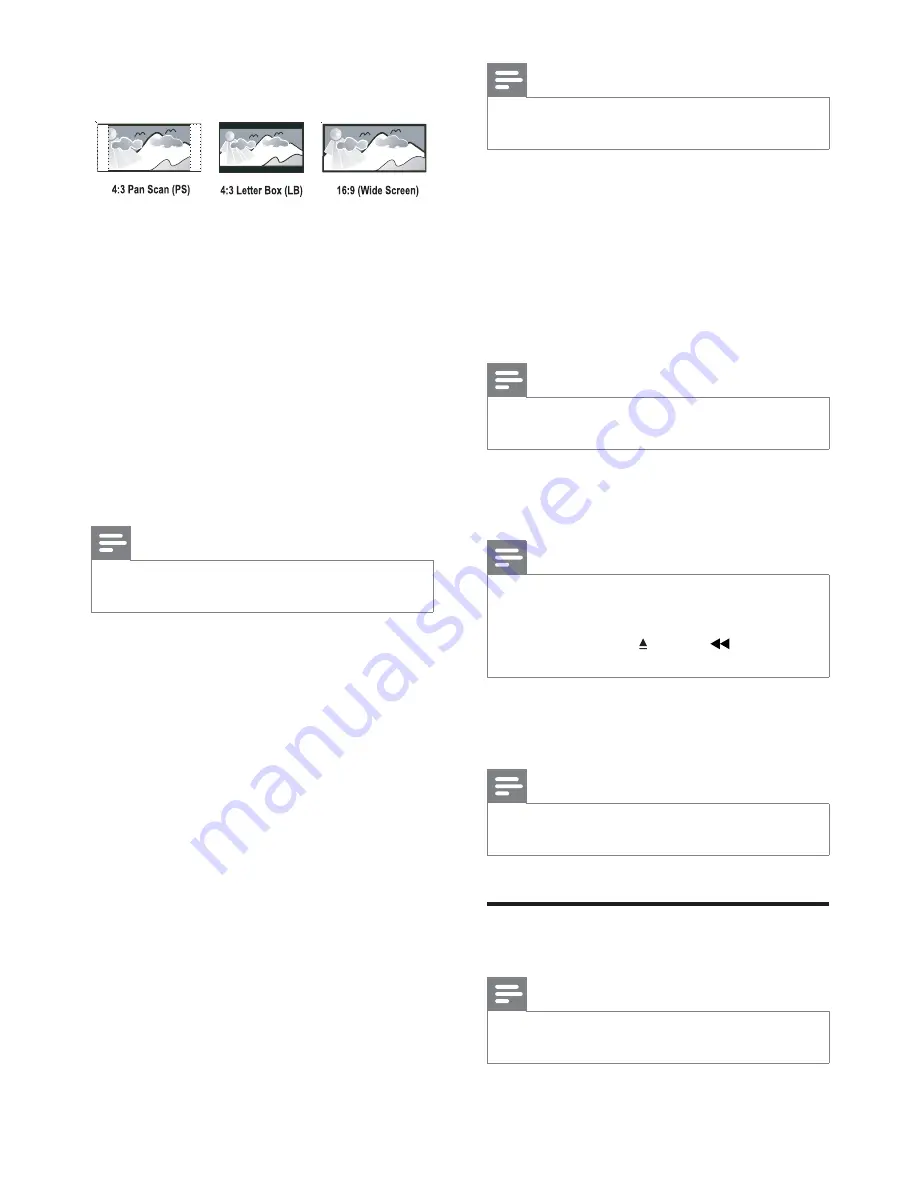
[TV Display]
Select a display format:
•
[4:3 Pan Scan]
- For 4:3 screen TV: full-
height display with the trimmed sides.
•
[4:3 Letter Box]
- For 4:3 screen TV:
wide-screen display with black bars on
the top and bottom of the screen.
•
[16:9]
- For wide-screen TV: display ratio
16:9.
[Progressive]
If a progressive scan TV is connected to this
product, turn on the progressive scan mode.
•
[On]
- Turn on progressive scan.
•
[Off]
- Turn off progressive scan mode.
Note
For more detailed description, see “Get
•
started” > “Turn on progressive scan”.
[Picture Setting]
Select a predefined set of picture color
settings or customize the personal setting.
•
[Standard]
- Original color setting.
•
[Bright]
- Vibrant color setting.
•
[Soft]
- Warm color setting.
•
[Personal]
- Customize the color setting.
Set the level of brightness, contrast, tint
and color saturation, then press
OK
.
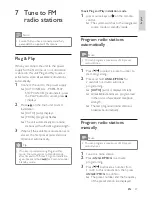
[HD JPEG]
Enjoy untouched and uncompressed JPEG
pictures at its original resolution when you
you connect this product and the TV with an
HDMI cable.
•
[On]
- Display high definition picture.
•
[Off]
- Display standard picture.
EN

