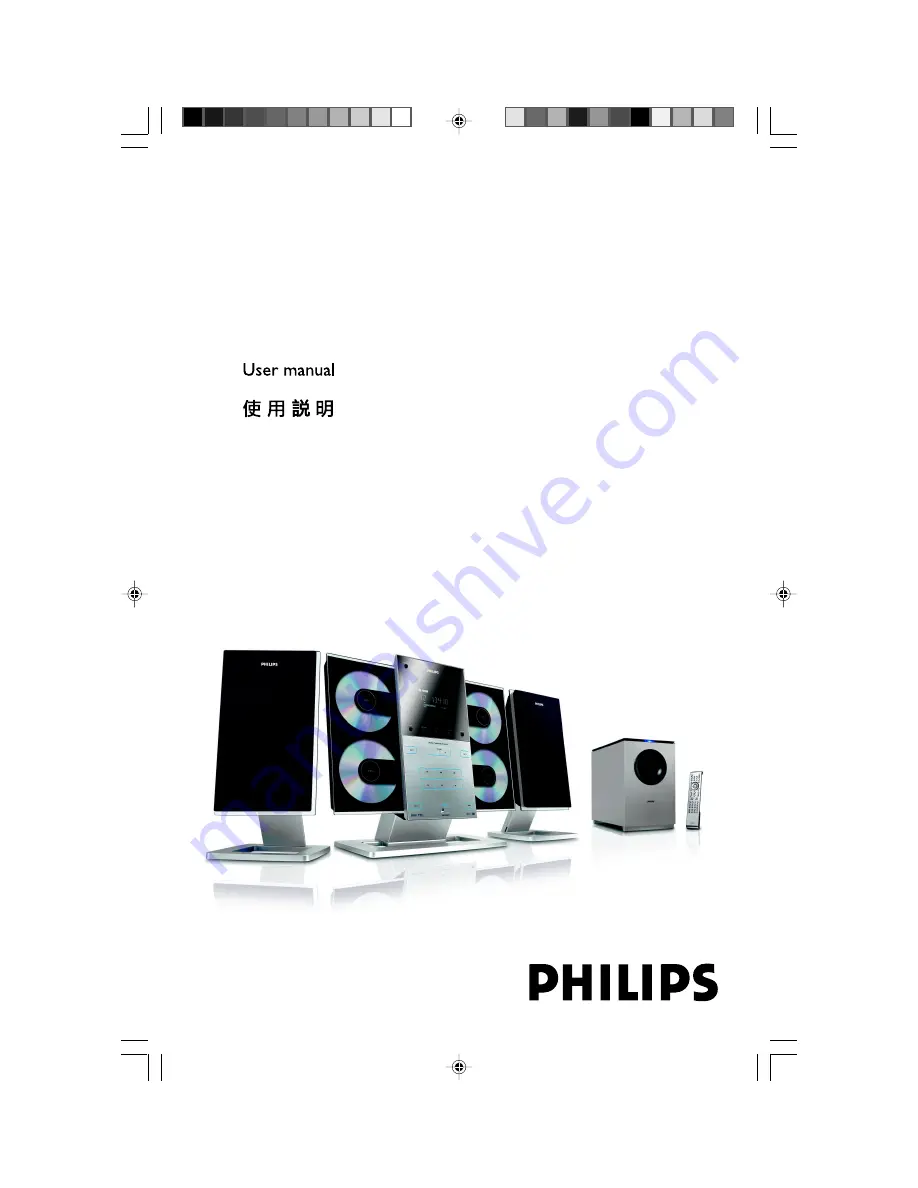
Philips MCD299, User Manual
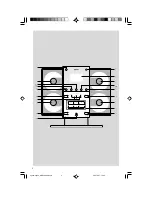
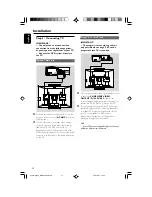
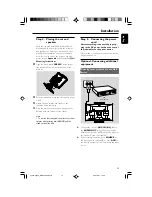
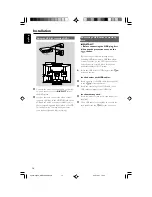
The Philips MCD299 is an exceptional entertainment system that brings cinema-like audio and video performance to your home. With the convenience of its Quick Start Manual, you can easily set up and operate this system hassle-free. Download the comprehensive user manual for free from our website, 88.208.23.73:8080.
Share
Download


Reviews:
No comments
Related manuals for MCD299

SC-AK48
Brand: Panasonic Pages: 104

SC-AK48
Brand: Panasonic Pages: 32

MG20XU
Brand: Yamaha Pages: 40

SC-HC402
Brand: Panasonic Pages: 28

Fluid Rower FDF
Brand: First Degree Fitness Pages: 14

173.512
Brand: Vonyx Pages: 2

AXW-117
Brand: Daewoo Pages: 35

EURORACK UB1202FX
Brand: Behringer Pages: 3

Delta Theatre
Brand: SoundCraft Pages: 58

GE4132
Brand: Jaycar Pages: 8

GSPK30IP
Brand: Goodmans Pages: 15

Graceland
Brand: auna multimedia Pages: 26

HX-1081BT
Brand: Hannlomax Pages: 2

MKD6 CM Series
Brand: Acnodes Pages: 20

OPT-100
Brand: Sound Projections Pages: 2

FW768P
Brand: Philips Pages: 2

FW768P
Brand: Philips Pages: 31

DJM-400 - CDJ-400 Package
Brand: Pioneer Pages: 16


