


20
English
Volume control
Adjust
VOLUME
button (or press
VOL
+
/
-
) to
increase or decrease the volume level.
➜
“
VOL XX
” is displayed. “
XX
”denotes the volume level.
To listen through the headphones
●
Connect the headphones plug to the
PHONES
socket at
the front of the player.
➜
The speakers will be muted.
To switch off the volume temporarily
●
Press
MUTE
on the remote.
➜
Playback will continue without sound and "
MUTE
" is
displayed.
●
To restore the volume, press
MUTE
again.
Selecting surround sound
IMPORTANT!
This DVD micro system can only produce 2.1
channel surround sound.
●
Press
SURROUND
on the remote to select surround or
stereo mode.
➜
The availability of the various surround sound modes
(Dolby Digital Surround, DTS Surround, Virtual Surround
Sound) depends on the number of speakers used and the
incoming sound information available on the disc.
Selecting the digital sound
effect
The digital sound effects allow you to select from various
pre-set modes that control the frequency bands of sound
to optimise certain musical styles. It greatly enhances the
excitement and enjoyment of your favourite music.
●
Press
SOUND
on the remote repeatedly to select the
available sound effect.
When playing a DVD/VCD/SVCD, select :
–
CONCERT, DRAMA, ACTION
or
SCI-FI
When playing a CD/MP3 or in Tuner or Aux mode,
select :
–
CLASSIC, JAZZ, ROCK
or
DIGITAL
Dimming the display screen
●
Press
DIM
repeatedly to select different levels of
brightness for the display screen :
HIGH
,
MID
or
LOW
.
Adjusting Bass/Treble level
The BASS (low tone) and TREBLE (high tone) features
enable you to define the sound-processor settings.
1
Press
BASS
or
TREBLE
.
2
Within five seconds, use the
VOLUME
control to adjust
the Bass or Treble level.
➜
If the volume control is not used within five seconds, it
will resume its normal volume control function.
➜
If headphone is connected, it will disable the bass/treble
controls.
Using the remote to operate
your Philips television
1
Press
AV
on the remote.
2
Press
S
or
T
or use the
numeric keypad (0-9)
to
select the TV’s channel.
3
Press
TV VOL
+
/
-
to adjust the TV’s volume level.
4
Press
y
to turn off your TV.
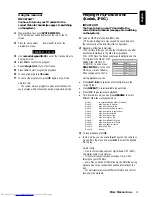
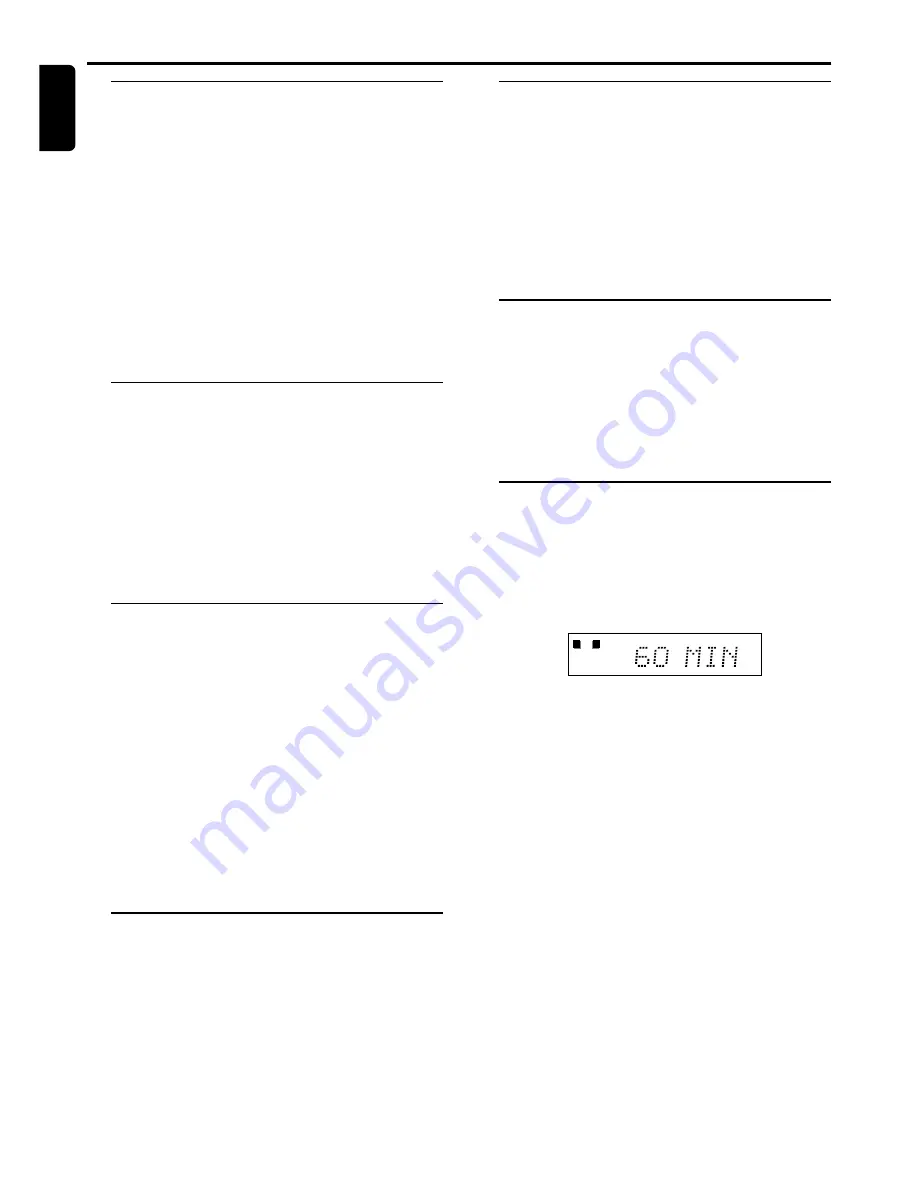
Sleep timer setting
The sleep timer enables the system to switch to standby
mode automatically at a preset time.
1
Press
SLEEP
on the remote repeatedly to select a preset
time.
➜
The selections are as follows (time in minutes):
15
™
30
™
45
™
60
™
90
™
120
™
OFF
™
15
...
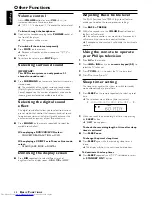
SLEEP
L
R
2
When you reach the desired length of time, stop pressing
the
SLEEP
button.
➜
“
SLEEP
” icon appears.
To check the remaining length of time after sleep
timer is activated
●
Press
SLEEP
once
.
To change the preset sleep timer
●
Press
SLEEP
again while the remaining sleep timer is
shown.
➜
The display will show the next sleep timer options.
To deactivate the sleep timer
●
Press
SLEEP
repeatedly until "
OFF
" is displayed, or press
the
STANDBY ON
y
button.
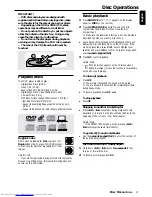
Other Functions
B
ASIC
F
UNCTIONS


