


English
9
Preparations
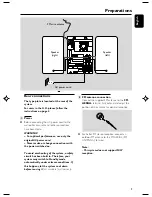
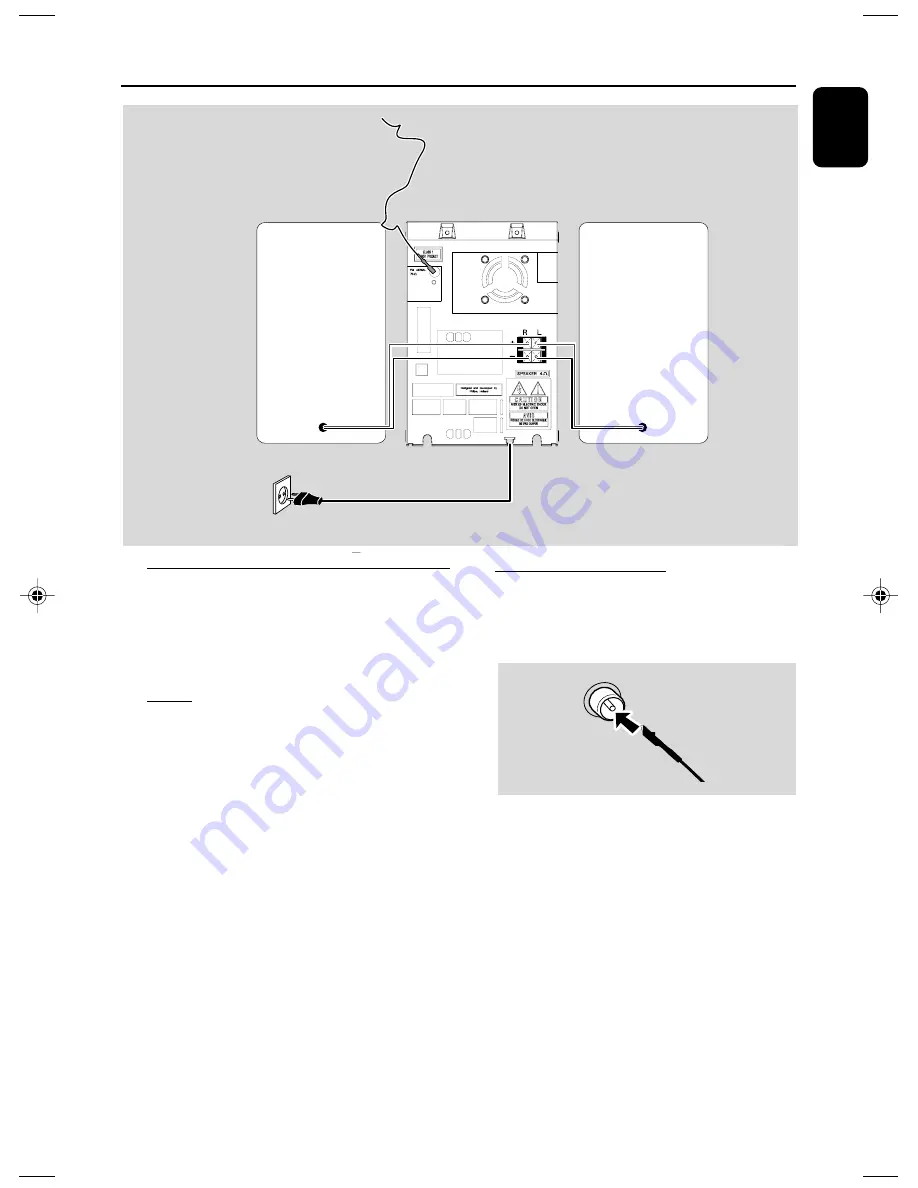
Rear connections
The type plate is located at the rear of the
system.
For users in the U.K.: please follow the
instructions on page 2.
A
Power
●
Before connecting the AC power cord to the
wall outlet, ensure that all other connections
have been made.
WARNING!
– For optimal performance, use only the
original AC power cord.
– Never make or change connections with
the power switched on.
To avoid overheating of the system, a safety
circuit has been built in. Therefore, your
system may switch to Standby mode
automatically under extreme conditions. If
this happens, let the system cool down
before reusing it
(not available for all versions)
.
B
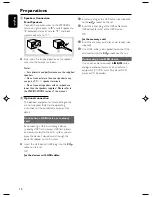
FM antenna connection
Connect the supplied FM antenna to the
FM
AERIAL
terminal. Fully extend and adjust the
position of the antenna for optimal reception.
●
For better FM stereo reception, connect an
outdoor FM antenna to the FM AERIAL (FM
ANTENNA) terminal.
Note:
–
This system does not support MW
reception.
FM wire antenna
AC power cord
Speaker
(left)
Speaker
(right)
pg 001-025_MCM395_22-Eng
2008.1.22, 2:29 PM
9


