1.0 TECHNICAL SPECIFICATION
General
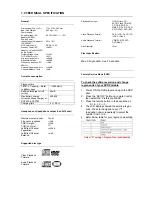
Dimensions (W x H x D):
173 x 210 x 39.5 mm
Bear Unit Weight:
0.85 kg +/- 5%
Power supply:
Supply voltage (AC
adaptor 90~264)
AC 100~240V + / - 10%
Supply Power
consumption (AC adaptor
100/240VAC)
9W + 10%
DC Power supply
DC 6.2-15.0V
Standby Power (AC
adaptor, no load) 264VAC
<0.45W
Audio System
Output voltage 1kHz:
2+/-0.2V
THD 20-20kHz (%):
</=3%
Dynamic range 1kHz
>/=80dB
Signal/Noise ratio:
>/=80dB
Frequency response (20-
20kHz):
+/-3dB
Channel Separation 1kHz
>=60dB
Channel Balance 1kHz
<2dB
Current consumption
Playback time
PET816 Capacity--- Refer
to battery spec
≥
1600mAH
Battery discharge cut-off
current
40mA
Max.battery charge
current(continue charge) of
DCP850 & DCP750
400-500
Charging time
4 +/- 0.5H
Headphone out (headphone output load 2x16 ohm)
Maximum output power:
1.5mW
Frequency response:
+/-3dB
SNR (A-wght):
>70dB
THD (
0.2-20kHz)
:
3%
Left-Right Channel
Separation:
>/=50dB
Left-Right Channel
Balance:
</=1dB
Supported disc type
Video Playback
Formats:
Audio Playback
Formats:
Playback disc type:
DVD, Picture-CD,
SVCD, Video CD, MP3-
CD, CD-R/CD-RW,
WMA-CD, DVD-R, DVD-
RW, DVD+R, DVD+RW
Video Playback Format:
DVD / VCD / SVCD / CD
/ JPEG / DivX5
Audio Playback Format:
CD/MP3, MP3-DVD,
DVD DivX5
Disc Diameter
12cm
Pixel specification
Max. 0 bright-dot & max. 3 dark-dots
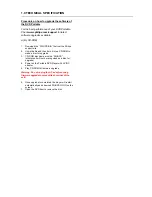
Factory Service Mode (FSM)
To check the software version and change
region code of your DVD Portable
1. Power ON the DVD player and open the DVD
door
2. Press the “SETUP” button on remote control,
then select the “Preference MENU”
3. Press the remote button in the sequence as
9 -> 6 -> 5 -> 3
4.
The LCD display showed the existing region
code. Press
(navigation up) or
(navigation down) repeatedly to select the
number from 0 to 6.
5.
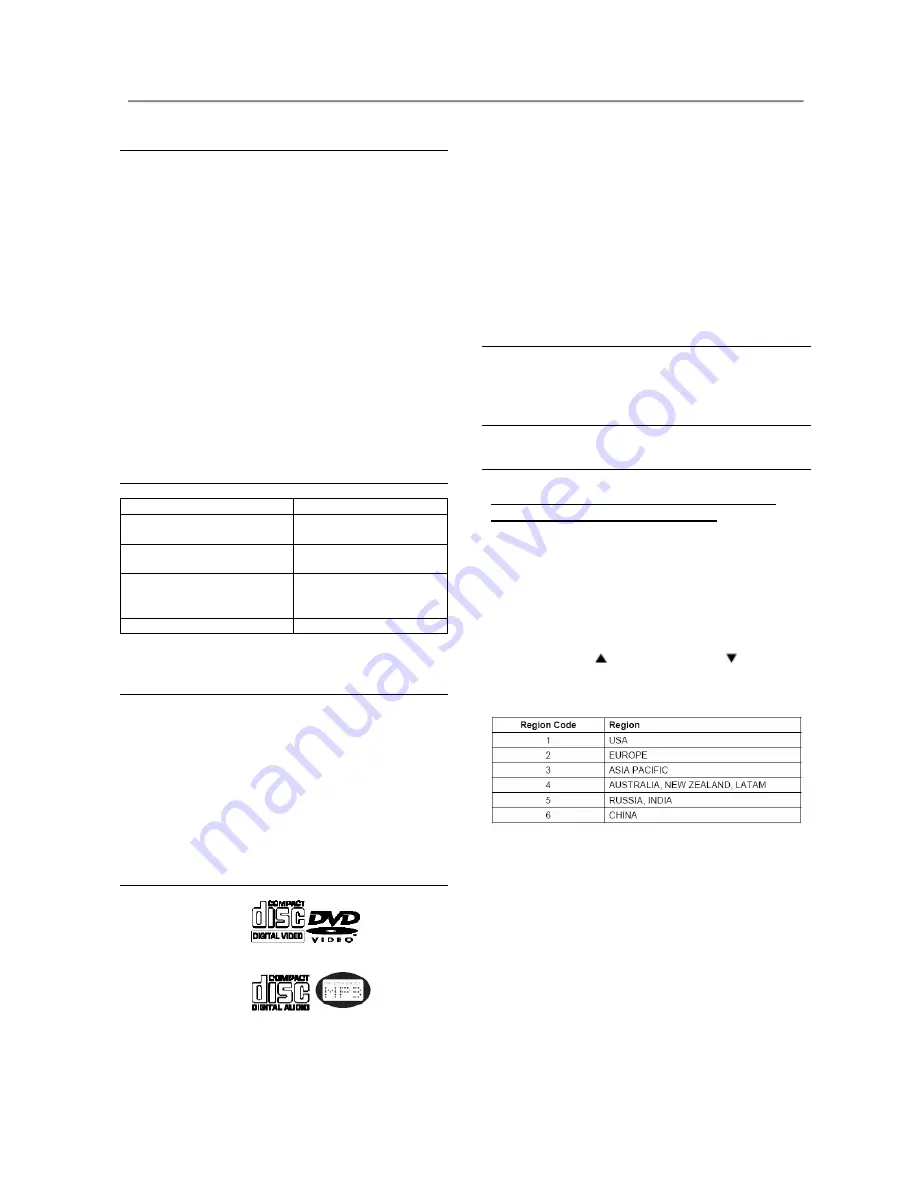
Refer below table for your region code setting
Select “0” setting = Region Free (confidential)
Summary of Contents for PET816/05
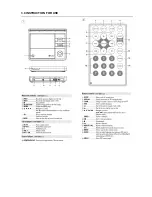
Page 9: ...3 0 INSTRUCTION FOR USE ...
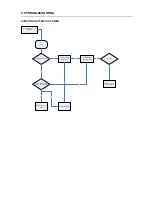
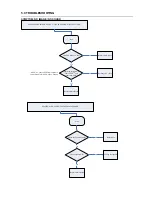
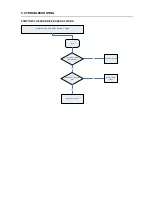
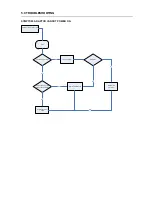
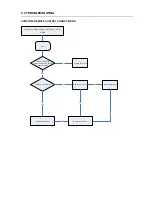
Page 18: ...5 0 TROUBLESHOOTING SYMPTOM NO SOUND FROM HEADPHONE ...
Page 21: ...6 0 BLOCK DIAGRAM ...
Page 28: ...CIRCUIT DIAGRAM BATTERY 1 1 1 1 ...
Page 29: ......
Page 30: ......
Page 31: ......
Page 32: ......
Page 33: ......
Page 34: ......
Page 35: ......
Page 36: ......


