User Guide
39
EN
Note
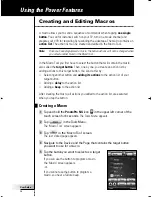
You can assign a macro to most buttons of your ProntoPro NG. Only the hard
buttons on the left side of ProntoPro NG (Backlight, Page Up and Page Down)
cannot be programmed.
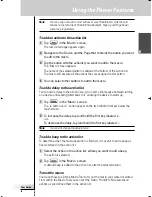
To add an action to the action list
1 Tap
in the ‘Macro’ screen.
The last visited page appears again.
2 Navigate to the Device and the Page that contains the button you want
to add to the macro.
3 Tap the button with the action(s) you want to add to the macro.
The ‘Macro’ screen appears.
The name of the selected button is added at the bottom of the Action List.
The macro will execute all the actions that are assigned to this button.
4 You can select other buttons to add to the macro.
To add a delay to the action list
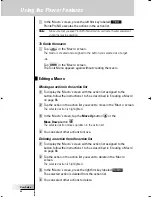
You can add a delay to the action list e.g. to insert a short pause between turning
on a device and sending commands to it, allowing the device to warm up.
1 Tap
in the ‘Macro’ screen.
The ‘
+
’ button and ‘
-
’ button appear on the two middle firm keys below the
touch screen.
2 To increase the delay, tap (and hold) the firm key labeled ‘
+
’.
-or-
To decrease the delay, tap (and hold) the firm key labeled ‘
-
’.
Note
You can still change the delay later on.
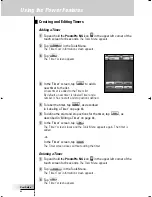
To add a beep to the action list
To determine when the macro execution is finished, it is useful to add a beep as
final command in the action list.
1 Select the action in the action list, where you want to add a beep.
The action is selected.
2 Tap
in the ‘Macro’ screen.
A default beep is added to the action list, after the selected action.
To test the macro
You do not have to exit the Macro Tool to try out the macro you created or edited.
From within the Macro Tool you can test the macro. ProntoPro NG executes all
actions as you defined them in the action list.
Using the Power Features
ProntoProNG_0505_ML_1EN.qxd 14-06-2005 09:54 Pagina 39

