


7
TSU9400 Starter’s Guide
3
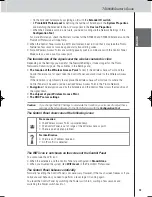
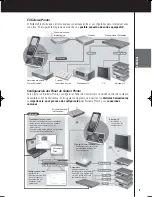
Adjust the pages of the different activities.
Delete or add
buttons
to create a personal layout for every customer individually.
Tip
The configuration file contains
Favorites pages
, where you can group the favorite TV
and radio channels of your customer in categories. Position the logo on the placeholder
and assign the correct channel macros via the
Channel Macro Wizard
.
4
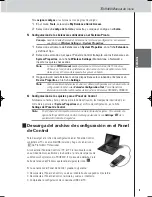
Adjust the codes.
Before you adjust the codes in the configuration file, you
add the codes
of the specific
A/V component of the customer in
My Database
.
Read more about the use of
My Database
in the
ProntoEdit Professional Online Help
.
To add codes to
My Database
:
•
In
Factory Database
, search the device, based on its model number and add it to
My Database
via the button
.
-Or-
•
In
My Database
, learn the codes from the original remote control of the
A/V component.
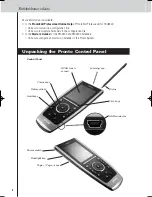
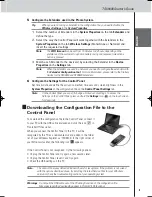
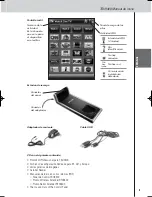
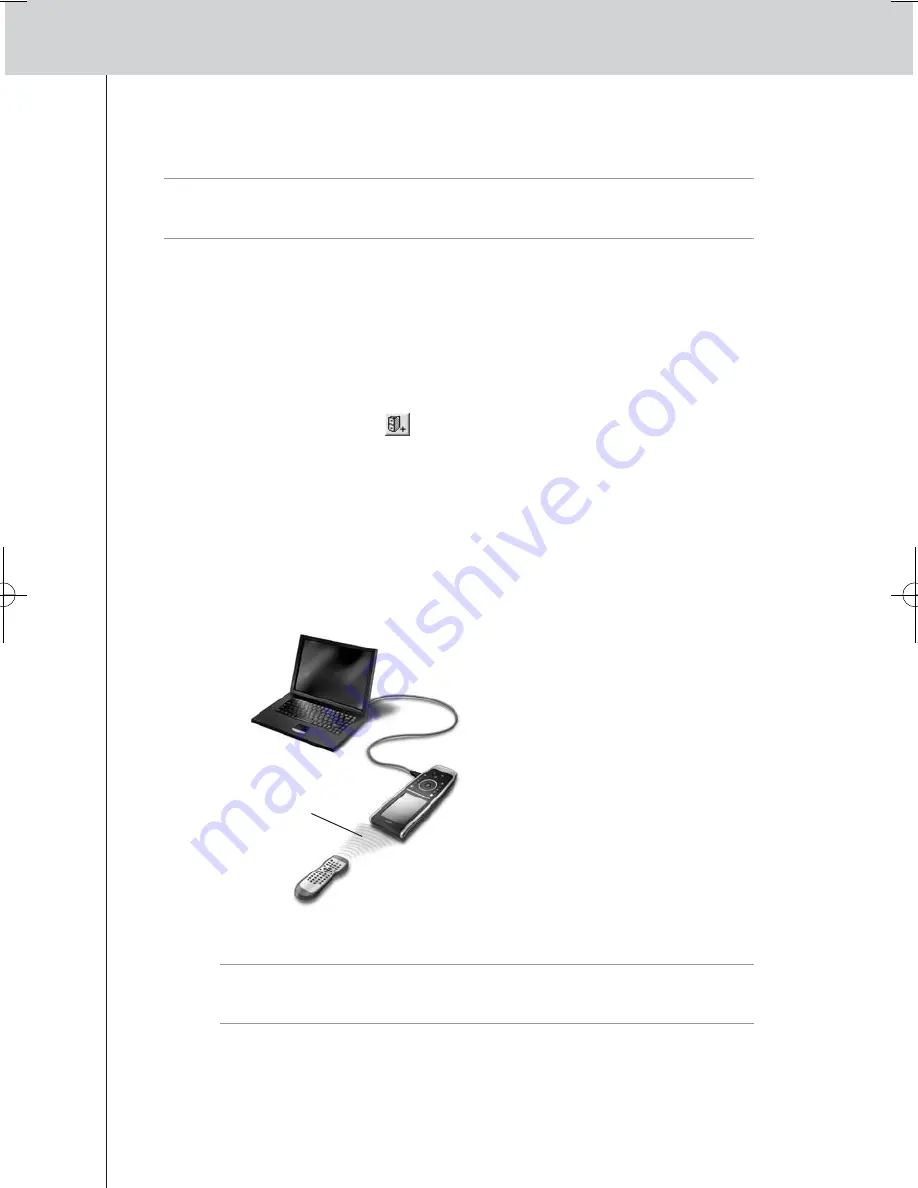
1
Connect the Control Panel to the PC with the
USB cable
.
2
Place the original remote
4 to 6 inches (10-15 cm)
from the Control Panel in
line with its learning eye.
Check if both the batteries are sufficiently charged.
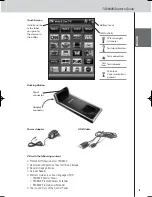
3
Press and hold the key of the original remote for more than 1 second.
Tip
With the Control Panel connected to the PC, you can test newly added codes via
the editor. You press the
Test IR
button and the code will be sent to the A/V
equipment.
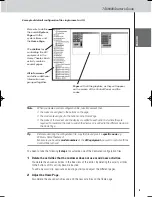
To
assign codes
to the buttons in the code pages:
1
In the
Tools
menu, select
My Database Quick Access
.
2
Select the
code from the list
and drag-and-drop the code to the
button
.
4 to 6 inches
(10-15 cm)
TSU9400_INS_ESF.qxd 05-06-2007 14:24 Pagina 10
Summary of Contents for Pronto TSU9400
Page 40: ......


