User Manual
21
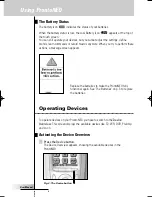
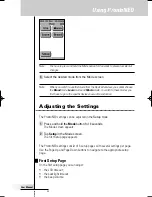
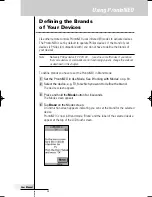
Using ProntoNEO
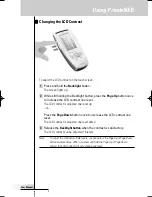
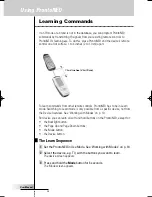
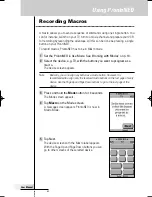
Recording Macros
A macro allows you to send a sequence of commands using one single button. You
can for instance, switch on your TV, turn to a movie channel and prepare your VCR
for recording by rewinding the videotape. All this can be done be pressing a single
button on your ProntoNEO.
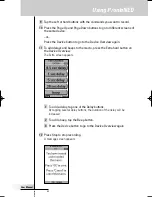
To record macros, ProntoNEO has to be in Macro mode.
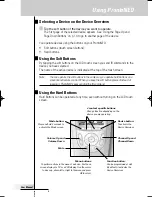
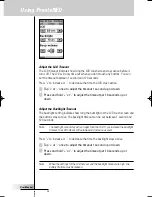
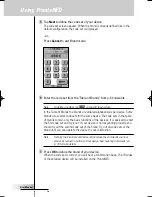
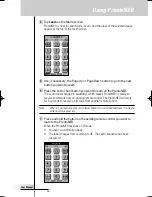
1 Set the ProntoNEO in Use Mode. See ‘Working with Modes’ on p. 10.
2 Select the device, e.g. TV, with the buttons you want to program as a
macro.
The device screen appears.
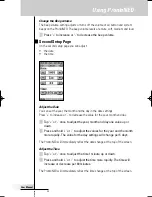
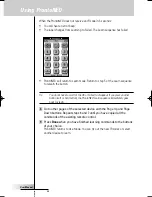
Note
Basically, you can assign any button as a macro button. However, it is
recommended to assign only the reserved macro buttons on the last page of every
device. Use the Page Up and Page Down buttons to go to the last page of the
device.
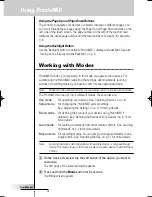
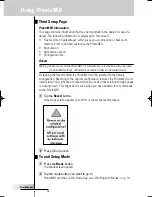
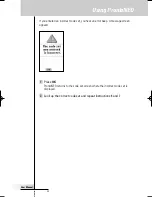
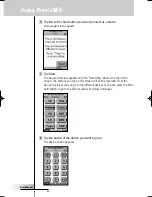
3 Press and hold the
Mode
button for 3 seconds.
The Mode screen appears.
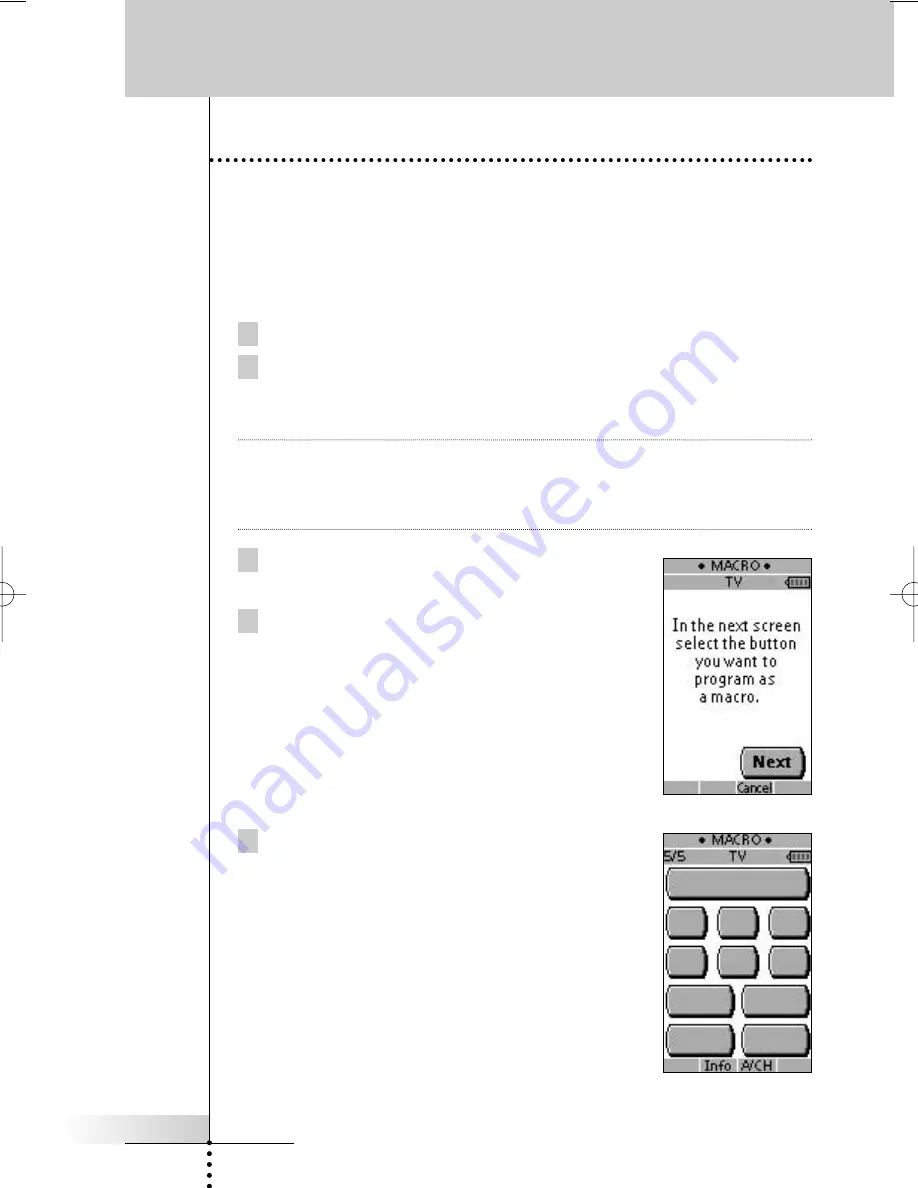
4 Tap
Macro
on the Mode screen.
A message screen appears. ProntoNEO is now in
Macro Mode.
5 Tap Next.
The device screen with the Macro label appears.
With the Page Up and Page Down buttons you can
go to other screens of the selected device.
ProNeo 01-08-2001 14:40 Pagina 21


