User Guide
21
Customizing ProntoPro NG
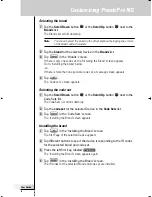
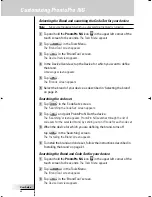
Selecting the brand
1 Tap the
Scroll Down
button or
the
Scroll Up
button
next to the
Brands
list.
The Brands list scrolls down/up.
Note
You can also select the brand via the virtual keyboard by tapping one or more
of the brand’s name characters.
2 Tap the
brand
for the selected Device in the
Brands
list.
3 Tap
in the ‘Brands’ screen.
If there is only one code set, the ‘Installing the Brand’ screen appears.
Go to ‘Installing the brand’ below.
-or-
If there is more than one possible code set, a message screen appears.
4 Tap .
The ‘Code sets’ screen appears.
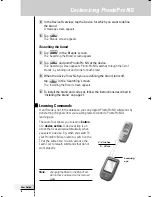
Selecting the code set
1 Tap the
Scroll Down
button or
the
Scroll Up
button
next to the
Code Sets list.
The Code Sets list scrolls down/up.
2 Tap the
code set
for the selected Device in the
Code Sets
list.
3 Tap
in the ‘Code Sets’ screen.
The ‘Installing the Brand’ screen appears.
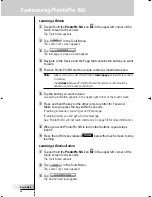
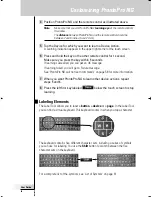
Installing the brand
1 Tap
in the ‘Installing the Brand’ screen.
The first Page of the selected Device appears.
2 Tap different buttons to see if the device is responding to the IR codes
for the selected brand and code set.
3 Press the left firm key, labeled
.
The ‘Installing the Brand’ screen appears again.
4 Tap
in the ‘Installing the Brand’ screen.
The IR codes for the selected brand and code set are installed.
TSU7000_US1004.qxd 19-10-2004 16:09 Pagina 21

