2 -1
SERVICE HINTS
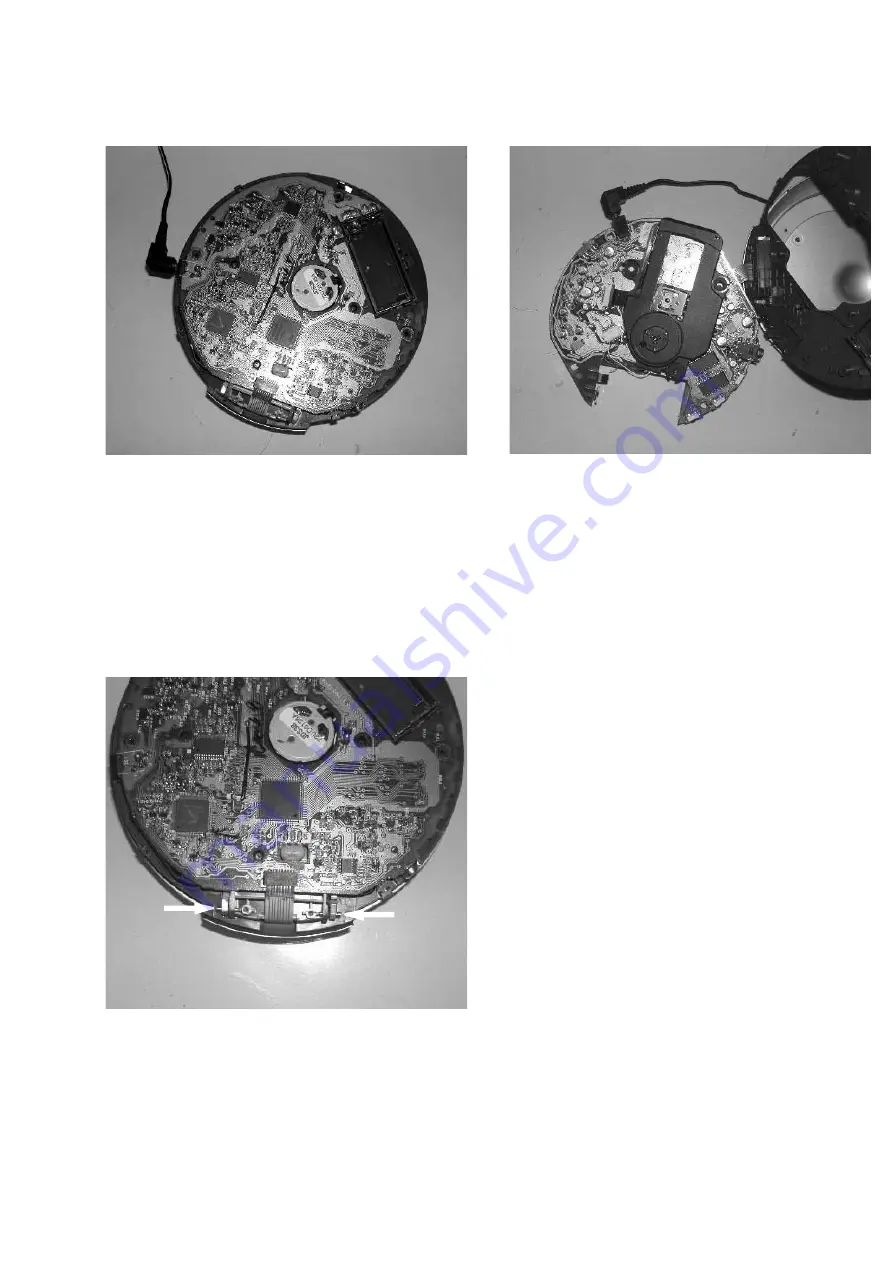
REPAIR POSITION COPPERSIDE
To get access to the copperside of the
printed board assembly proceed as follows:
1.Remove bottom screws 2pcs (under the plate-decoration)
Remove screws 4pcs (in the CD-door)
2.Lift the bottom-cabinet
3.Supply the unit via external DC-socket
4.Take care that the door switch is closed during
measurements
REPAIR POSITION COMPONENTSIDE
To get access to the compomentside of the
printed board assembly proceed as follows:
1.Remove bottom screws 2pcs (under the plate-decoration)
Remove screws 4pcs (in the CD-door)
2.Lift the bottom-cabinet
3.Remove screws 2pcs(on the PCB board)
4.Take care that the door switch is closed during
measurements
DISMANTLING THE CD-DOOR
To dismantle the CD-door proceed as follows:
1.Dismantle bottom board
2.Remove screw 2pcs as indicated in the picture above
3.Disconnect the membrance keyboard
4.Dismantle the CD-door carefully


